We finally did it! After being in our house fore more than four years, we finally installed a backsplash in our kitchen. Grab a cup of coffee and settle in while I share with you our experience picking and installing our kitchen backsplash.
Y’all- this was a looong process. We looked at hundreds of tiles and orders tons of samples.
Here’s what we learned while searching for a tile kitchen backsplash.
- Handmade tiles are beautiful, but there can be a lot of variance.
- What looks pretty online doesn’t always look the same in person.
- Definitely order samples!
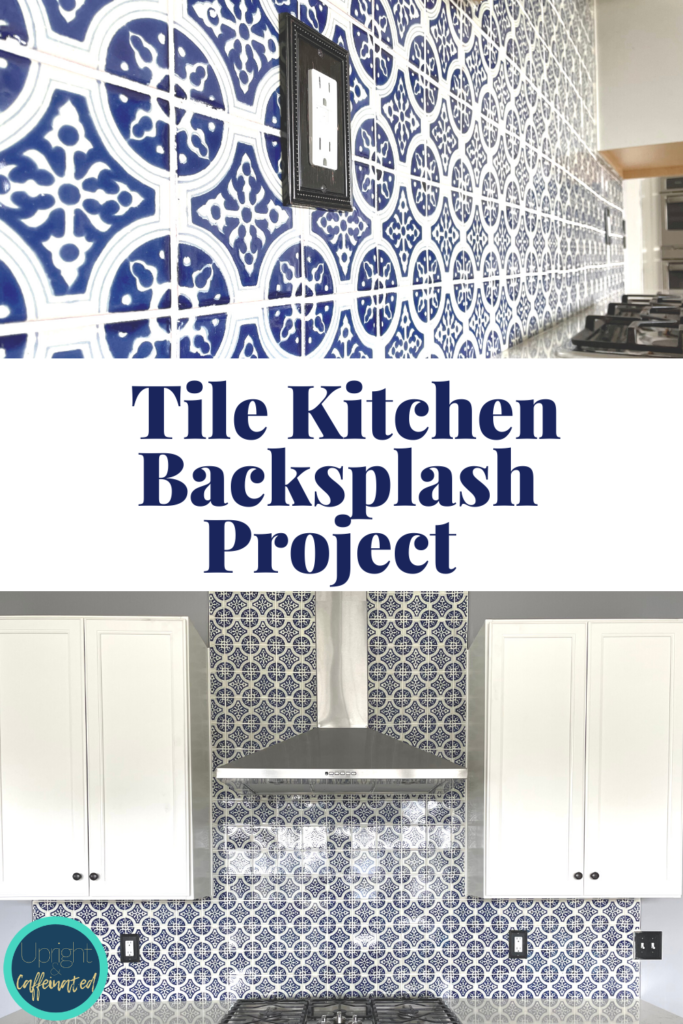
The winning tile ended up being this beautiful blue and white talavera tile. We picked this because of the pattern and color. We wanted the kitchen backsplash to be the focal point of the room.
Here’s a quick shot of the “before”. Read all about building our home HERE.
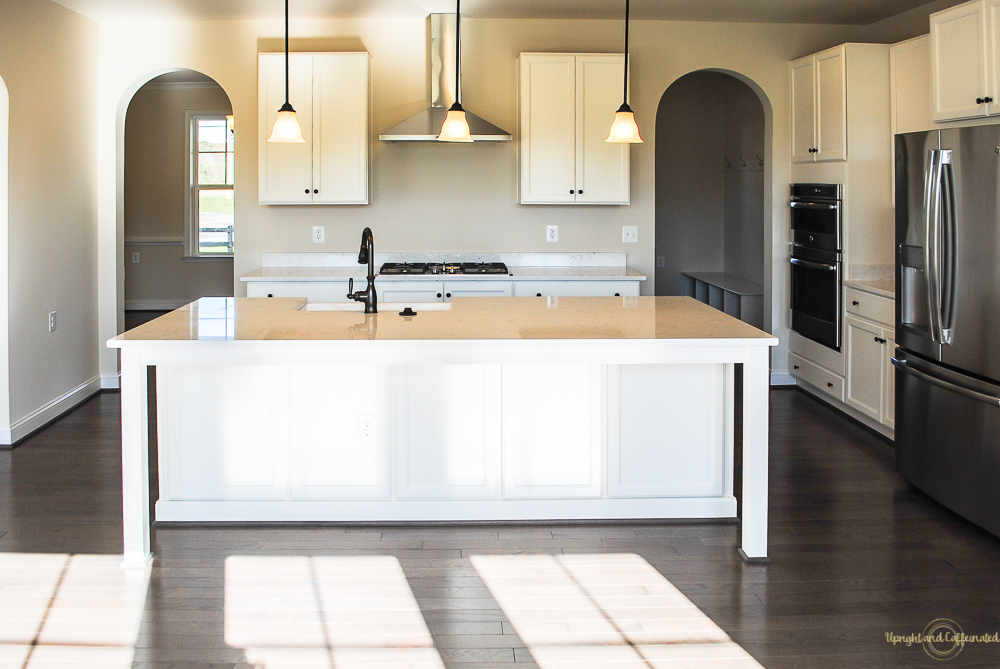
The Prep
First we had some prep work to do. Our upper cabinets were aligned with the lower cabinets, not the edge of the countertop, so we had to move the upper cabinets out one inch so that we had a straight line from the edge of the counter to the bottom of the upper cabinets to lay the kitchen backsplash.
The 4 inch countertop backsplash that was installed by the builder had to be removed. We used this tutorial and it worked perfectly! The 9 foot piece of quartz came off in one piece and had zero damage.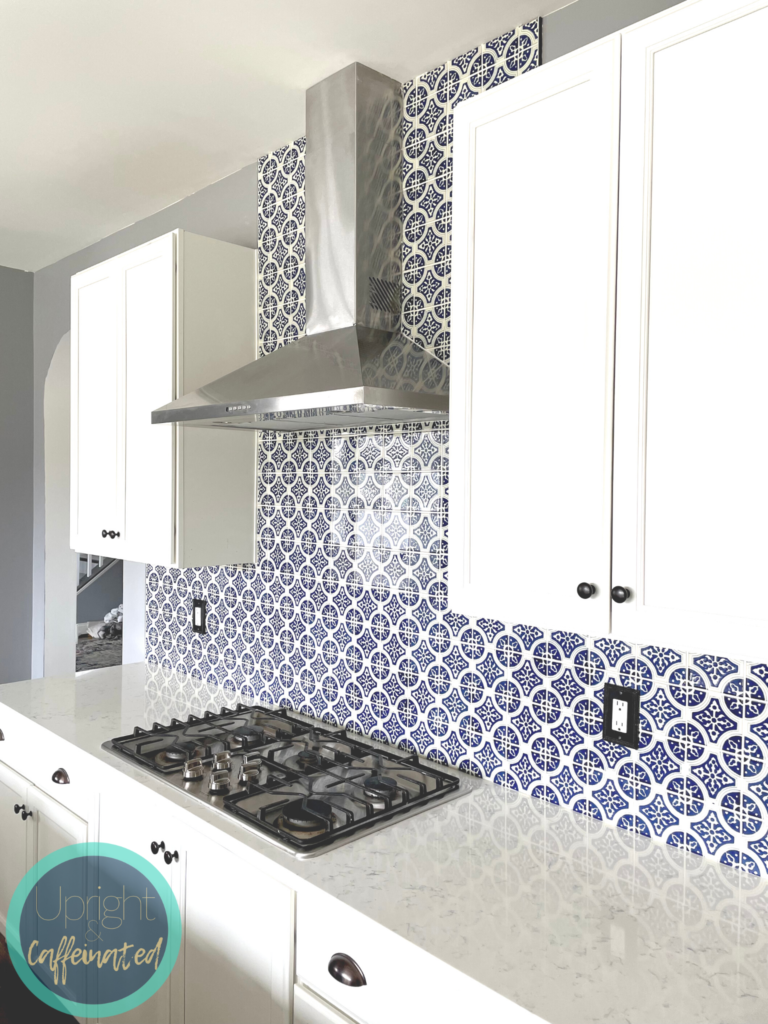
We had to repair some drywall that was missing behind the 4 inch quartz backsplash. Apparently the builder couldn’t get the quarts to sit flush against the wall, so they cutout a part of the drywall to make it work. Some plywood and wood shims is all it took to get a flat surface on which to glue the tile.
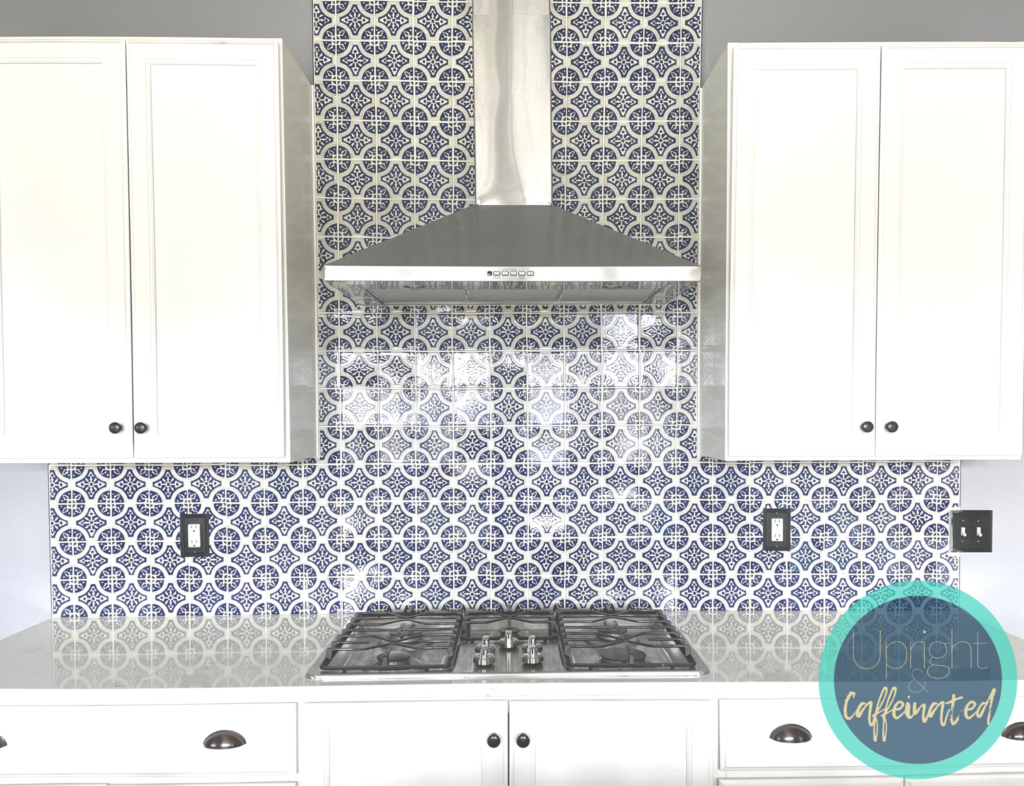
Because of the pattern of this tile, we started in the center of the wall where it meets the countertop and worked our way out and up. 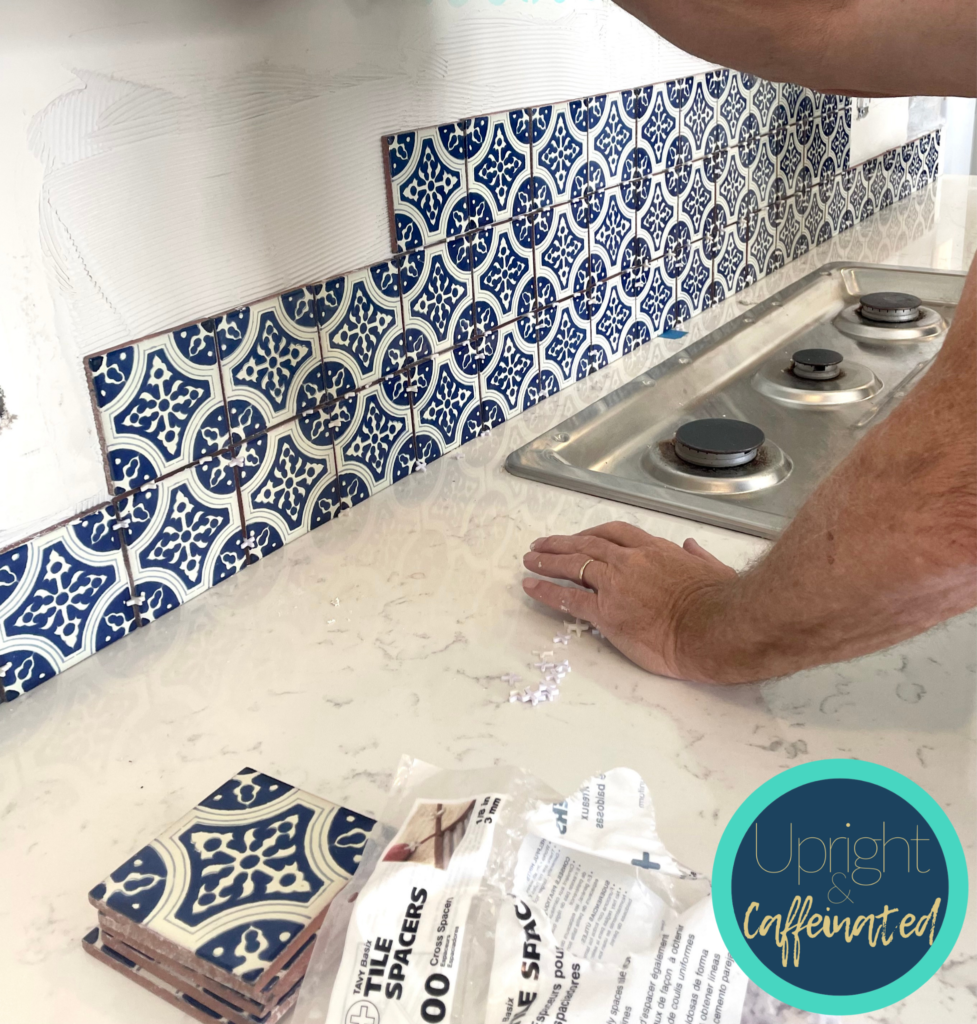
The hardest part of installing the kitchen backsplash was lining up the tiles to make the pattern look best. Since we picked handmade tiles, there was some variety in the size of the tiles. It was like working with a giant puzzle.
Cutting the tiles around the vent hood was the most time consuming because of the angles.
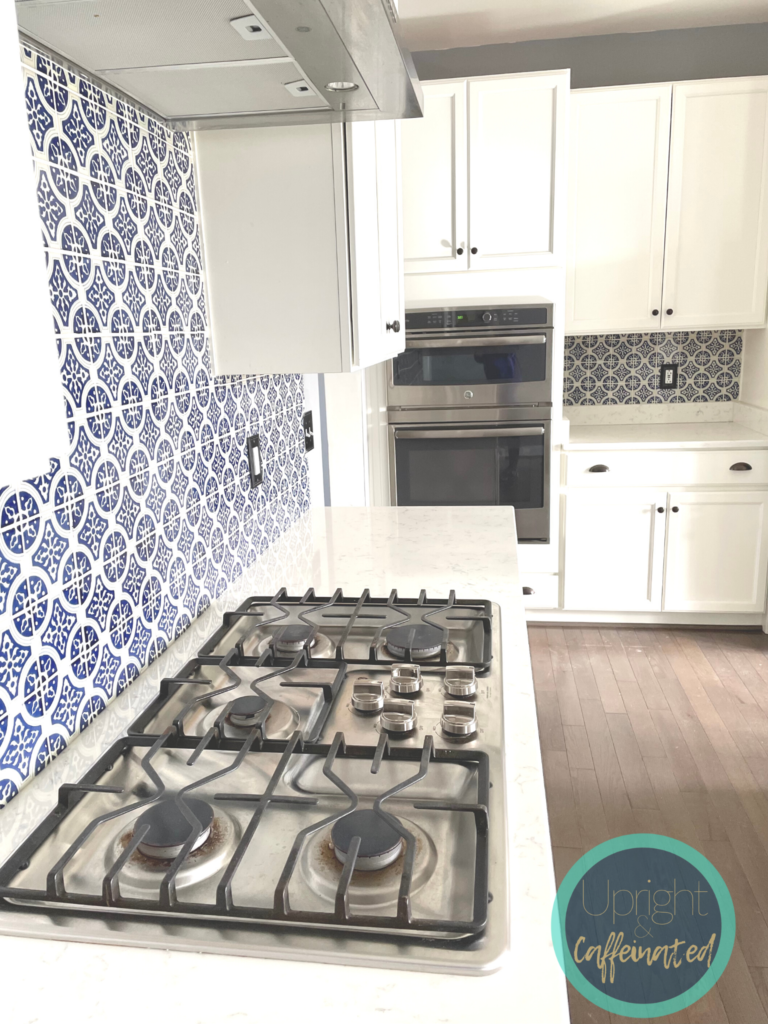
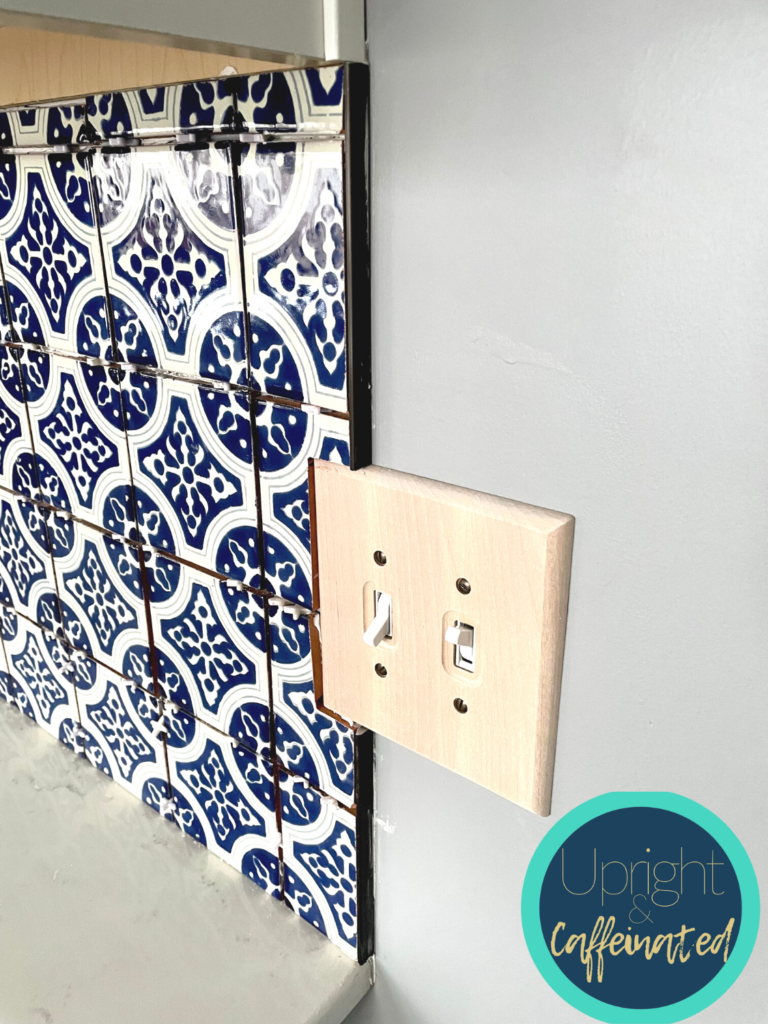
For the edge of the tile below the cabinets, we choose to use oil rubbed bronze Schluter strips. I preferred the look to a solid-color tile piece. If you are working with tile that comes with a finished edge, you can skip the Schluter and just use an edge piece.
The Schluter was very easy to work with and I would definitely use it again.
For the grout, I purchased non-sanded off-white grout. I took a few of the tiles with me to the hardware store and matched the grout as closely as I could. Because of the variance in the tiles, some of the grout lines are thicker than others, but since the focal point is the pattern, you can’t tell!
Finally, we swapped out the switch covers to the oil rubbed bronze covers to match the Schluter strips and our cabinet pulls. 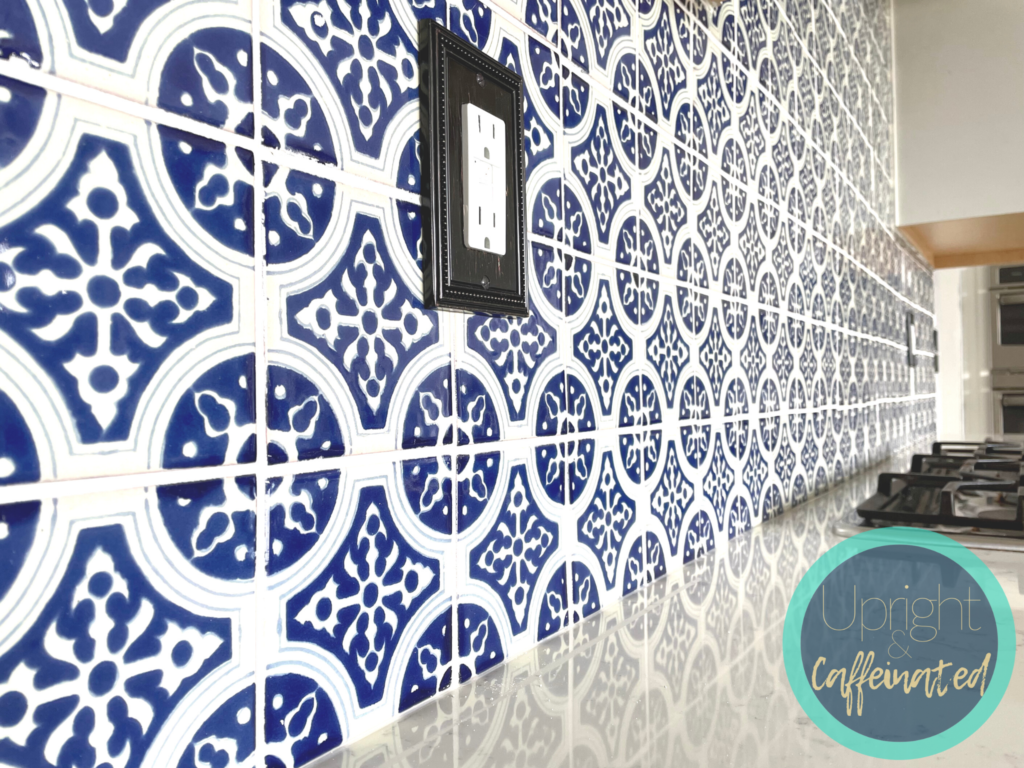
We are so happy with how this turned out!
PIN IT