Do you know all of Santa’s reindeer names? If you ask me I have to sing a song in my head to remember them all. We are doing a Santa theme Christmas tree downstairs this year and I wanted to include all of the reindeer names on the tree. With just a piece of pine, some paint, a saw and my Cricut I was able to make these adorable reindeer names ornaments.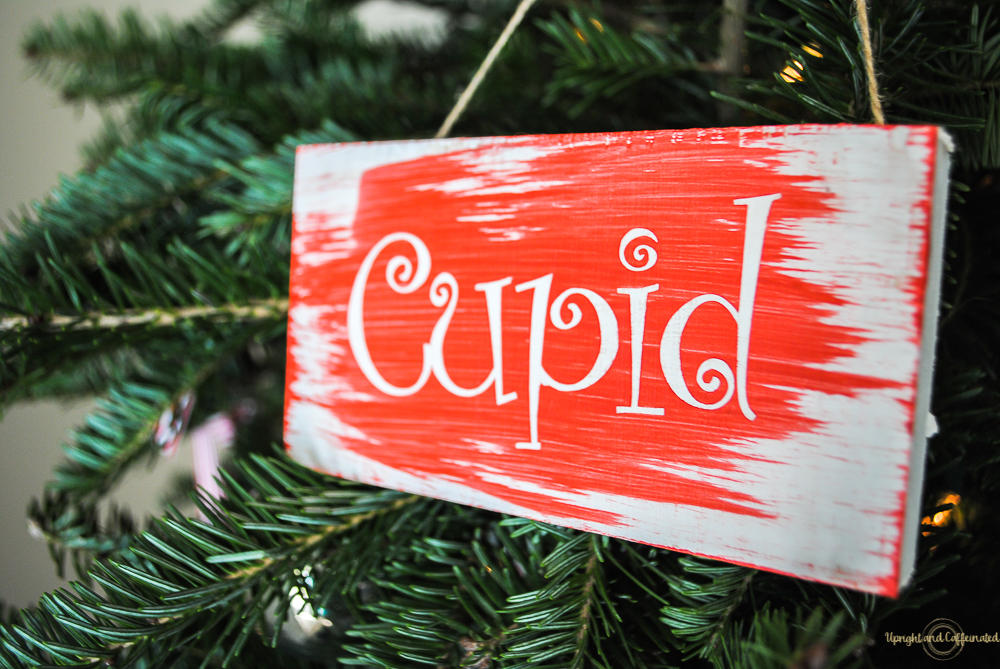
I thought about using these on the backs of our dinning room chairs for Christmas dinner! They can also be used as decoration on the table, place settings, on a buffet, wreath or even hanging from the mantel.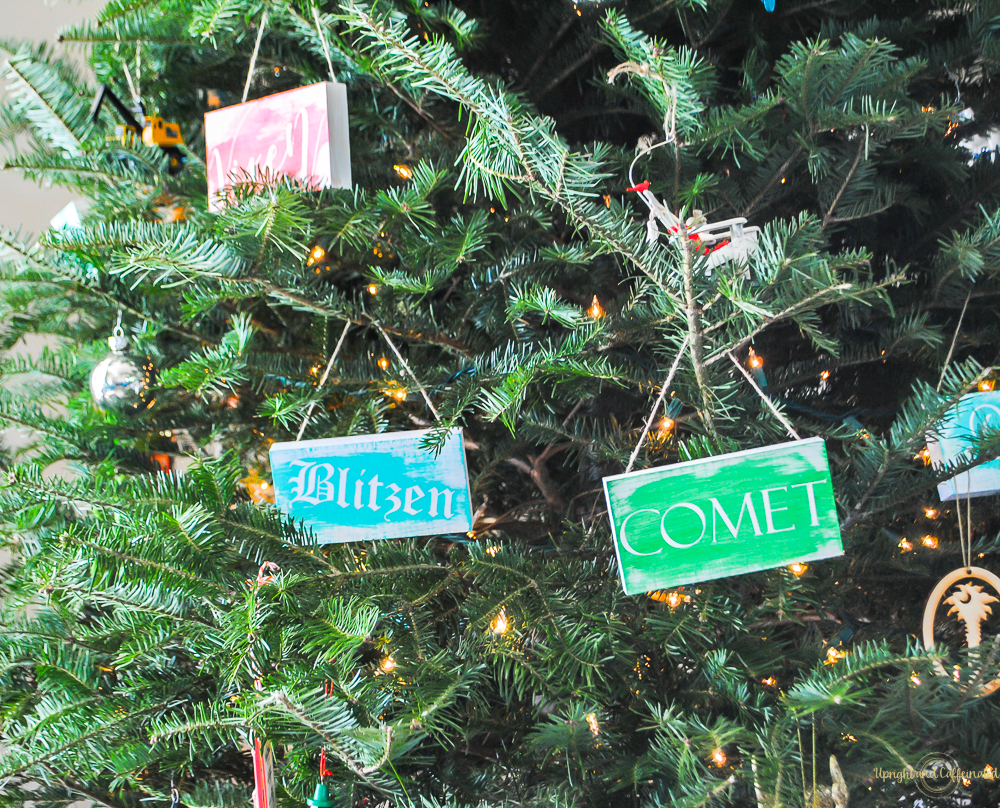
These ornaments are completely customizable. You can choose any colors or fonts. Read on to see what you need and how to make them!
What you Need
Wood
Paint (different colors)
Cricut Explore Air 2
Vinyl
Transfer Tape
Twine
Hot Glue/Hot Glue Gun
How to Make Reindeer Names Ornaments
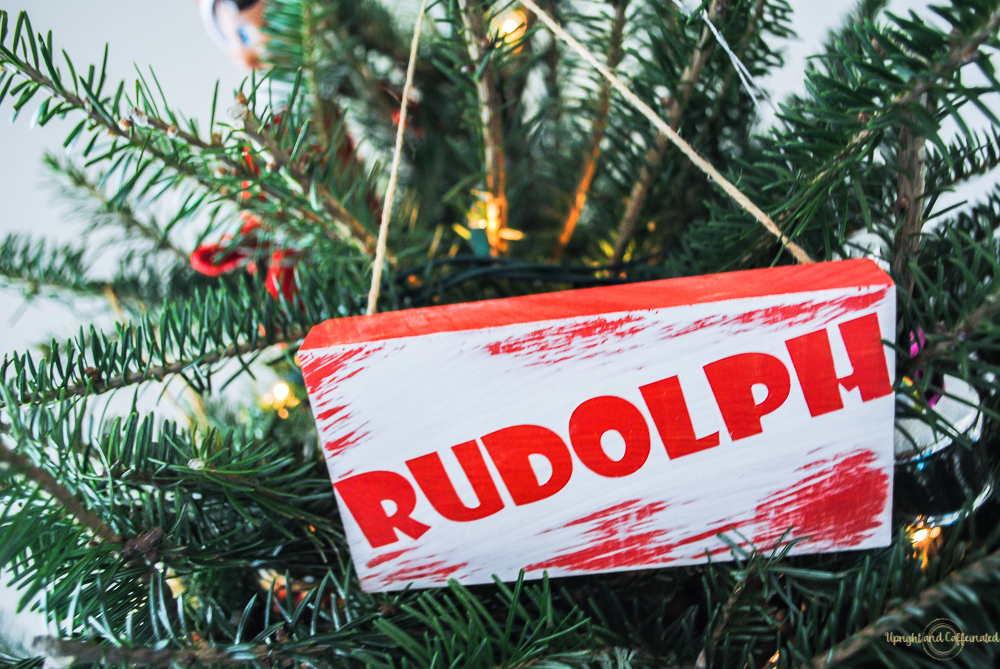
First, cut your wood to the size you want. I cut these pieces 3inches by 6 inches. Next, paint the base color. This will be the color of the name. For instance, I wanted all of the names to be white except for Rudolph, so all of my wooden blocks were painted white except one which was painted red. Next, you will created the stencil in the Cricut Design Space. I wanted to pick fonts that matched what I believe are each reindeer’s personality. I had a ton of fun picking different fonts. If you don’t have a bunch of fonts on your computer, you can purchase a ton of fonts in the Cricut Design Space through Cricut Access.

Once you have created the names in Cricut Design Space, it is time to cut. Following the directions on your Cricut, load your mat, and begin cutting.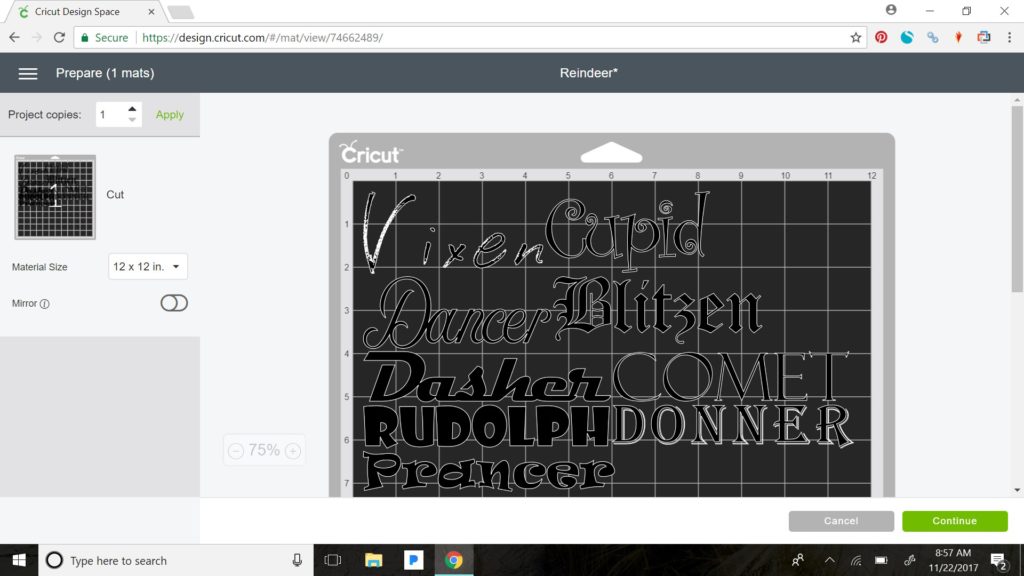
Next, weed the outside of the word, leaving just the name on the vinyl backing. Using the transfer tape, place the tape on top of the word and use the scraper tool to rub over the letters to ensure they stick to the tape. Carefully peel the backing off of the vinyl and place the tape with the word directly on the wooden block. Using the scraper tool again, press and rub of the word to make sure the vinyl now sticks to the block. Carefully peel back the transfer tape. Make sure you don’t pull up, but pull back like this ⇓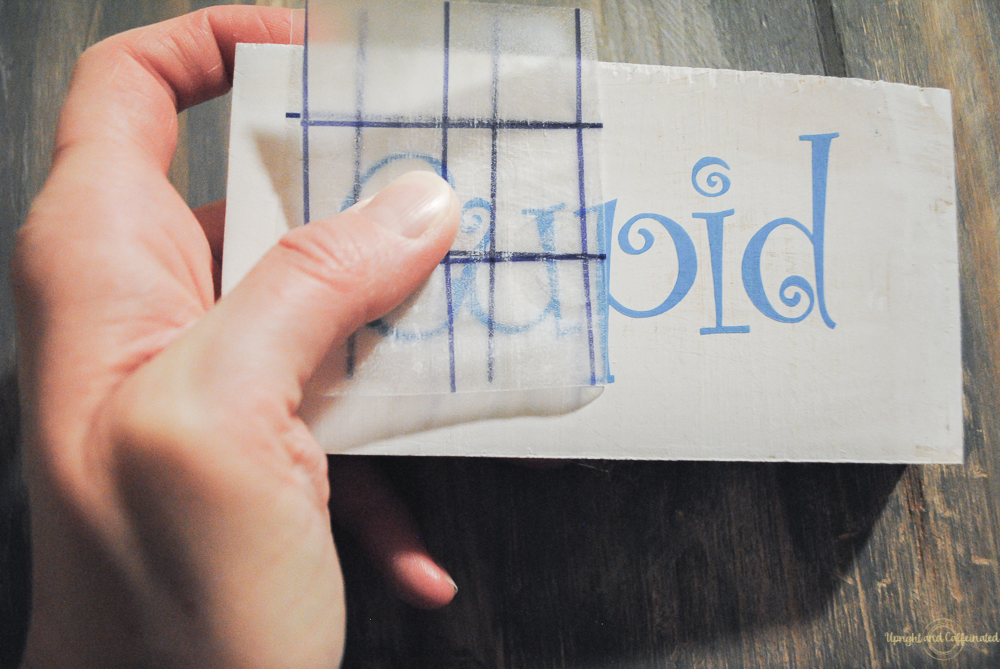
Once the vinyl is on the block, you can then paint the top color. For this particular project, I used red, green and aqua. After the paint has dried, use the weeder tool to peel off the vinyl letters, reveling the name in your base color.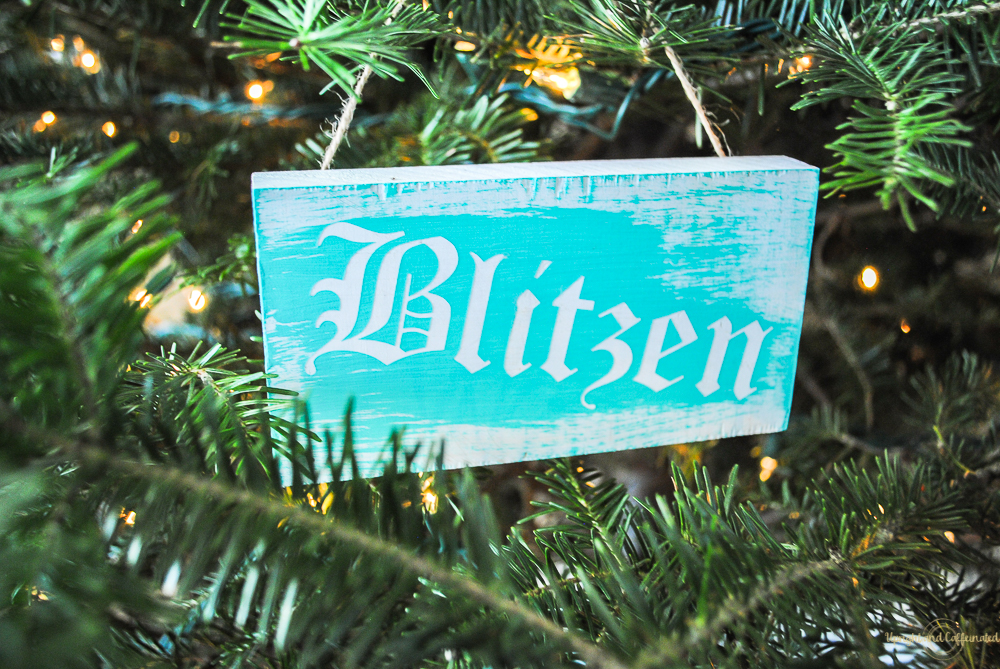
If you plan to hang these, cut your twine (or ribbon) to the length you want. Hot glue the ends of the twine or ribbon to the back of the wood.
I can’t wait to use these this Christmas. I placed them on our tree, but I am really considering using these on my dinning room table for Christmas Eve dinner.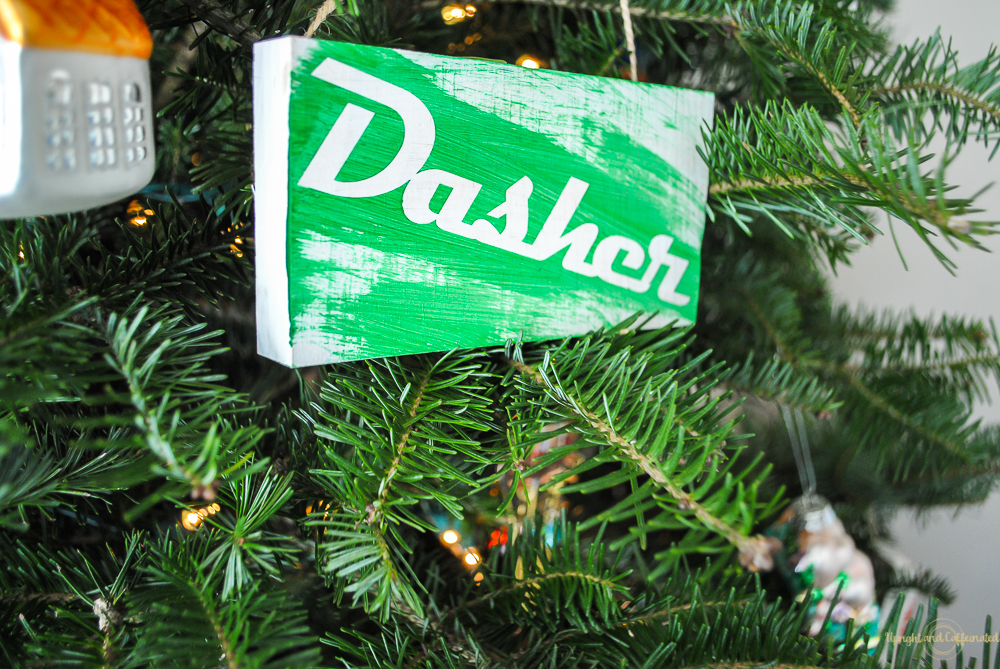
These reindeer names ornaments are fun and whimsical. This is a great project if you have little kids. It will help them remember the reindeer names so when they are older, they don’t have to google it!
PIN IT ⇓
Want to see more Cricut projects? I have joined with 15 super talented bloggers to bring you a monthly Cricut Challenge! This month we all created a Christmas craft with our Cricuts. Check them out below!
![]()
Upright and Caffeinated | Weekend Craft | Create & Babble
Refresh Restyle | Smiling Colors | A Turtle’s Life for Me
Happy Go Lucky | That Sweet Tea Life | Happily Ever After, etc
The Kim Six Fix | Dragonfly & Lily Pads | Daily DIY Life
Evey’s Creations | Home with Cupcakes and Crinoline


Such a sweet idea, using the reindeer names! And I love that you’re using different colors – so pretty!
This is so cute! I think Rudolph might be my favorite. Thank you so much for joining in on our first Craft & Create challenge. I hope you join in with us next month.