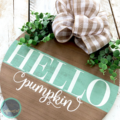
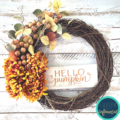
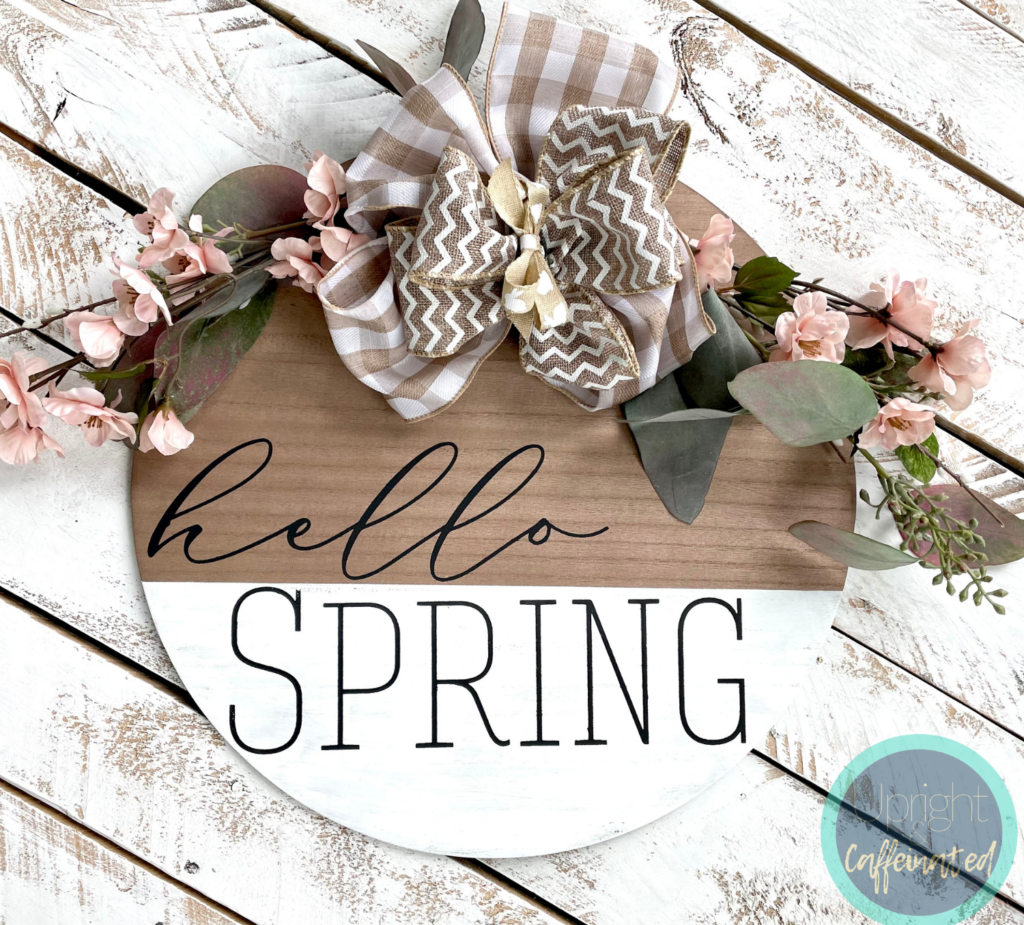
Happy Spring! If you are like me, you are ready to pack away the winter gear, pull out some gardening gloves and welcome spring! I’m sharing this simple way to create a spring door hanger with you today. Door hangers have become increasingly popular over the recent years and are a great alternative to traditional spring wreaths.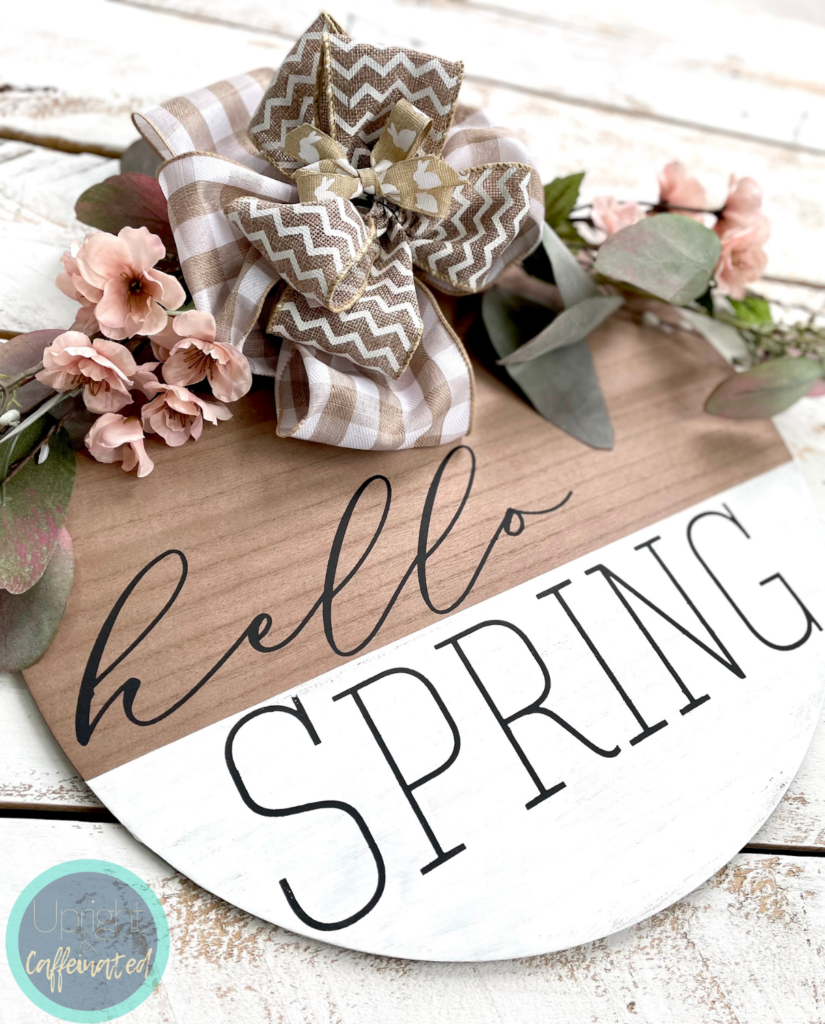
I used reusable stencils to make this door hanger. If you are a crafter who sells at craft shows, having reusable stencils are a FANTASTIC way to increase your profit while keeping costs low.
Let’s jump right into what you need to create a spring door hanger.
Click on the name of the item below to take you directly to the item on my site.
This project is made using Chalk Couture products. If you don’t know about Chalk Couture, START HERE. Chalk Couture makes reusable stencils (called transfers). They also make removable chalk paste, permanent ink, surfaces and accessories to make up-scale DIY home decor.
WANT TO LEARN MORE ABOUT CHALK COUTURE? JOIN MY FREE CRAFTING COMMUNITY.

How to Make a Spring Door Hanger
Start by making a line with your painters tape where you want to paint. I made my line on the bottom third of my round. Now it’s time to paint! Did you know you can paint with chalk paste? Simply water it down to the consistency of paint and use a paint brush to apply. Because the “paint” is actually chalk paste, it will dry quickly, but you can use a quick dry tool to dry it faster. I like mixing my paste and water in these little trays. All you need is a little scoop of paste to make the paint!
I did two coats of white paste for this door hanger. Next, apply a little wax. This is the wax I used. Simply apply a light coat with a clean cloth and buff it off. This will help protect that white paste from peeling up on the back of the transfer.
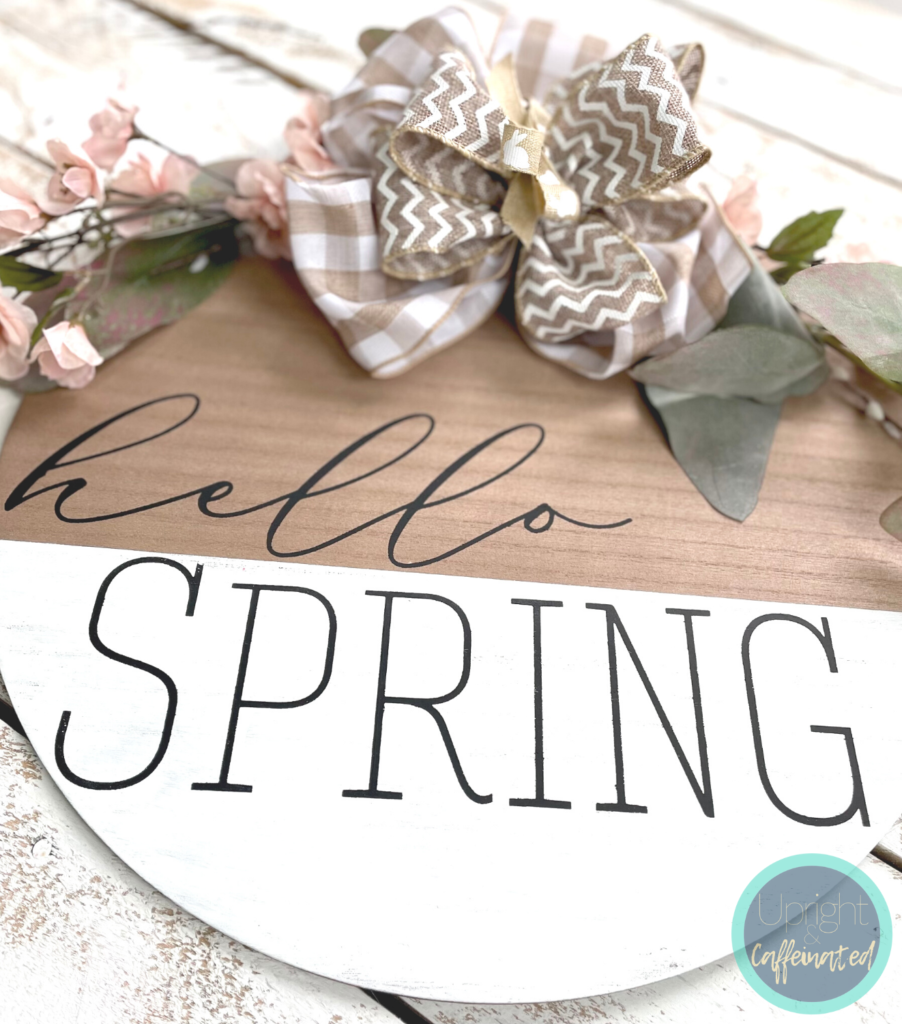
Now it’s time to apply the transfer. The Hello Summer transfer comes with different words, but for this project, I used the word SPRING. Peel the transfer from the backing sheet and then fuzz the transfer on a towel (place the sticky side of the transfer on a towel and peel it up- do this a few times). You want to fuzz the first few times you use your transfer because they come super sticky and you want to reduce the stickiness when they are brand new!
PIN IT

Lay the transfer on the white part of the board and smooth it out. Now you can apply the black paste with a squeegee and chalk in the word. Slowly remove the transfer and wash it immediately.
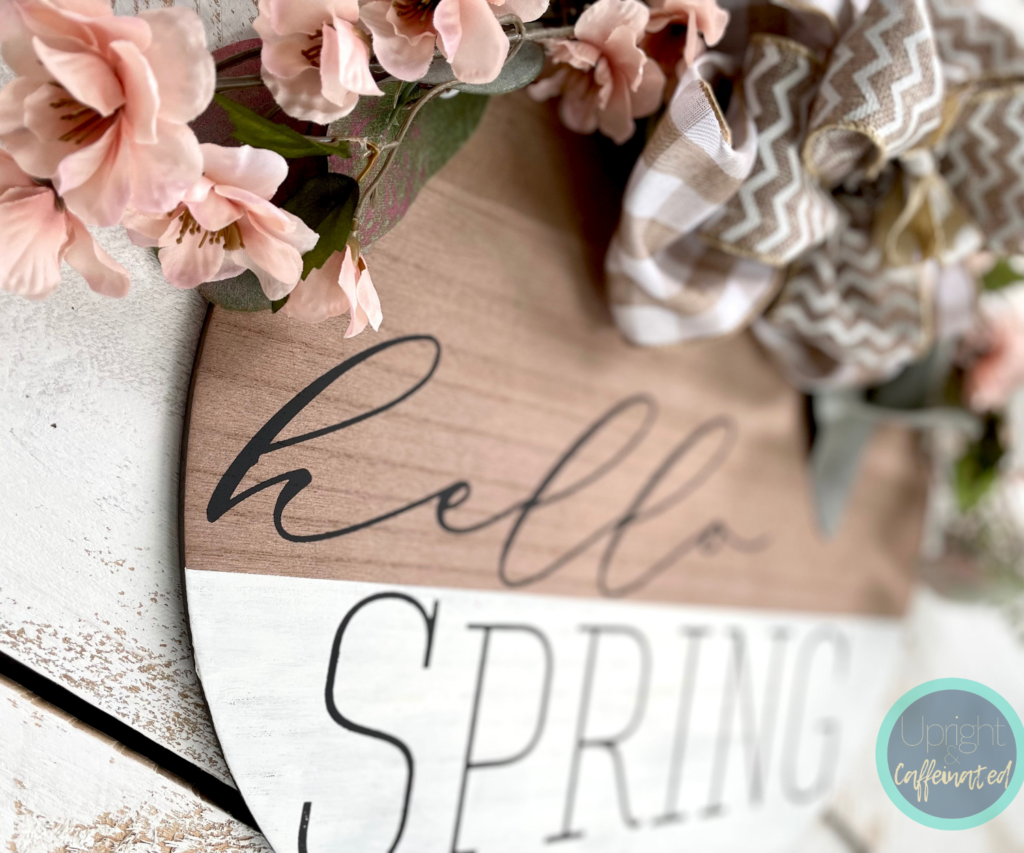
Next, apply the hello transfer and repeat the same steps to paste it in!
Now all you need to do is add some greenery, flowers and a bow. This is such an easy way to create a beautiful spring door hanger.