The holidays are coming! Some people are on top of their game and they have their shopping complete. Some people wait until the last minute and buy gift cards. I fall somewhere in between. Making DIY gifts is always on my list, but like many crafters, I run out of time and head to Target to grab a few gift cards from the checkout line. But giving someone a gift card in a basic envelope is a little impersonal, so today I am going to show you how to use glitter cardstock to make adorable holiday gift card holders.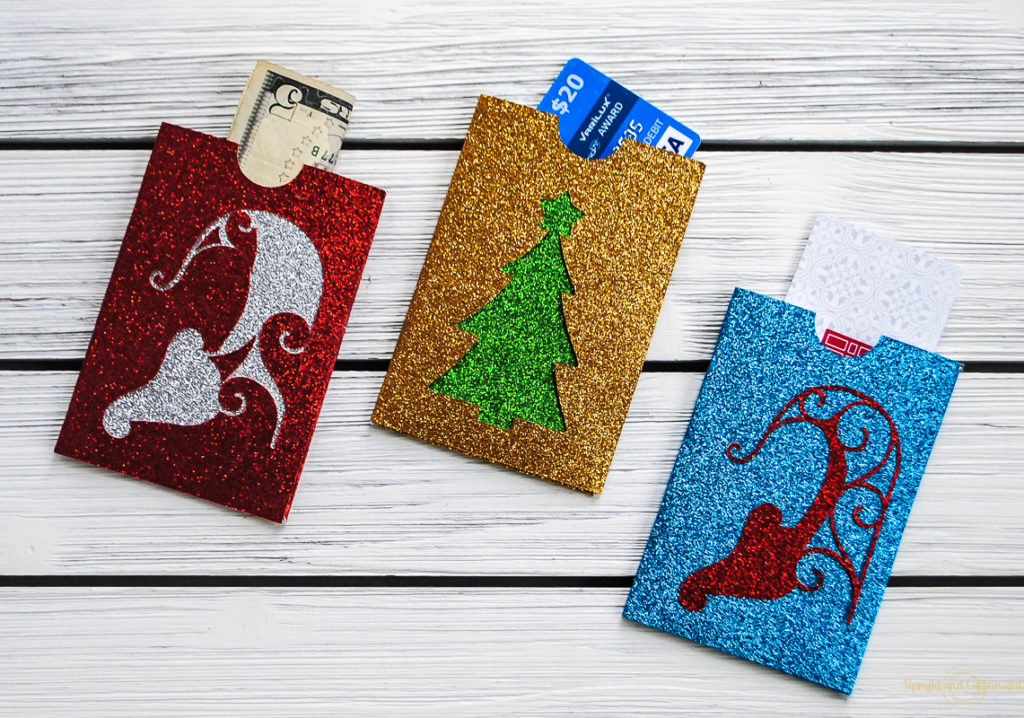
This is a simple tutorial using a Cricut machine and some cardstock. I love this idea if you have college-aged kids or grown kids. This makes giving them a gift card or cash a little more festive!
I am partnering up with 10 other bloggers for our monthly Craft & Create with Cricut to share some of the BEST holiday ideas with you! Check them out here!

Watch Me Whip Oven Mitt Gift Idea / Make Christmas T-shirts with Cricut / Rae Dunn Inspired Christmas Signs / Mini Reverse Canvas Ornaments / How to Use Cricut Maker and Chalk Couture to Make Christmas Ornaments / Painted Chipboard Christmas Wreath / Days Until Santa / Glitter Cardstock Gift Card Holder / Believe in the Magic Gift Bags /Easy-to-Make Christmas Tree Art /DIY Winter Wonderland Cloche (with FREE Cricut Cut Files)
How to Make a Glitter Cardstock Gift Card Holder
First of all, log into you Cricut Design Space. Click on the image icon and in the search bar, look for gift card holder. If you have Cricut Access, you can click the filter button next to the search bar and click the “Cricut Access” tab and it will show you all the options included in your Access subscription.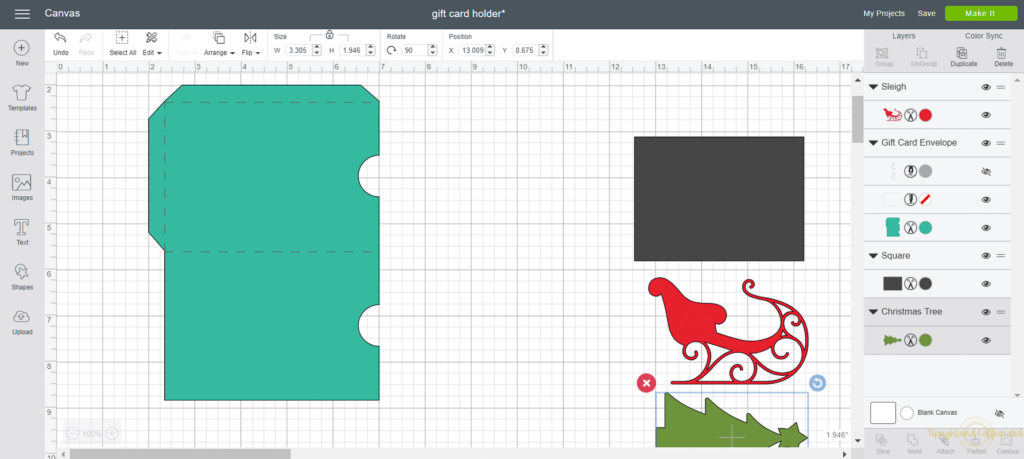
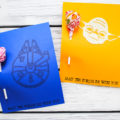
Next pick the graphic you want on the front of the card holder. For this project I picked a Christmas tree and Santa’s sleigh. To find those images, follow the same steps as above by searching for the image in the search bar.
PIN IT
Once you have the graphics you want, you can change the size to fit your gift card holder.
For the tree, I wanted it cut out of the actual card holder. To do that, I layered the tree on top of the gift card holder, selected the two and then hit attach. Now when you cut, the tree will cut out of the card holder. I also cut a small rectangle in a different color to place behind the cut out tree.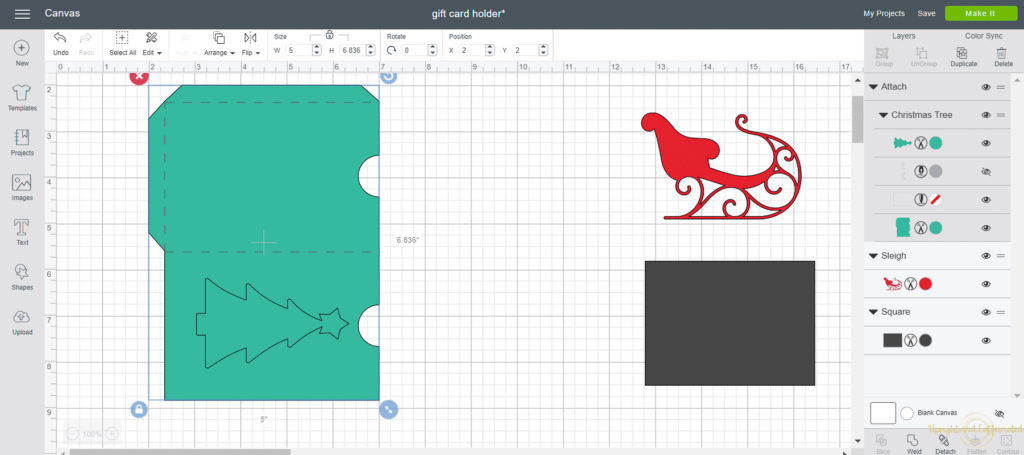
Once all of your pieces are cut, it is time to put the card together. You will notice there are score lines on the card at the bottom, side and down the middle. Fold the card along these edges.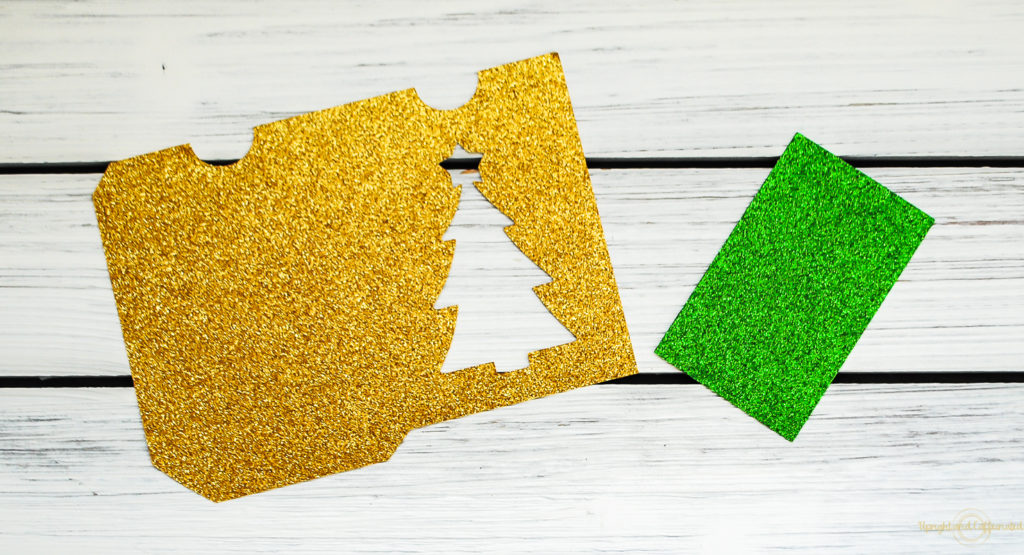
Next, use glue to hold the card holder together. Because glitter cardstock is heavy and thick, I used a small amount of hot glue. If you are working with regular cardstock, a basic glue stick would work.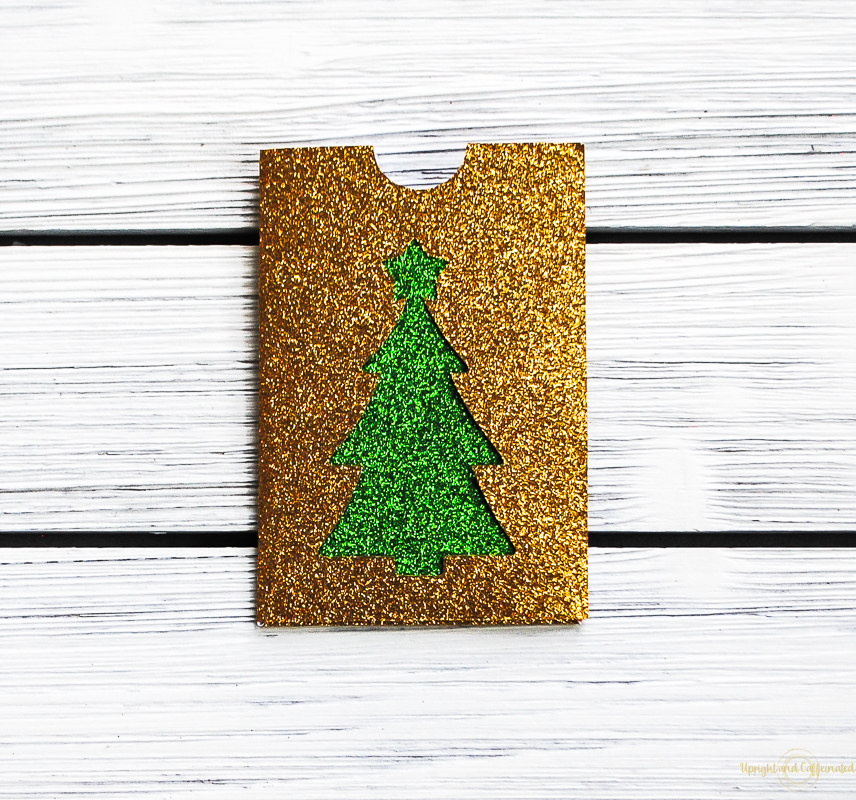
These glitter cardstock holiday gift card holders are perfect for anyone. This is a great way to dress up a gift card or some cash! The card holders are large enough to even insert the gift card receipt too!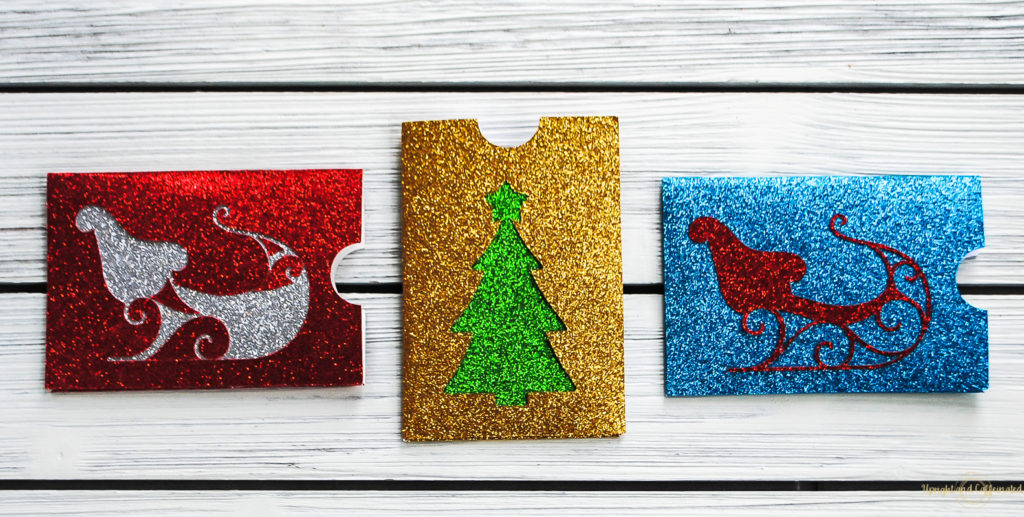
If you are planning on giving gift cards or cash to loved ones and friends this holiday season, consider making these glitter cardstock gift card holders!

I love the glitter & the sparkle! Making homemade gift holders are one of my favorite things to make.
I hate spending money on gift card holders, and need to make my own! I am pinning this to remind me to make some this year!