Hey friends, I am so excited to share this easy heat transfer vinyl (or HTV for short) tutorial with you today. To be honest, I had very little experience with heat transfer vinyl until I started working on this post. Now that I have made a few t-shirts, I want to put words on all the things! Seriously, heat transfer vinyl is easy to use and can take a shirt, pillow case, or tea towel from simple to fabulous in just a few minutes!
Frustrated with the recent Cricut Design Space Updates? Click Here to read my opinion!

What is Heat Transfer Vinyl?
Let’s start with the basics...what is heat transfer vinyl? HTV (as it is commonly called) is a special vinyl that adheres to fabric or other materials through heat (usually a household iron). Heat transfer vinyl is most commonly used to create graphics or words on t-shirts, pillow cases, towels and more. HTV can also be referred to as iron on vinyl.
PIN IT ⇓
Heat transfer vinyl is not like regular vinyl. Ensure you are working with HTV before starting a project using heat (you will ruin your iron).
How to Use Heat Transfer Vinyl
First of all, prep your material. If you are working on a towel, pillow case or t-shirt, it is recommended to wash the material first, before using heat transfer vinyl. If you are putting a graphic on something like a baseball cap, you can skip the washing step. The rule of thumb is this; if you plan to wash the item on a regular basis (like a t-shirt), it is best to wash and dry first so that the fabric shrinks before you apply the HTV.

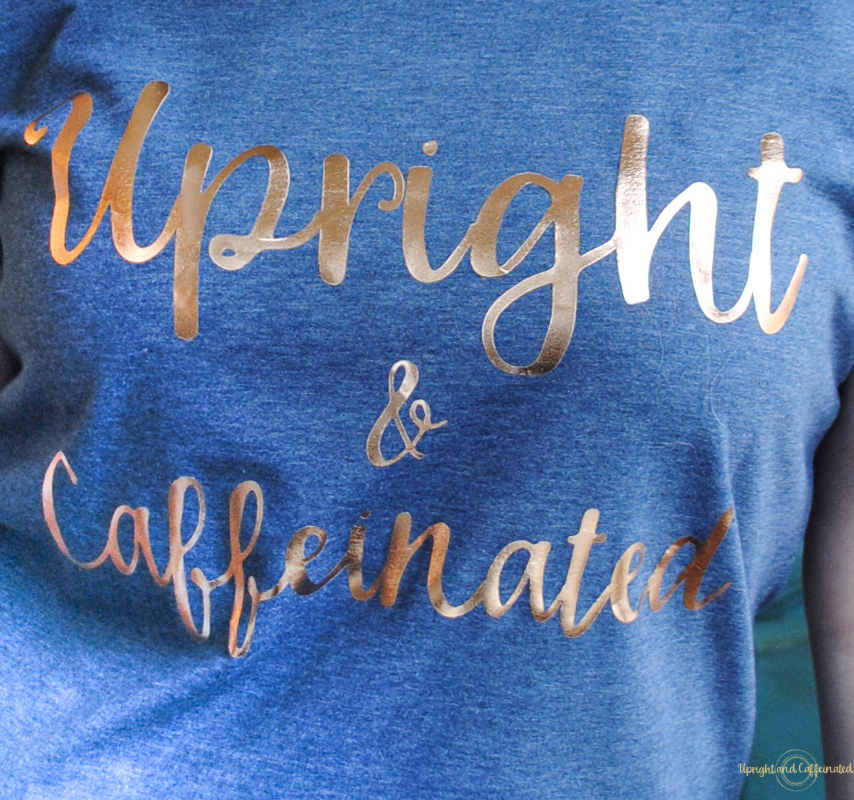
Once your material is ready, head on over to Cricut Design Space and create your graphic. Keep in mind, you want to measure your material first and know what size you want your graphic. For instance, when I made this t-shirt, I wanted the words to take up the entire front of the t-shirt. I ended up using my 12×24 inch mat because the words were larger than 11.5 inches wide. If you do not have a 12×24 inch mat, I highly recommend purchasing one. I use mine all the time!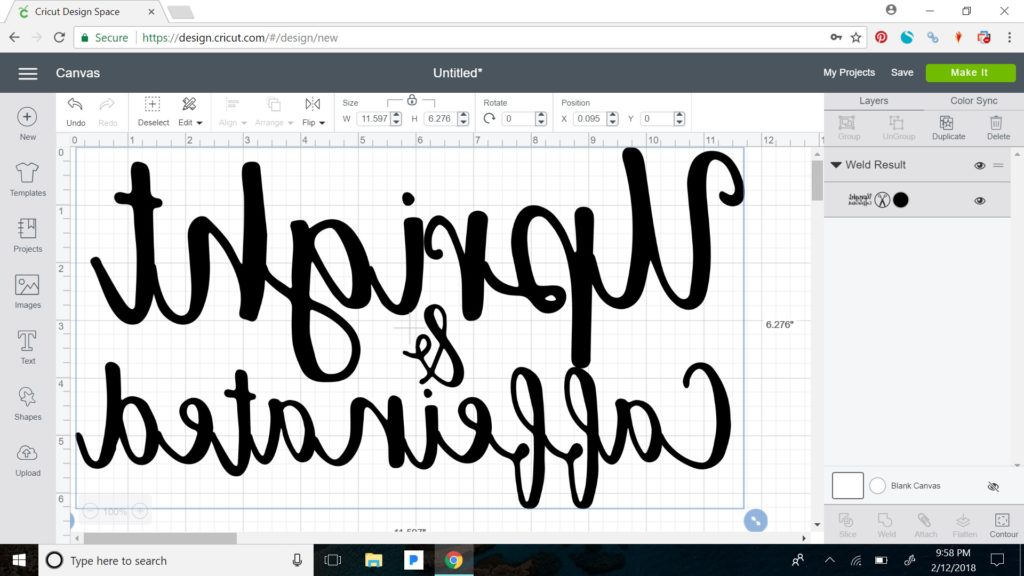
Next, make sure you set your Cricut to heat transfer vinyl material and don’t forget to make sure the image is a mirror view (you can do this by clicking the “flip” button on the top tool bar or click the mirror button when you go to cut). Check out this quick video to see how to make a mirror image!
Have You Tried Chalk Couture? CLICK HERE to find out more!
Time to cut- make sure you place your vinyl shiny-side down. You will weed the HTV vinyl from the back in just a minute. *quick tip: if your vinyl comes in a sheet, roll it up and then carefully unroll it onto your mat. This makes it easier to line up on your cutting mat.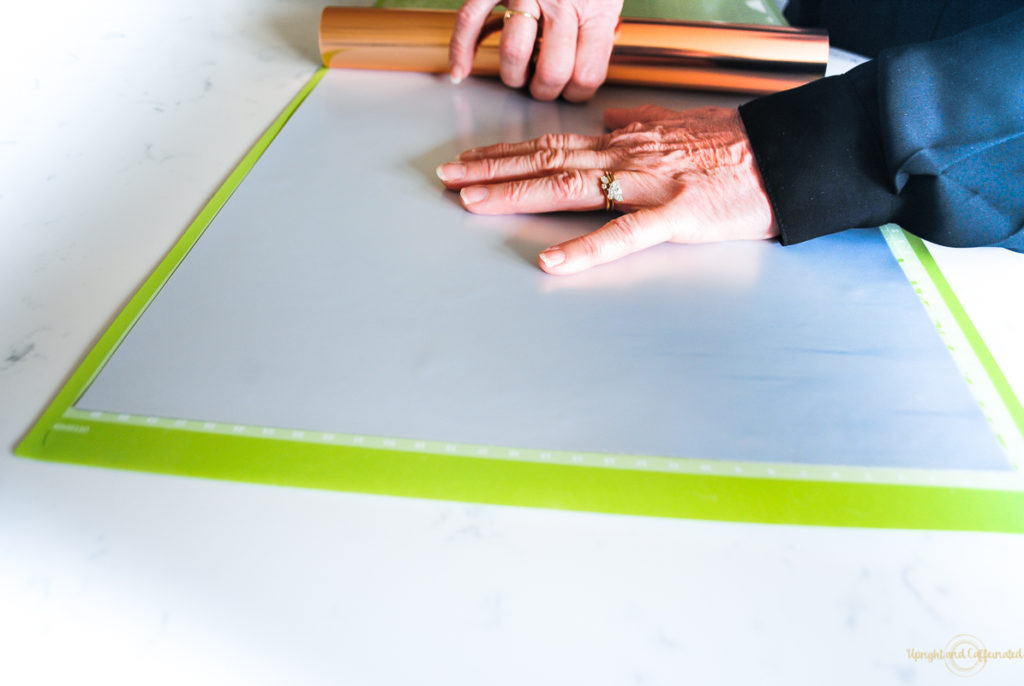
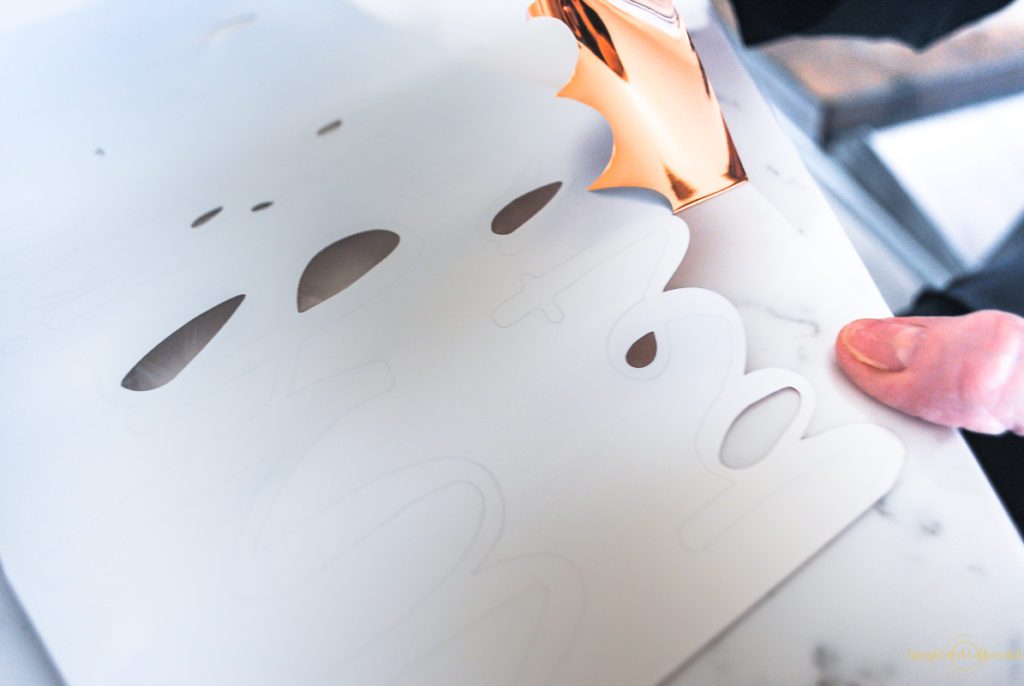
Once your heat transfer vinyl is cut, it is time to weed. Carefully remove the HTV from the cutting mat and week out everything but the graphic or words. If you are making multiple words or graphics, it might be easier to cut the words separately, using your Cricut scissors.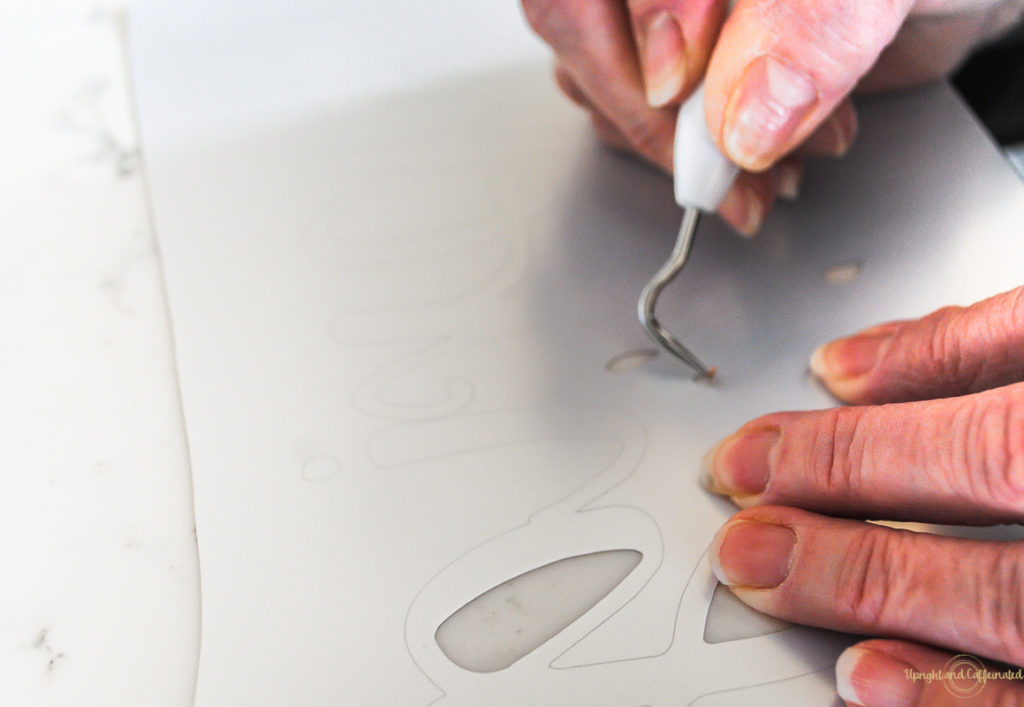
Once your graphic is completely weeded, it is time to begin the transfer.
Iron-on Vinyl
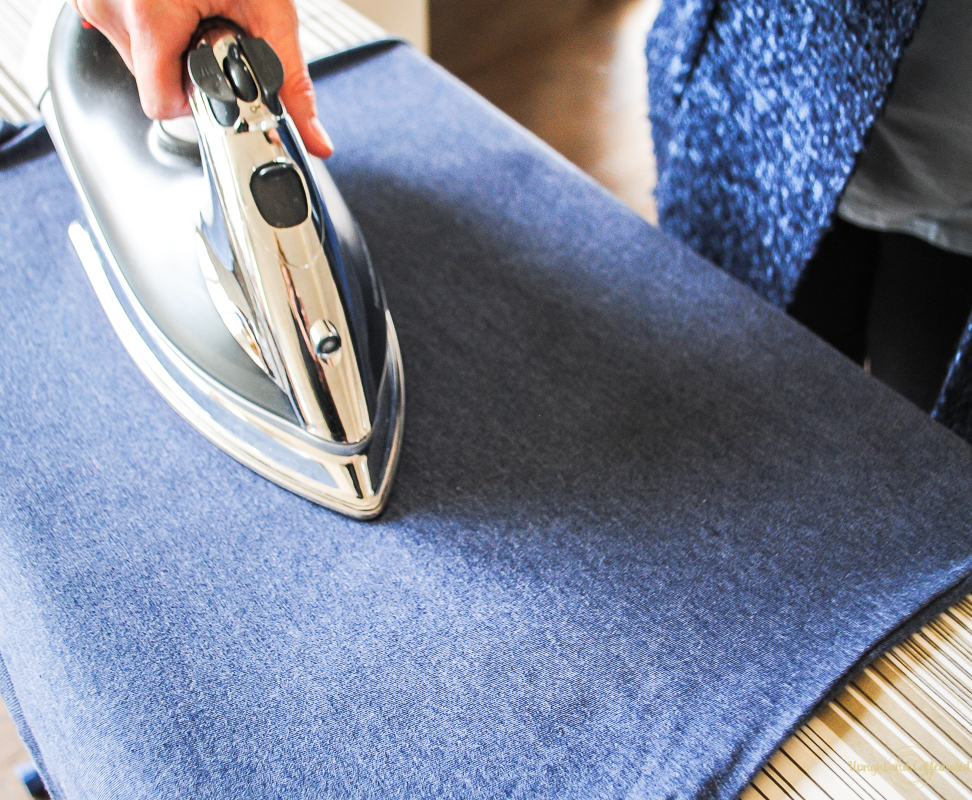
To begin the iron-on process, first heat up your iron according to the material’s instructions. For this particular HTV, I set my iron on the “cotton” setting. Next, heat up the material that you will be placing the transfer on.
WANT TO LEARN MORE ABOUT CHALK COUTURE? JOIN MY FREE CRAFTING COMMUNITY.

Carefully place the heat transfer vinyl onto the hot material. Place a towel on top of the vinyl and with a little pressure, place your iron on the towel. Do not move the iron around like you are ironing a piece of clothing. Keep the iron in place and continue to add pressure for about 30 seconds. If your graphic is larger than your iron, move to the next and repeat the heating step until the entire graphic has had the iron on it for at least 30 seconds.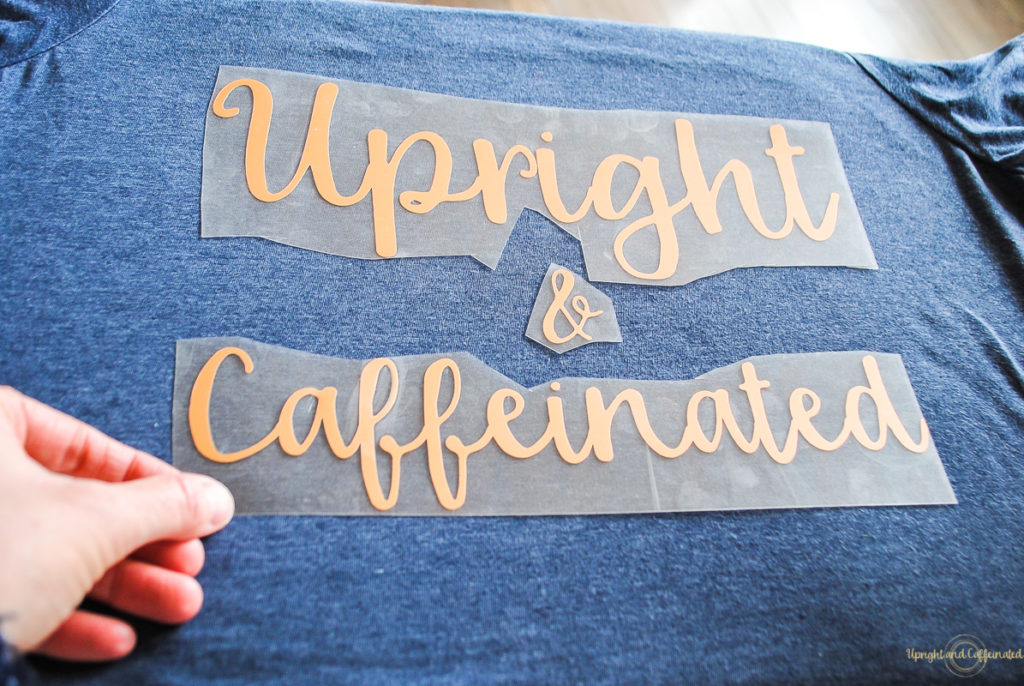
Next, turn your material over and iron the back side for an additional 20-30 seconds. (you do not need to use a towel for this step)
Finally, it is time to remove the backing of the HTV. Carefully hold your material down while gently pulling up the clear backing. I was a bit timid to pull the backing, but the vinyl I used is stretchy, so it might look like it is coming up with the backing, but it is not! The stretchy vinyl is GREAT for things like t-shirts and towels!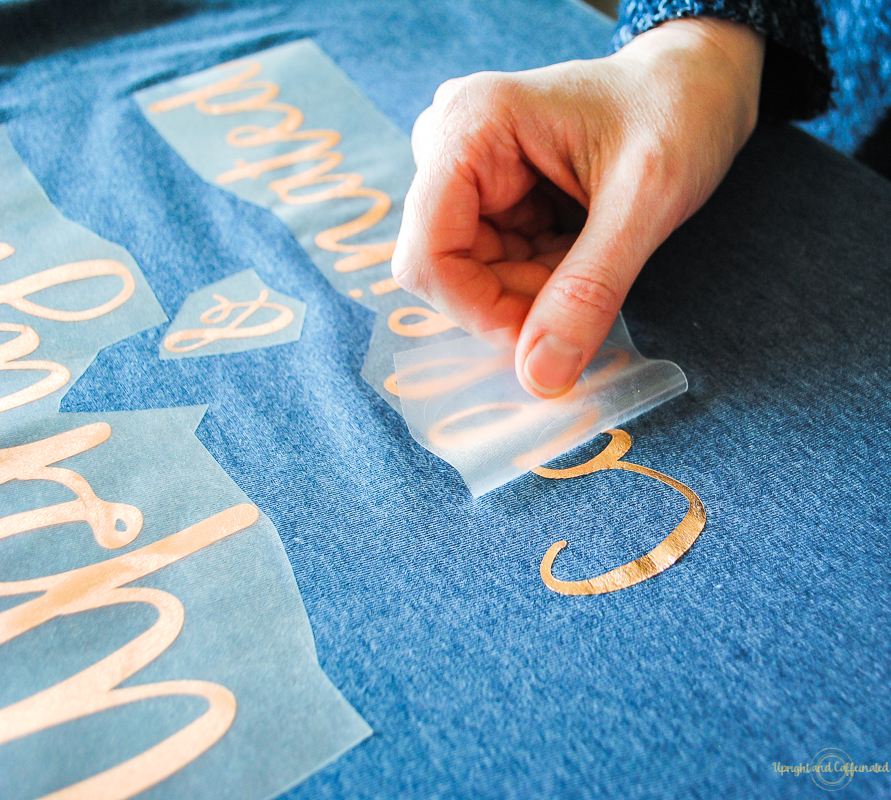
Why I Use Chalk Couture Ink Instead of HTV
Once your backing is all pulled off, you are done! You now have a custom item that all your friends and family will gush over! After I finished this t-shirt and realized how easy this material is to work with, I wanted to put words on EVERYTHING. Using heat transfer vinyl is truly addicting!
I made a full video series on how to use heat transfer vinyl. Check out my Youtube channel here.
If you have little kids in day care, this is a very simple and cost-effective way to put their names on everything. My boys are in pre-school and literally everything they bring into school has to have their names on it. You can iron on names into shirts, jackets, pants, hats, underwear, backpacks…EVERYTHING!!
It is another month and another craft + create with Cricut challenge! Make sure you check out the other amazing heat transfer vinyl t-shirts!


This shirt is super cute! I love your blog name. I just started using HTV when I got my Cricut EasyPress and I am loving it. I have a whole list of stuff I can make now. Pinning!
Love the brushed copper HTV .. it is stunning. I am hooked on ironing on all the pretty things too. It is a fun addiction. Your shirt came out great!
I love the color scheme you used. Making shirts with HTV is definitely addictive!
Love the Brushed Copper HTV! I need to order some of that right now. And, I love this shirt! I need to make one for myself:)
Your t-shirt turned out awesome! I agree about wanting to put HTV on everything. I’ve been eyeing up everything that even looks like it could withstand heat.
Oh I agree completely about wanting to label everything. I also love how you put your logo on your Cricut machine. I’m gonna have to do that, too, lol. Very cute shirt, too!
Love your tee & such a great tutorial! Now I need an Our Crafty Mom one!
Love it! I’ve been wanting to make a Weekend Craft shirt since I got my Easy Press. I just need to do it.
What font did you use for the wording? Love the brushed copper look.
Thanks Donna. I used “Silly Me”. I believe I got it free from Creative Market about a year ago.