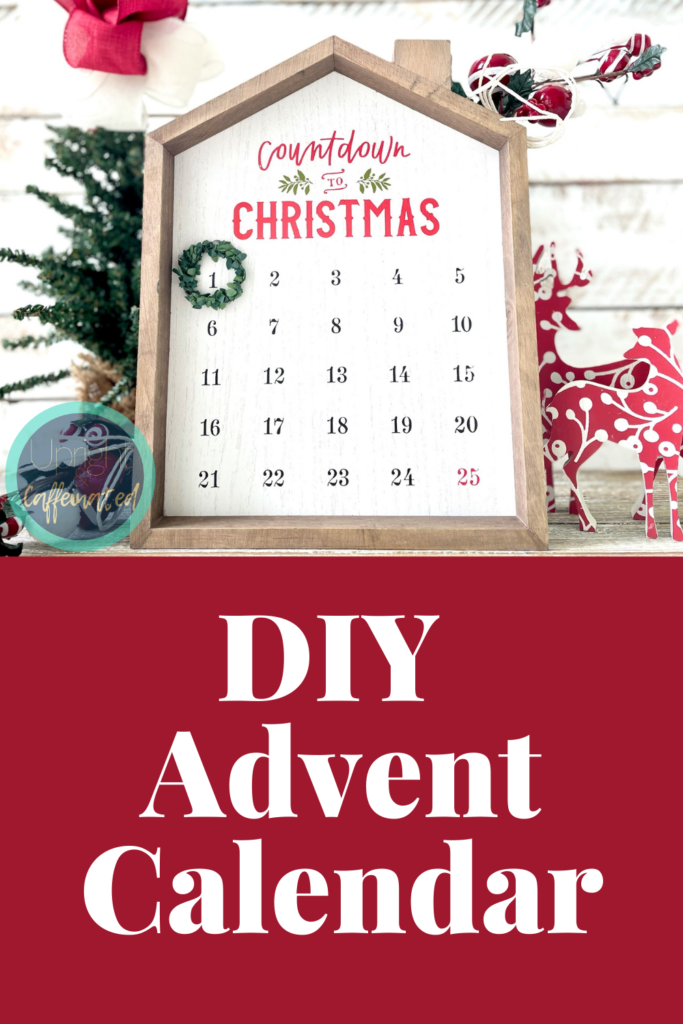
Happy *almost* Holidays! Are you counting down to Christmas yet? I’m definitely starting to get ready for the holiday season. As of today- there are only 11 more Saturdays until Christmas Day! With that said, I am helping YOU countdown to Christmas by showing you how to make this easy DIY Advent Calendar. 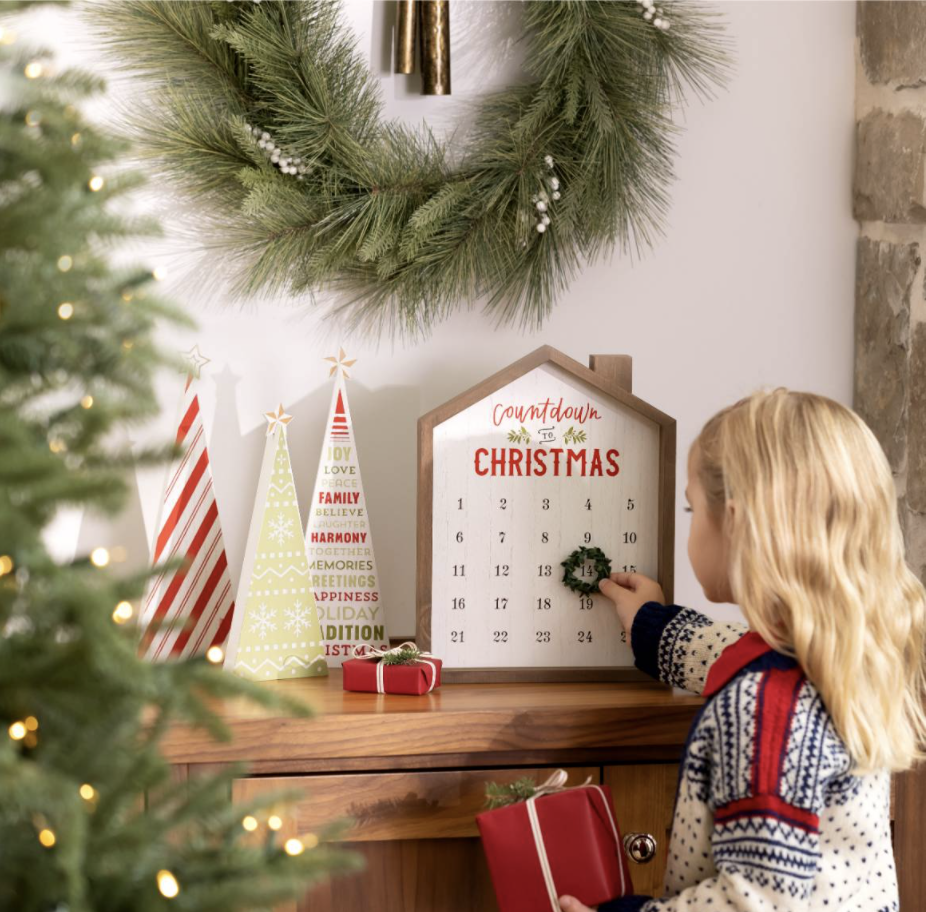
This adorable Christmas Countdown is so cute and the great thing about it is that it comes in a kit and you can get everything you need complete it!
DIY Advent Calendar Kit
Let’s start with what you need! All you need is this Christmas Countdown Chalkmade Kit. The kit includes this beautiful house-shaped box frame, reusable Christmas Countdown stencil, colors and tools needed to create this simple and beautiful advent calendar. It even comes with the little greenery wreath and a magnet, so you can easily move the wreath to encircle the date as you countdown to Christmas.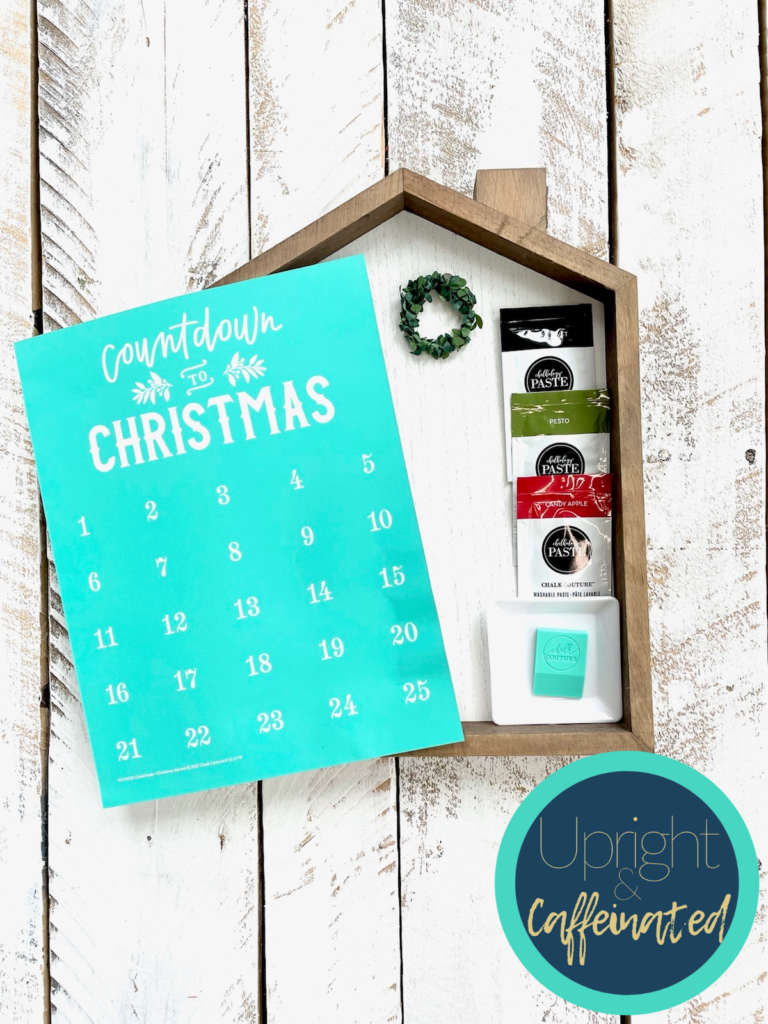
Making this Christmas Countdown is super easy! The kit comes with three colors to use: Black, Red and Green. You can choose to use any and all of them in any order you’d like. For this project, I’m showing you how to use the black for the numbers, the red for the words and the green for the greenery.
If you have never used these kind of stencils before, START HERE. The stencils are reusable, so make sure you read to the end to learn how to wash and store them.
Check Out This Quick Video
How to Make a DIY Advent Calendar
First, make sure you have all of your supplies laid out. You will also want a pair of scissors to cut open the paste packets and some paper towels. Remove the silk-screen stencil from the backing paper and make sure to keep the backing paper. The stencil is self-adhesive and made to be used over and over again. You will want to lay it on a towel or your jeans and lift it up to “fuzz” the sticky side (do this a few times until you can see a bit of fuzz on the sticky side of the stencil). This just helps tone down the sticky-ness for the first few times you use this. If the stencil is too sticky, it could stretch the silk-screen when you lift it off of your surface, so don’t skip the fuzzing step.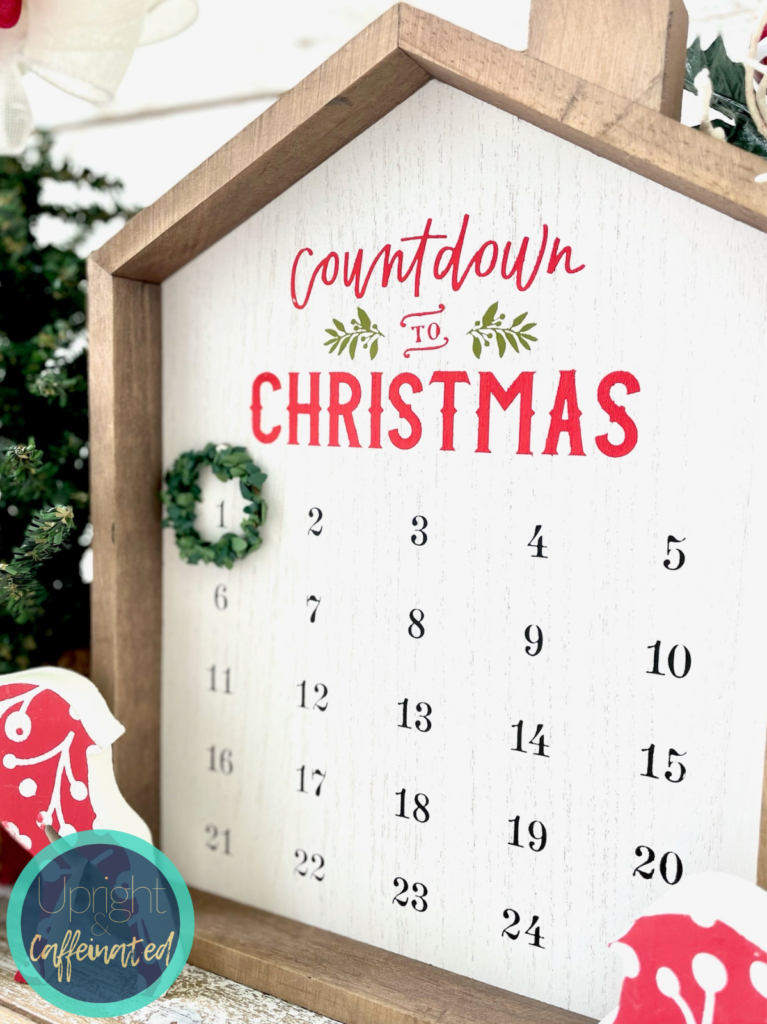
Once the stencil is fuzzed, place it onto the surface. If you don’t get the placement just where you want it on the first try- no need to worry- lift it off and place it again. After it is where you want it, gently smooth it over with your fingers to make sure there are no air bubbles and than you have a good seal around the silk-screen parts (the silk-screen is the part you can see through).
Next, using scissors, snip the corner of the paste packets you want to use and squeeze them into the color trays. This is the fun part- start with the first color you want to use, and with the squeegee that is included, apply a little paste to the stencil. It does not take much paste and you should be able to see the design under the layer of paste. If you can’t see the design, squeegee off the excess.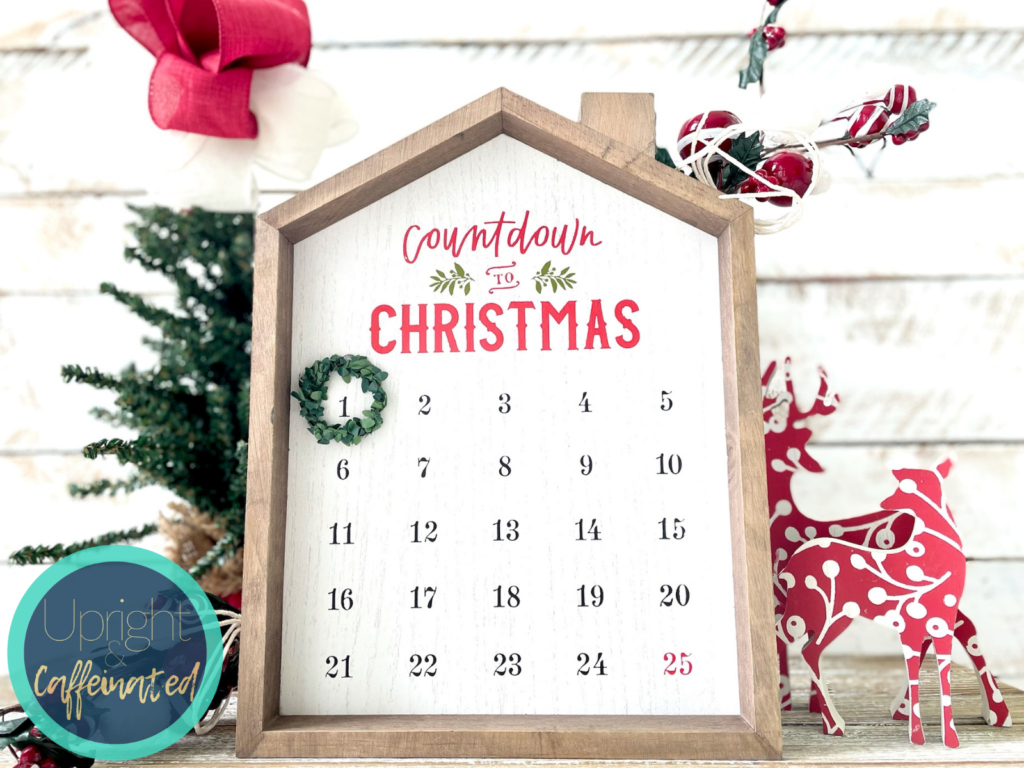
You will want to wipe the squeegee with a damp paper towel in between colors. When working with chalk paste and silk screen stencils, you will want to work quickly so that the paste does not dry onto the silk screen.
Once the entire stencil has been chalked in, carefully remove the stencil from top to bottom or side to side (just don’t pull from corner to corner- this might stretch the silk screen).
Allow the paste to dry and then you can add the cute wreath with the magnet!
WANT TO LEARN MORE ABOUT CHALK COUTURE? JOIN MY FREE CRAFTING COMMUNITY.

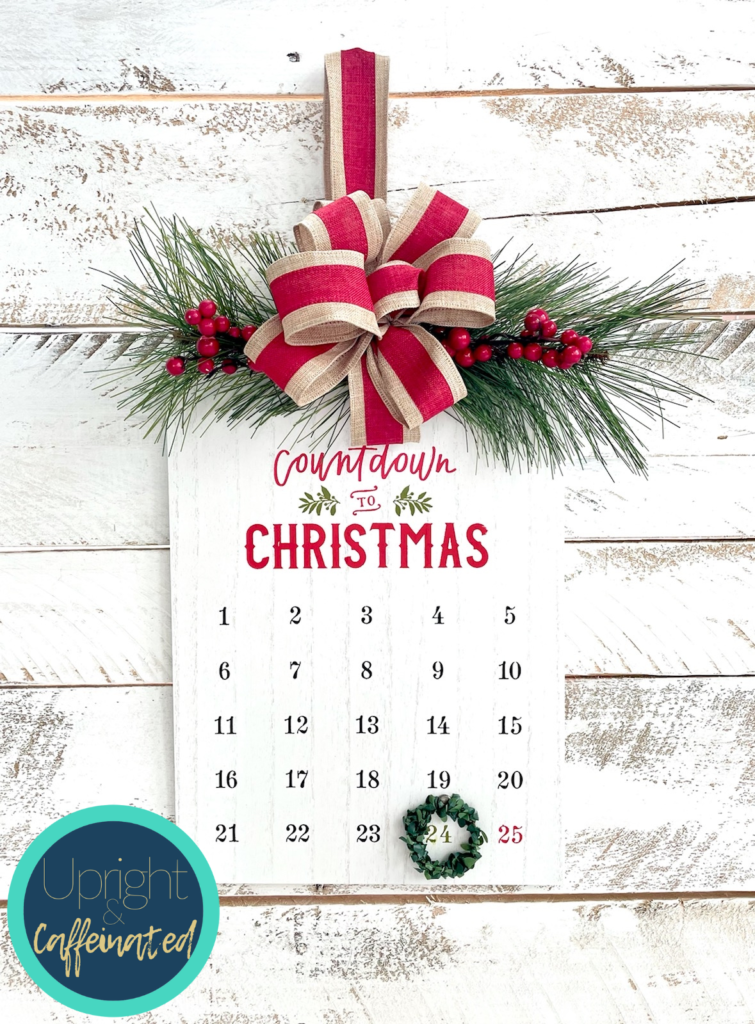
The cool thing about this DIY Advent Calendar is that the stencil is reusable, so you can make this again! You can use it on a cookie sheet and add a magnet to the back of a cookie cutter to count down the days. Or use the stencil on a chalk board and mark off the days as you count the days until Christmas.
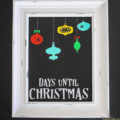
I used the stencil on a door tag to make this cute hanging DIY Advent Calendar!
How to Wash the Stencil
To wash the stencil, you simply need to put it in your sink under cold running water. First, wipe off as much of the paste as you can with your hands under running water. Then, use a wet board eraser (or Mr. Clean Magic Eraser) to wipe the stencil. Wipe both sides of the stencil until the silk-screen area is clean. Don’t worry if the teal part is stained with the pigment of the paste. Just make sure the part you can see through is clean!
Lay the stencil sticky-side up on a towel and immediately wipe it with a disinfectant wipe. Make sure there is no standing water on the stencil. After the stencil is dry, place the backing paper with the shiny-side facing down onto the sticky side of the stencil. Now you can store the stencil with your craft supplies for the next use!
Want to use different colors? You can check out all the available colors HERE.
This is a great DIY Advent Calendar that even your kids can help you make!
PIN IT