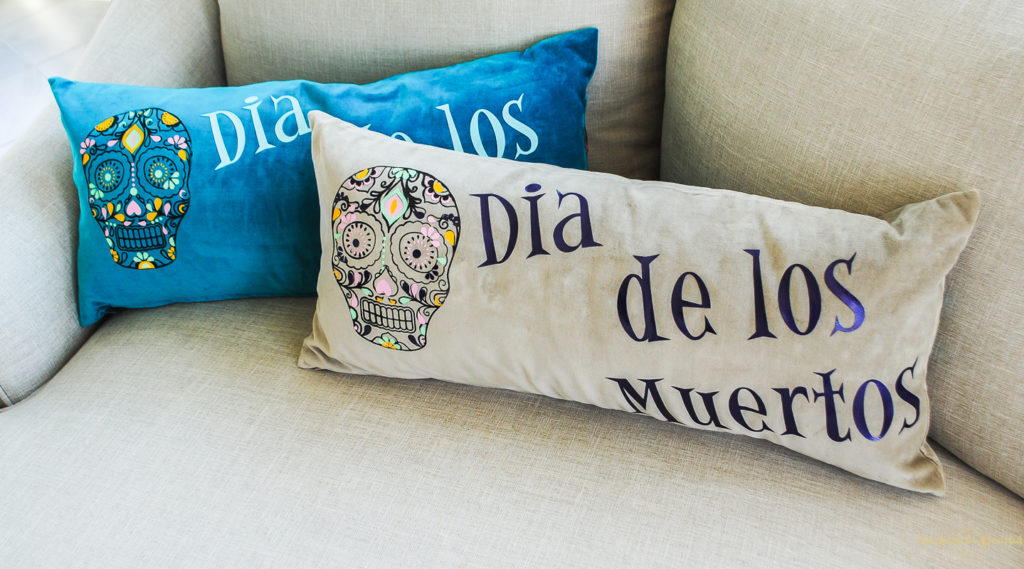
Welcome to another month of Craft and Create with Cricut! Today I am using two different Cricut products- the Cricut Explore Air 2 and the Cricut EasyPress. I am going to show you how to easily layer HTV Vinyl like a pro by making Coco inspired pillows!
As we are gearing up for fall, I wanted to make something for Halloween. We don’t generally decorate for Halloween since our kids are little and we don’t do scary! However, since my kids are obsessed with the Disney movie, Coco; we are now into sugar skulls. If you have not see the movie, or have no idea what a sugar skull is…read this!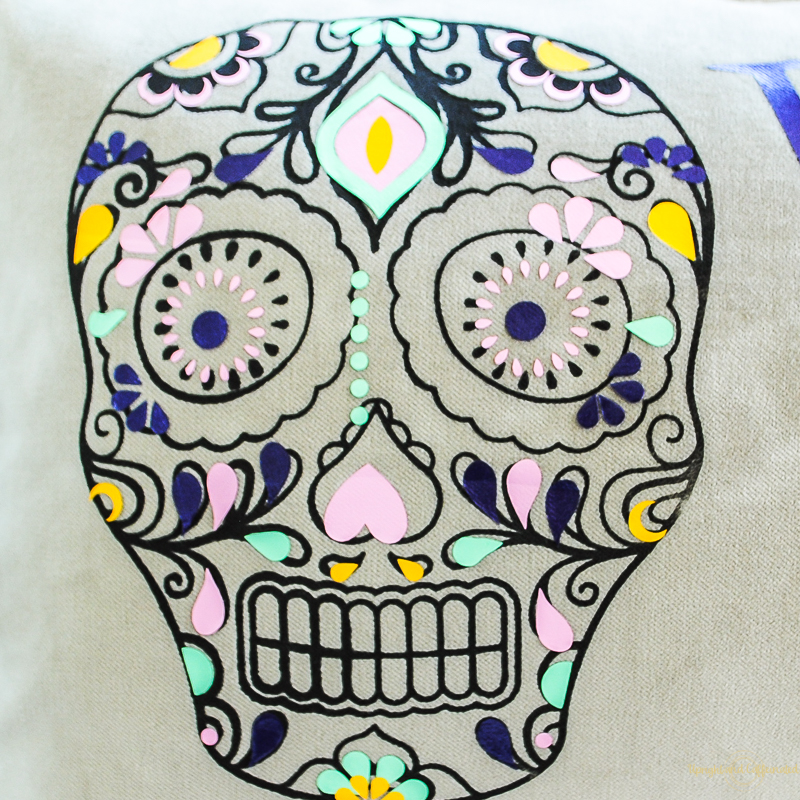
For this project, I repurpose an IKEA pillow case and used a combination of Chalk Couture Ink and HTV (heat transfer vinyl) or iron-on vinyl. If you are new to HTV vinyl, check out this post for a detailed tutorial on the basics of how to use heat transfer vinyl. I also have a quick video you can check out!
I decided to use the Chalk Couture sugar skull transfer as the base of my sugar skull and then layer HTV vinyl to give the skull some color. Finally, I added the words using the HTV vinyl.
How To Make a Coco-Inspired Pillow:
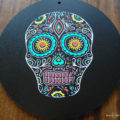
Begin by applying the Chalk Couture Ink to the fabric. Want to see exactly how to do it? Click here to join my VIP facebook group, Coffee Chalk. I did an entire LIVE Video showing how to apply the transfer and use the ink!
Once the ink is dry, heat set it using the Cricut Easypress. Now it is time for the HTV Vinyl! I cut small flowers, circles and teardrops using Cricut Design Space. I just eye-balled the size I needed. Because a sugar skull is symmetrical, you will need to do two cuts with the same color vinyl. One regular cut and one where you click the mirror button. This will give you symmetrical pieces of HTV vinyl so you can add them to each side of the skull.
Cut each piece out and arrange them however you want. This part of the project is where you can be as creative as you want! Once you have all the pieces arranged how you want them, it is time to use the EasyPress.
Make sure you know what kind of fabric you are working with and set your Cricut EasyPress to the heat and time as recommended by Cricut. Click here if you need a cheat sheet!
PIN IT ⇓

For this particular project, I layered my HTV Vinyl. Start with the bottom layer and make sure your vinyl is in direct contact with the fabric. If you have overlapping pieces, make sure that none of the HTV vinyl is touching the backing of another piece.
Use the EasyPress and follow the recommended instructions. For this project, I pressed for 30 seconds at 315 degrees then turned the pillow over and pressed for an additional 15 seconds. I also used parchment paper as a barrier between the EasyPress and my vinyl. There were a few pieces that needed an additional few seconds of heat, so I just re-pressed. Also- if Cricut recommends a “warm peel” that means to peel the backing off when the vinyl is still warm as opposed to letting the vinyl completely cool before removing the clear backing.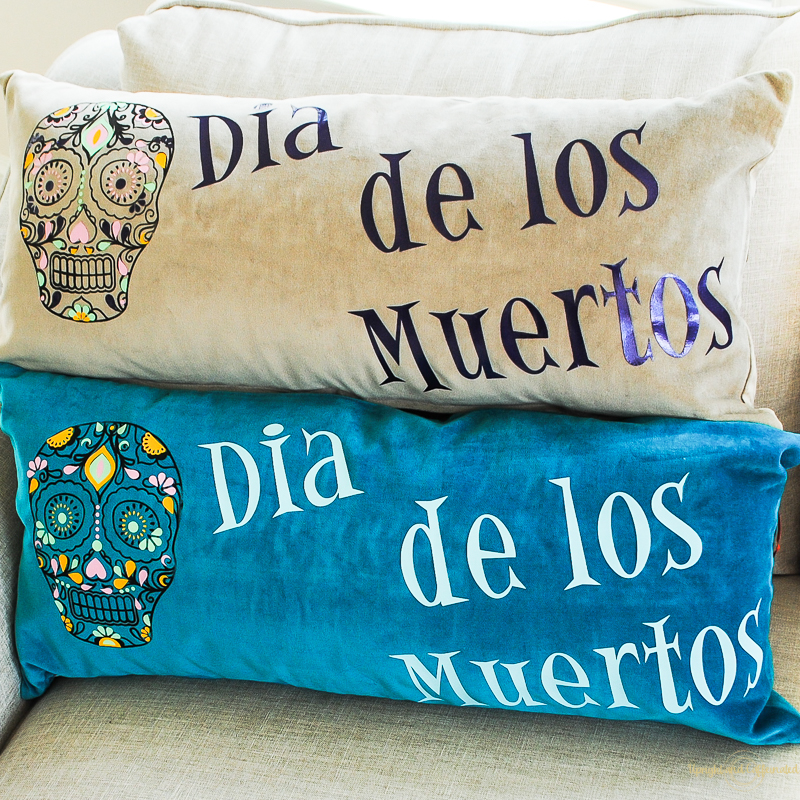
Now you are ready to add the second layer. Ensure the backing is removed from the vinyl which you are layering on top of. Lay your next piece of vinyl on top of the vinyl that is already ironed onto your fabric and follow the same steps as before. When you are layering, it is recommended that you use parchment paper or some kind of barrier like a teflon sheet between vinyl and the EasyPress.
Once all of your vinyl is ironed on to your fabric, and all of the backing is removed, your project is complete!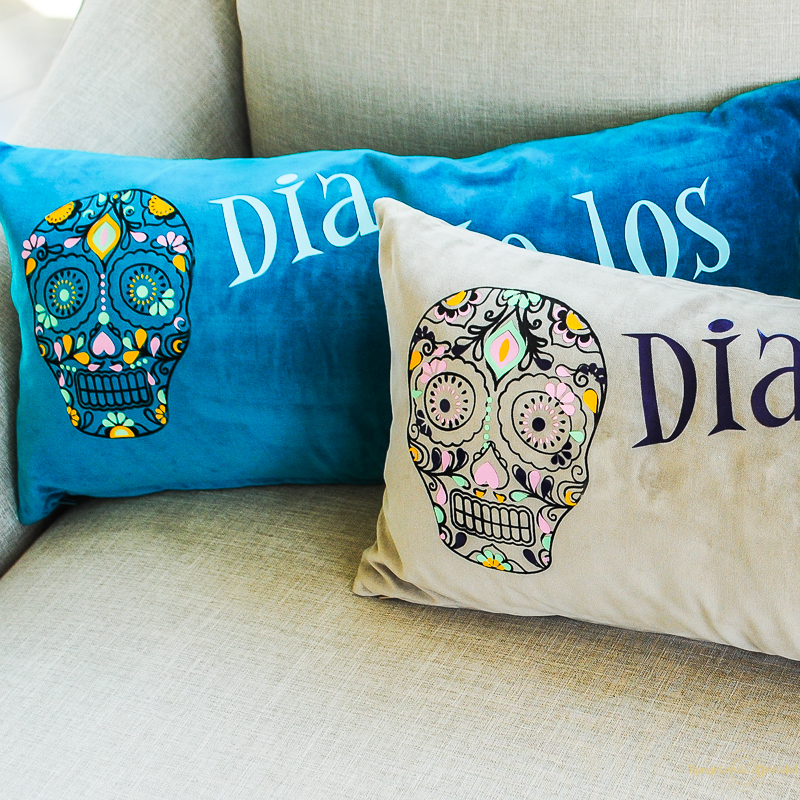
I love layering vinyl to give a project a unique look. Being able to layer different colors of vinyl truly adds a personal touch to your project. Hope this inspires you to try layering HTV vinyl!
Check out the other projects below!
Buffalo Check Wooden Pumpkin from Weekend Craft • Inspirational Candles from Happy Go Lucky • Rustic Wooden Sign from Refresh Restyle • Paper Pumpkins from Create & Babble • Charting Embroidery with the Cricut from The Kim Six Fix • Rainbow Bookends from SeeLINDSAY • Dollar Tree Sign Upcycled For Fall from Daily DIY Life • Coco Inspired Pillows from Upright and Caffeinated • Pumpkin Spice Latte Towel with the Cricut EasyPress from Cookies, Coffee and Crafts • Fall Inspired Sign from Every’s Creations • Quick and Easy Home Decor with Your Cricut: One Cricut SVG File 12 Ways! from Happily Ever After, Etc • DIY Clipboard Wall Art from Real Girls Realm • Welcome Fall Cricut Shadow Box from the Inspiration Vault • Fall Wreath from Our Crafty Mom


The movie, Coco made me cry like a baby. It was so sad, but had a great ending. Lots of explaining to the kids too. These pillows are adorable. The sugar skulls look great, I love all the colors. My husbands birthday is the day of the dead.
I cried too!!! We actually watched it this morning and I got a little choked up! Glad you like the pillows and Happy early Birthday to your hubby!!
I have not seen the movie yet, but the colorful skulls are so fun for Halloween! I need to make some seasonal pillows for my decor.
This is the first time I have ever made seasonal pillows. I definitely want to make some Christmas pillows now!
I’ve heard so many great things about this movie & love the sugar skull pillows!
Thanks Michelle. If you have a chance, you should definitely watch the movie. It is so sweet!