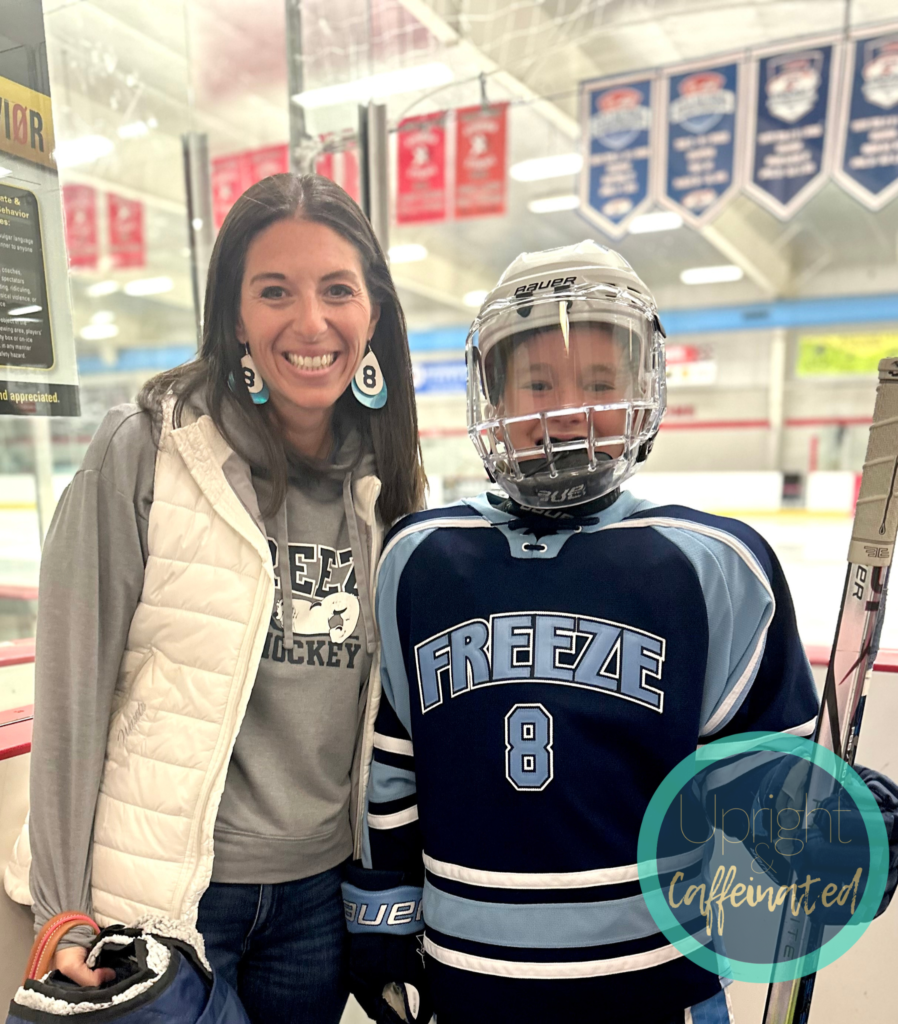
Have you ever put something off and then when you do it, you think….well that was easy? That’s exactly how I felt about making these earrings. They are the easiest craft I have done in a long time and my only regret is not doing them sooner. I was so intimidated by the thought of cutting a new material and making jewelry. I made these DIY hockey mom earrings, but they work for literally ANY sport!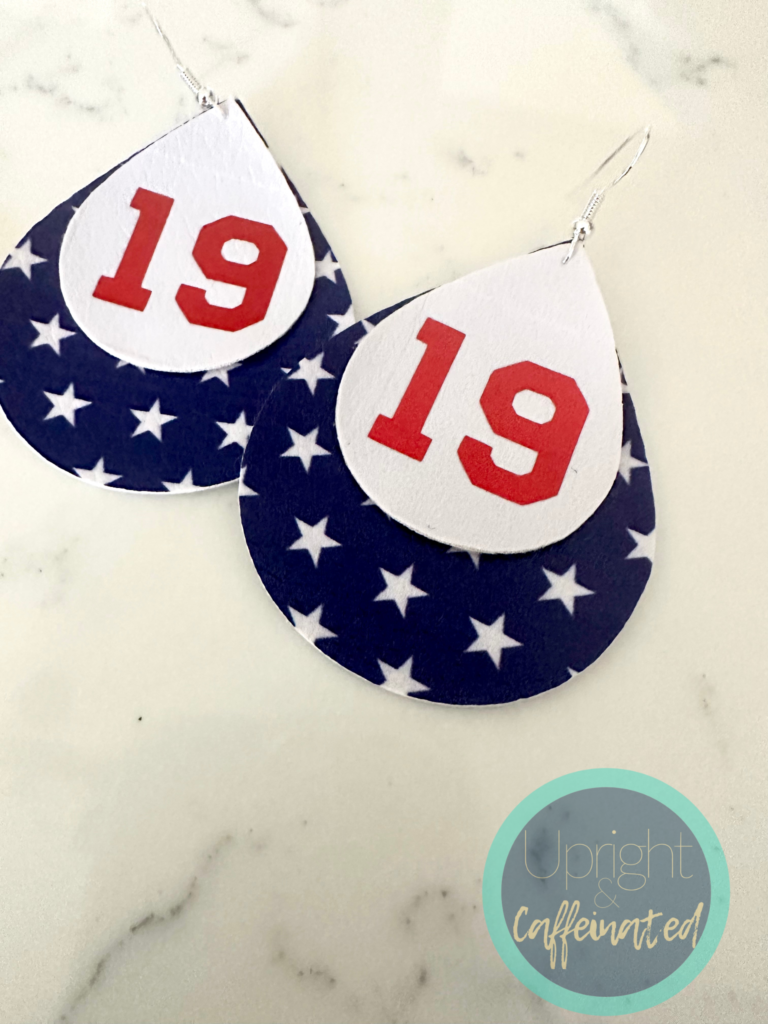
This post includes affiliate links to products. I may receive a commission if products are purchased through the provided links. My full disclosure statement can be found here.
Here’s What You Need
How to Make DIY Hockey Mom Earrings
Start by opening up Cricut Design Space. You will need to cut two small and two large shapes for each set of earrings. The tear drop shape is already in Design Space, and it was so easy to just pop it into a new project. I used the standard size of the tear drop for the larger shape and then just made it a bit smaller for the smaller one. I’ve seen a lot of these earrings with three layers, too. Simply reduce the size of the shape for each layer…super simple.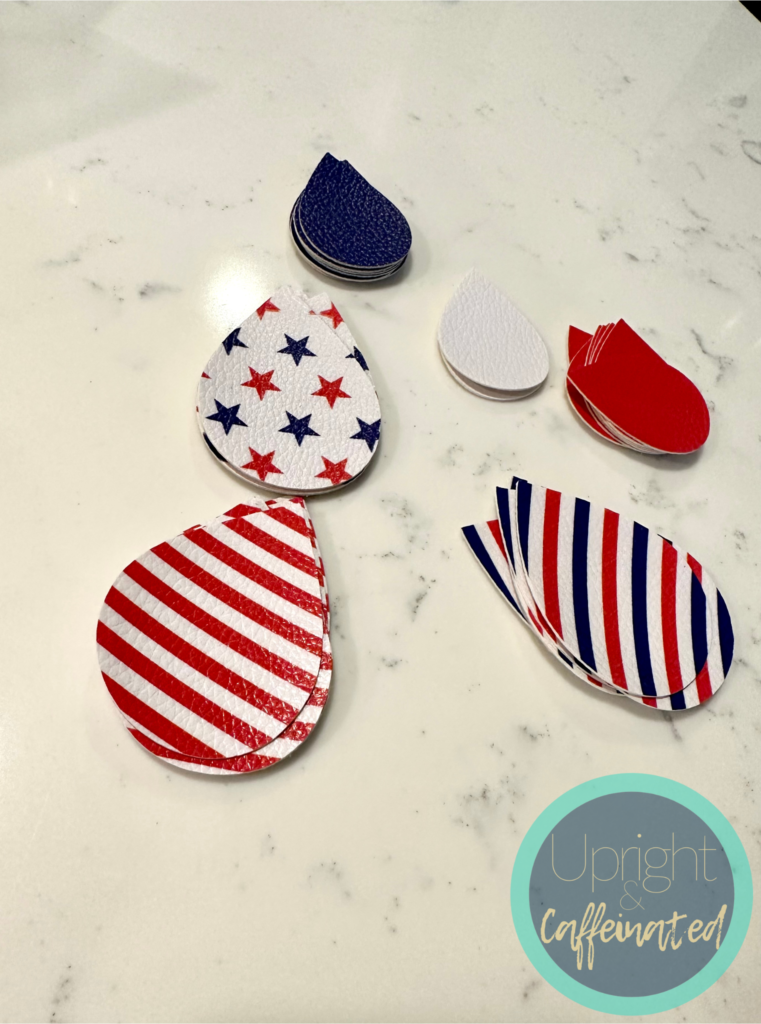
When you go to cut the leather with your Cricut, make sure you place the dial on your Cricut to “Custom”. On your computer, you will be able to choose the custom material. I used the “faux leather- paper thin” setting. Cutting the shapes with the Cricut was so easy.
*Pro Tip- make sure the mat you are using is STICKY! I found that using an old mat that was not so sticky resulted in the leather moving around and messing up the cut.
Once the shapes are cut, use HTV for the number of your favorite player! The first time I pressed the HTV with my easy press, I had to peel the leather from the hot easy press. I then used a piece of parchment paper as a barrier between the leather and heat press and had no issues. When using the Cricut heat press, I pressed for 15 seconds on 290.
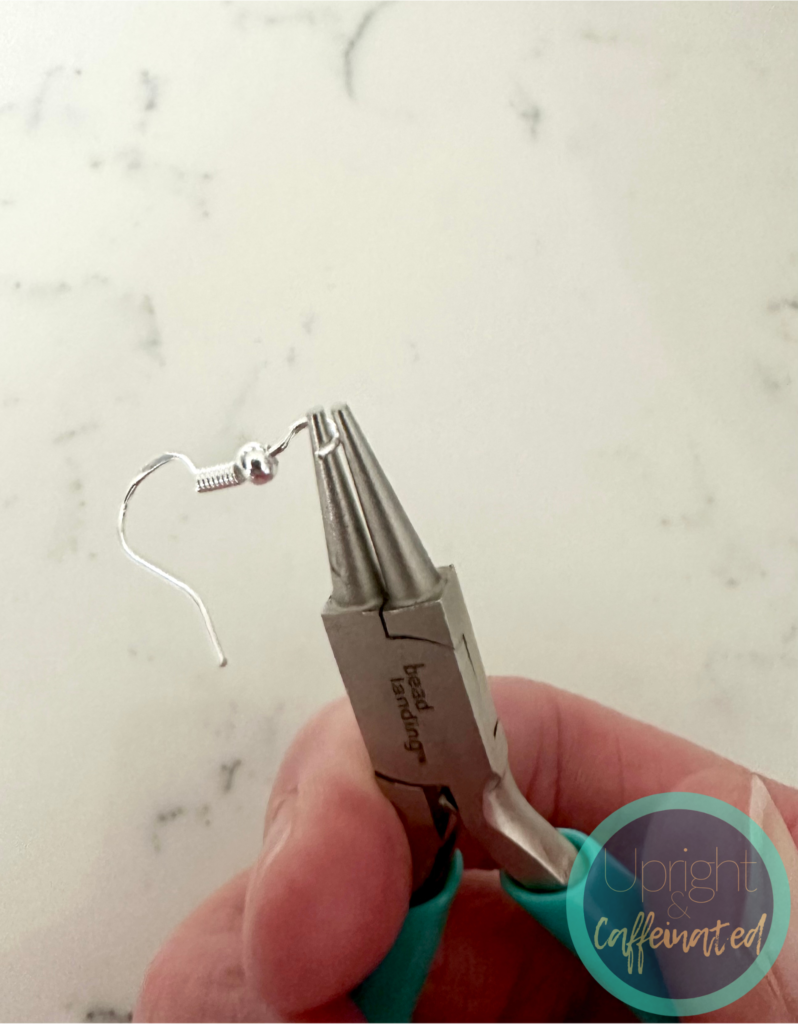
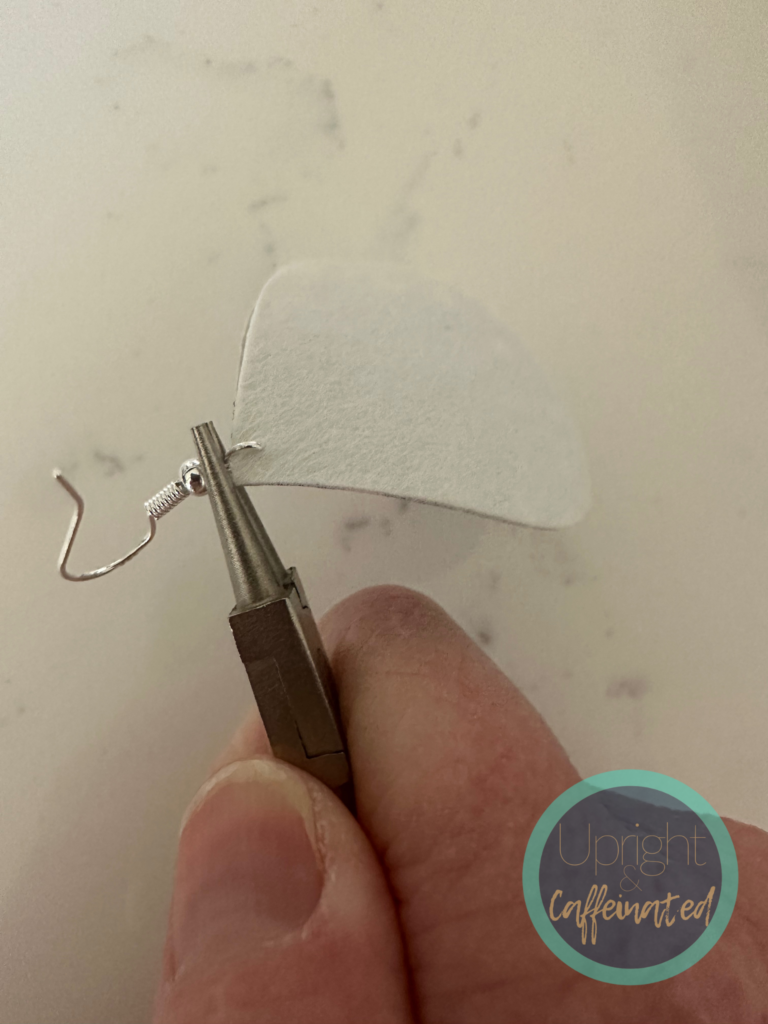
I used the Cricut weeder tool to poke a little hole in the leather pieces where the earring would go. For this project, I used these earring hooks and they are great! The leather is very delicate, so use caution when poking the hole and applying the earring hook. This jewelry tool makes it easy to open the loop on the earring where you will string on the leather and then close the loop back up.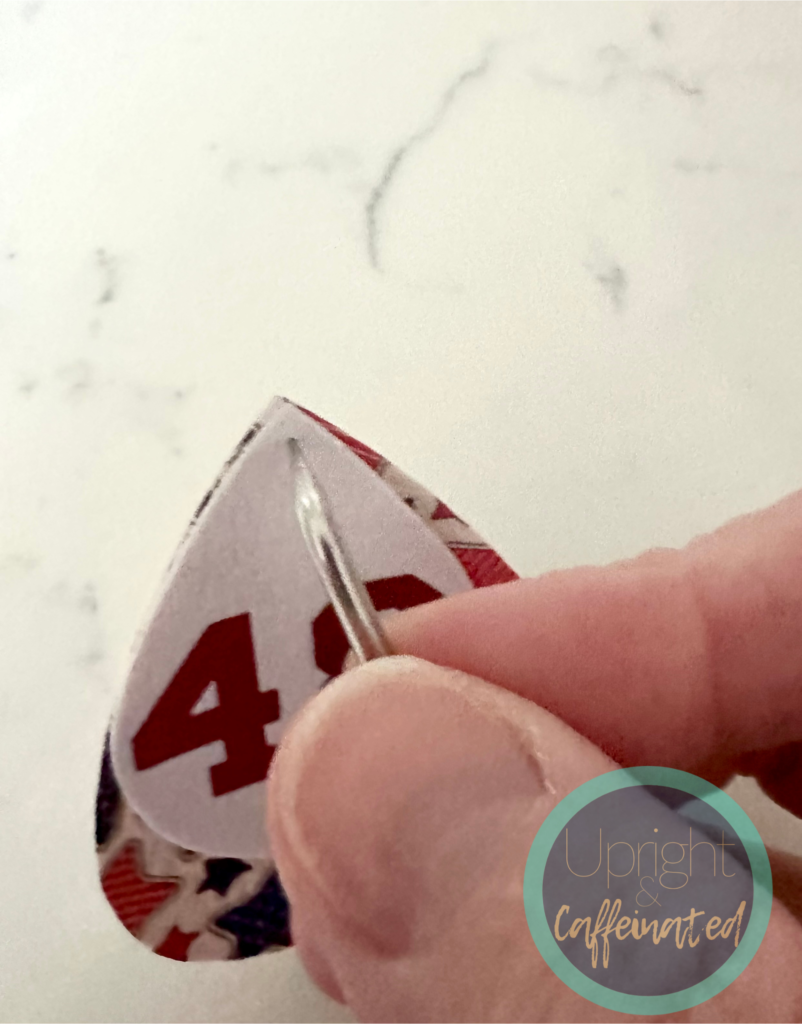
Here’s a quick video I posted showing how to make these earrings.
I absolutely love these earrings and so do my kids’ teammates’ moms! We all wear them on game days and at tournaments to show our support for our little athletes and team spirit!
 One of the things I love about these is that I can customize them with any color or pattern and they don’t all have to match. Here are some of my favorite faux leather finds.
PIN IT