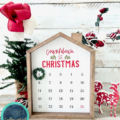
Greetings! Welcome, I’m glad you stopped by. Today I am sharing how to create DIY greeting cards and a DIY gift tag with simple supplies. If you are like me, you love to make your own cards and tags and I have a brand new way to create DIY gift tags and greeting cards in minutes.
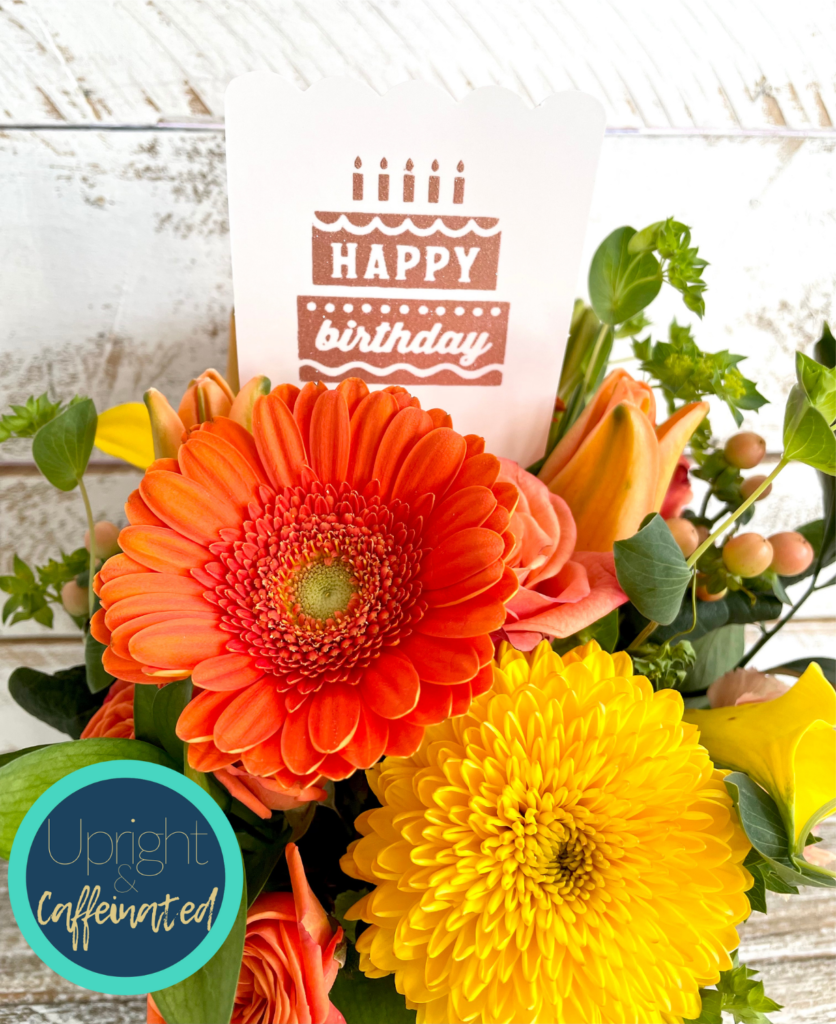
Check out this beautiful birthday tag that I added to a store-bought floral arrangement. This is so easy to make and I will walk you thought all the steps.
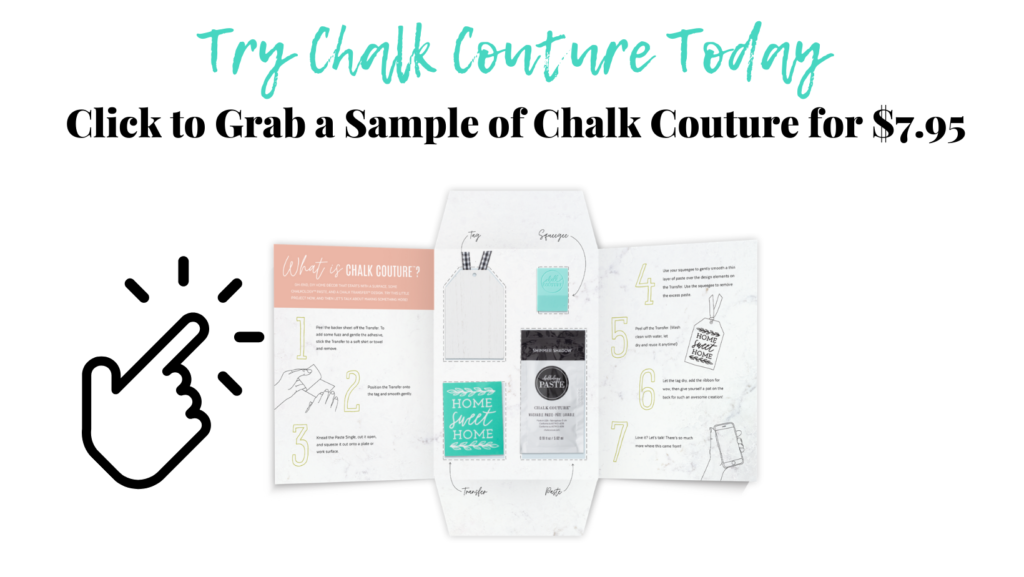
First, I want to tell you about the supplies I used. This tag was made with Chalk Couture. If you don’t know about Chalk Couture, START HERE. Chalk Couture makes reusable, silk-screen stencils (called transfers). They also make removable chalk paste, permanent ink, surfaces and accessories to make up-scale DIY home decor.
WANT TO LEARN MORE ABOUT CHALK COUTURE? JOIN MY FREE CRAFTING COMMUNITY.

Let’s start with what you need. To make a DIY Gift Tag, you will need the following items from my shop.
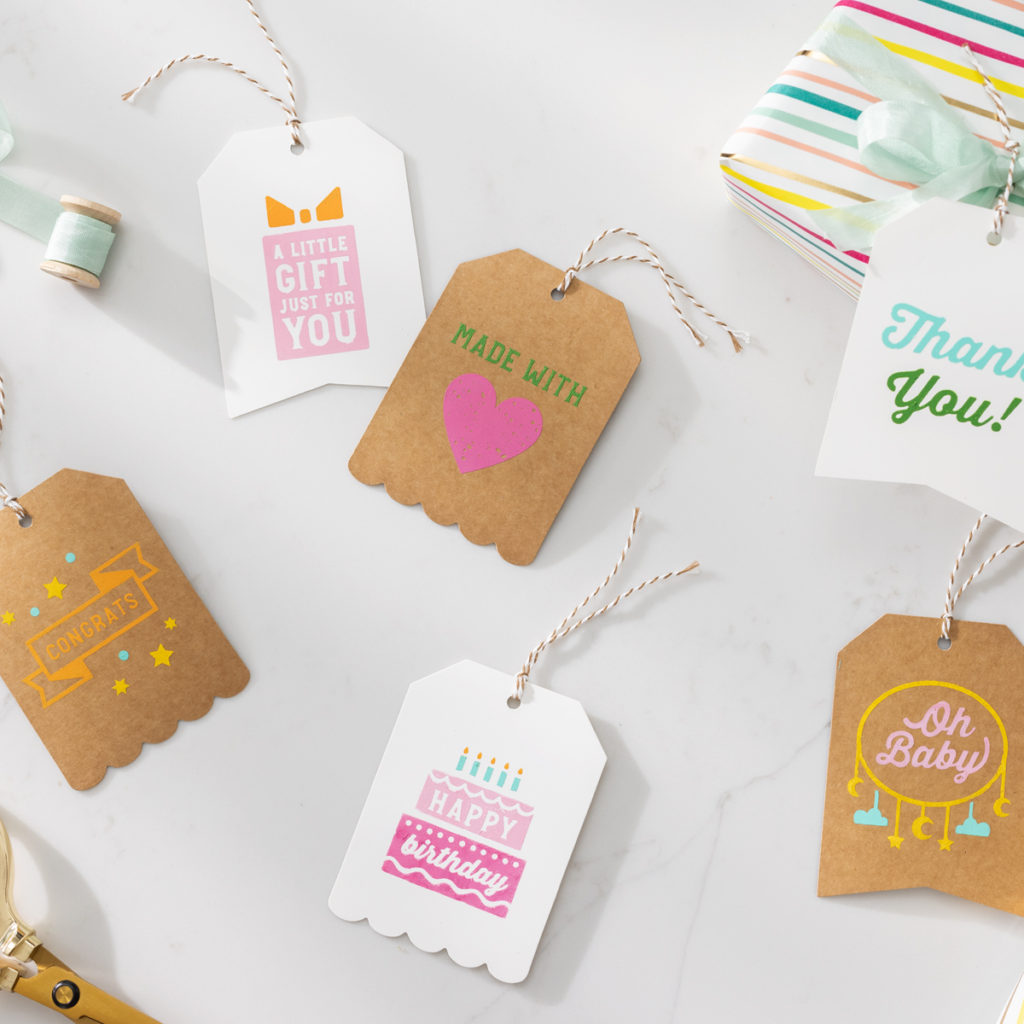
The Celebration Mini transfer is FABULOUS and has 12 small stencils (called transfers) for all occasions! Think of all the DIY gift tags you can make! Since the transfers are reusable, you can create gift tags and greeting cards over and over.
How to Make a DIY Gift Tag
Now you know what you will need, so let’s talk about the HOW. First, you will need to cut the individual transfer from the sheet along the cutline. Next, fuzz the transfer. Fuzzing just means picking up a little fuzz on the back of the transfer to tone down the stickiness. Remember when I said these were made to be used over and over again? The adhesive is very sticky on new transfers, so I recommend fuzzing the first 4 or 5 times you use it.

Next, place the transfer where you want it on your tag. I actually flipped the tag upside down so that I could place it in the floral card holder and have the scalloped edge on top. If you want to move the transfer- no problem, just pick it up and move it where you want it.
Now comes the fun part! Pick up a little chalk paste with your squeegee and paste over the silk-screen area of the transfer. You should be able to see the design under the paste. If you can’t see the design, squeegee off the excess and put it back in your paste jar. Finally, peel off the transfer (pull from top to bottom or side to side- don’t pull diagonally or you could stretch the silk screen).
Check out this video to see how I made this Happy Birthday DIY gift tag.
Like I mentioned, these transfers are reusable and you can use the chalk paste on cards too. I love making DIY greeting cards with these supplies because they are quick and easy! I don’t think I will ever buy a greeting card from the grocery store again! One tip for using Chalk Couture on cards is to rub a layer of surface wax on the card before you place the transfer. Waxing protects the cardstock from pulling up on the adhesive of the transfer. Check out this video to see how I created a Valentines Day card.
PIN IT

I hope this post inspires you to create a DIY gift tag or greeting card!