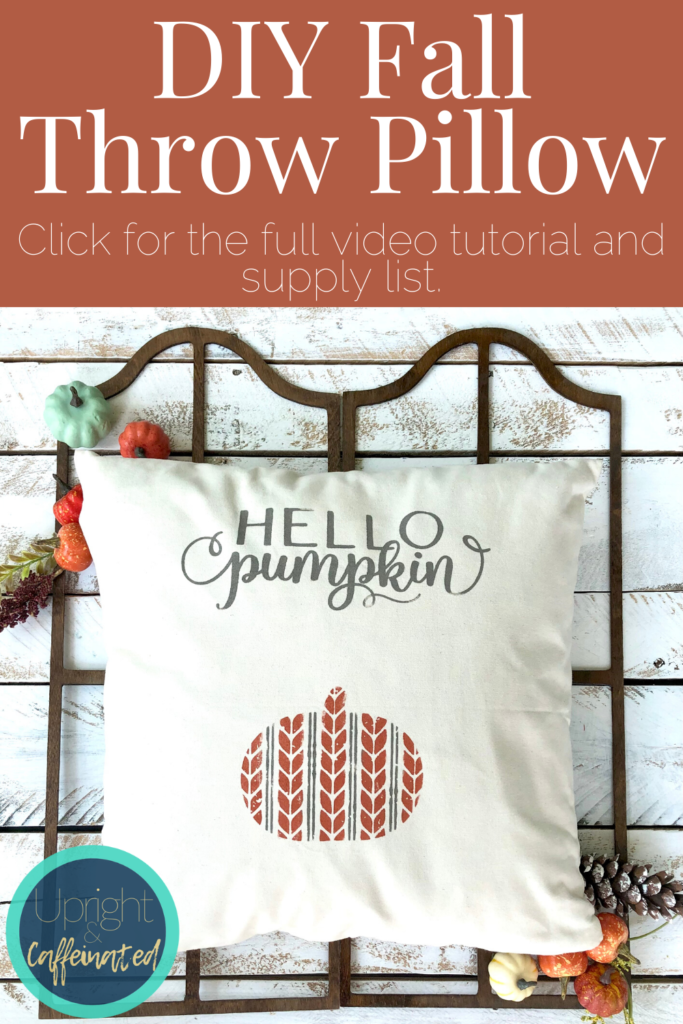
Are you ready for fall? I’m getting there! As much as I LOVE summer, tanned skin and the beach, I also love cozy sweaters, pumpkin spice and fall colors. Today I am sharing this easy DIY fall throw pillow tutorial with you. This throw pillow is easy to make and is a great addition to your front porch, sofa or favorite chair.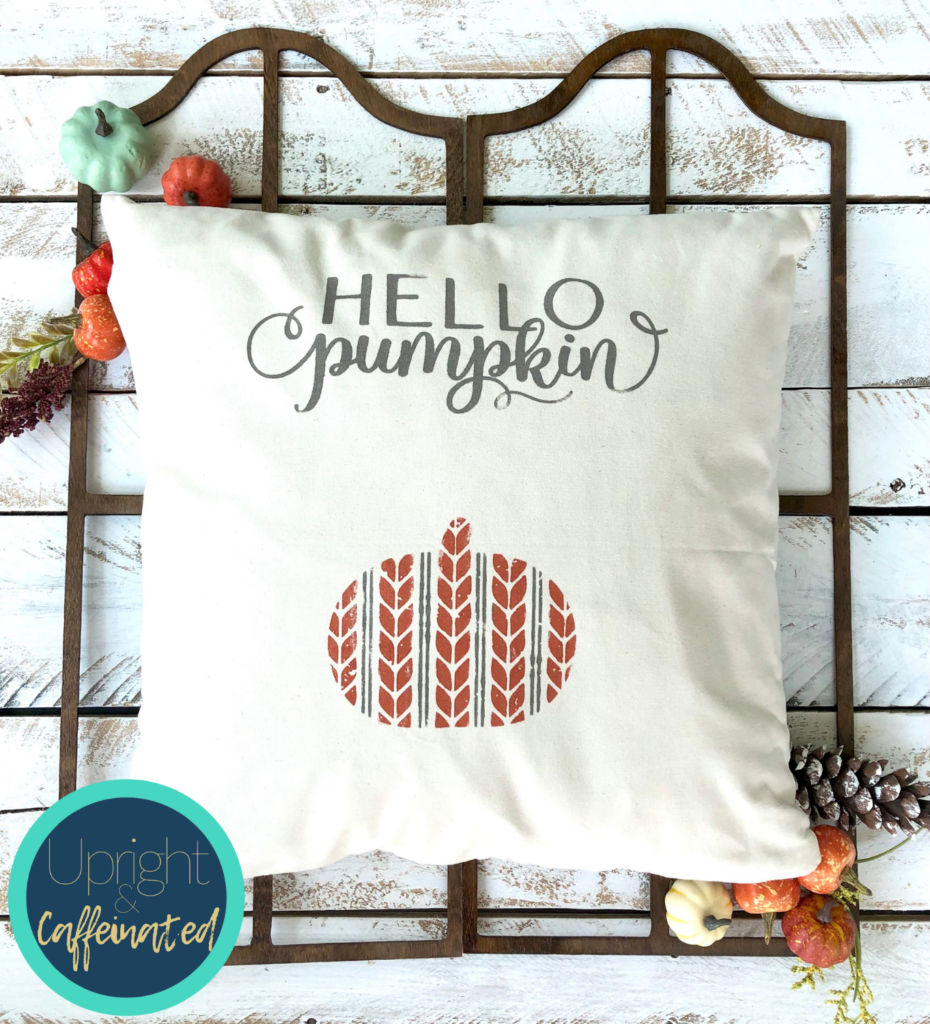
I always enjoy swapping out my throw pillow covers seasonally, and with Chalk Couture, I can make that happen in a matter of minutes. If you have not heard of Chalk Couture, START HERE. These reusable stencils can be used with removable chalk paste or permanent ink. For this pillow, I used permanent ink.
Supplies Needed
Check out the full video tutorial I did over on Facebook HERE.
PIN IT
This project is really simple. All you need to do is insert the ink mat into the pillow cover and then adhere the stencils where you want them, Next, apply the ink and remove the stencils. Finally, you will want to heat-set the ink once it is dry. I usually leave my projects for 24 hours before heat-setting. To heat-set, you can use a regular household iron on medium heat. Lay down a piece of parchment paper on top of the inked design and then iron for 3-4 minutes. Turn the pillow case inside out and then iron again for 3-4 minutes.
WANT TO LEARN MORE ABOUT CHALK COUTURE? JOIN MY FREE CRAFTING COMMUNITY.

Once the design is heat-set, it is permanent and the DIY fall throw pillow case can be used and washed! Want more tips and tricks for using Chalk Couture Ink? CLICK HERE.
I love how this turned out and I really want to put it out on our porch when I start decorating for fall. For now, it is in our house and I love how it looks on my teal Magnolia Home chair! 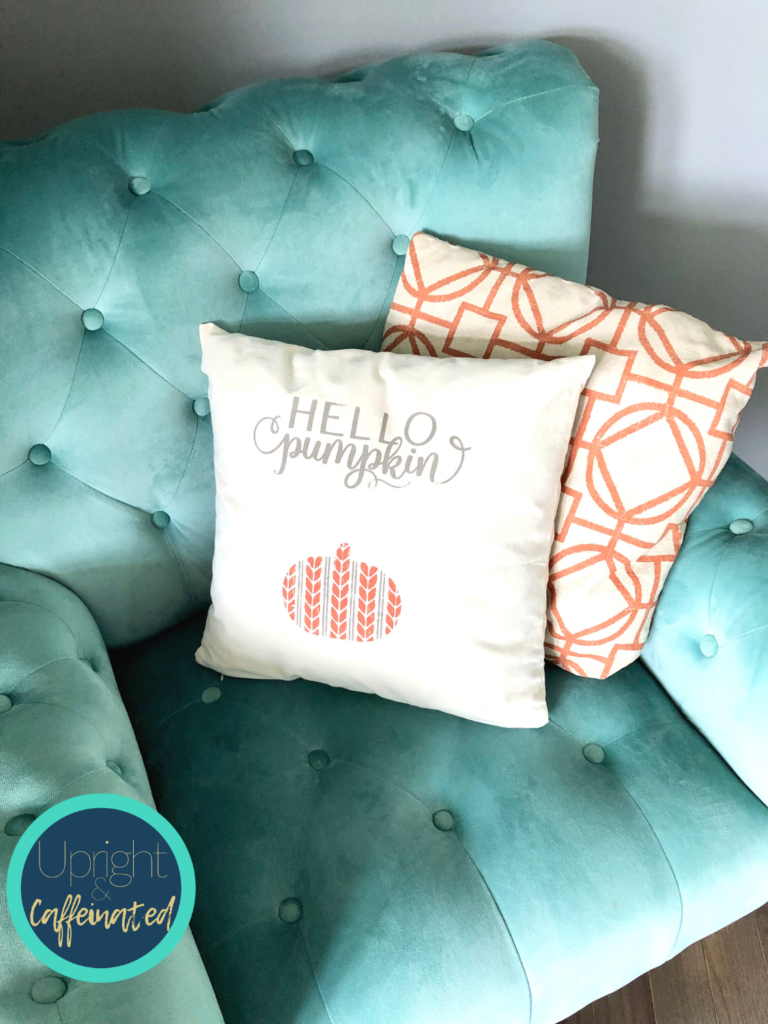
Looking for more DIY Fall decor ideas? Check out THIS POST.