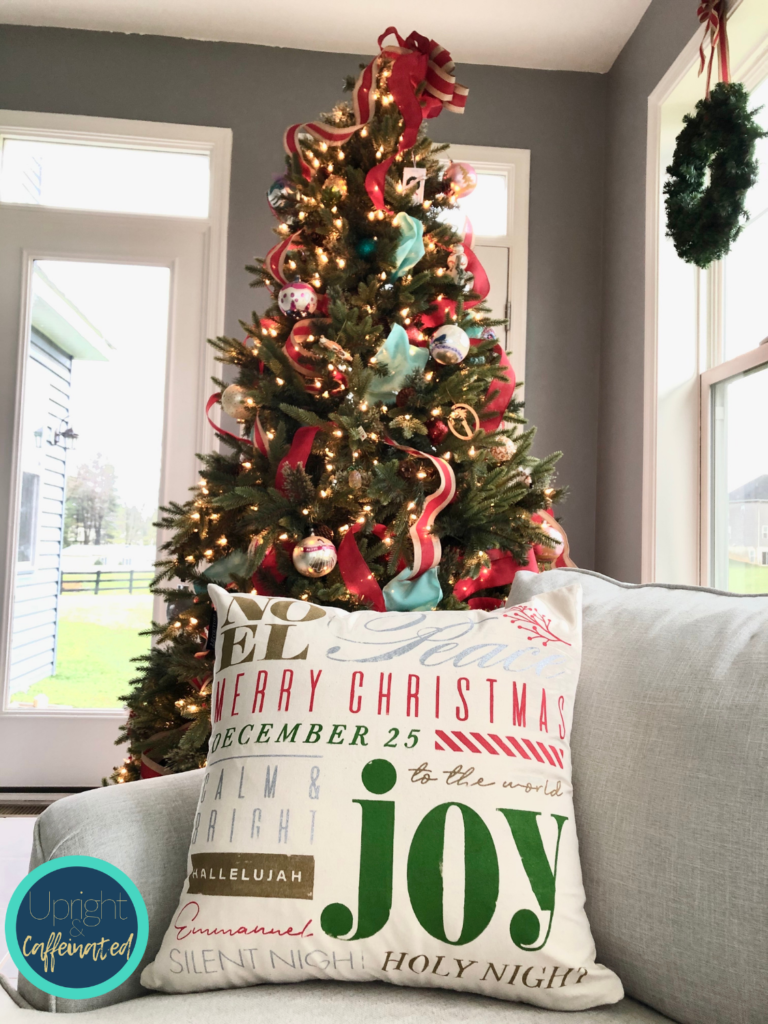
Happy Christmas my friends! I am in the holiday sprit and listening to Christmas music 24/7 these days! Today I want to share how to make a DIY Christmas throw pillow. This is an easy way to get a designer pillow look.
For this project, I used Chalk Couture products. If you don’t know about Chalk Couture, START HERE. 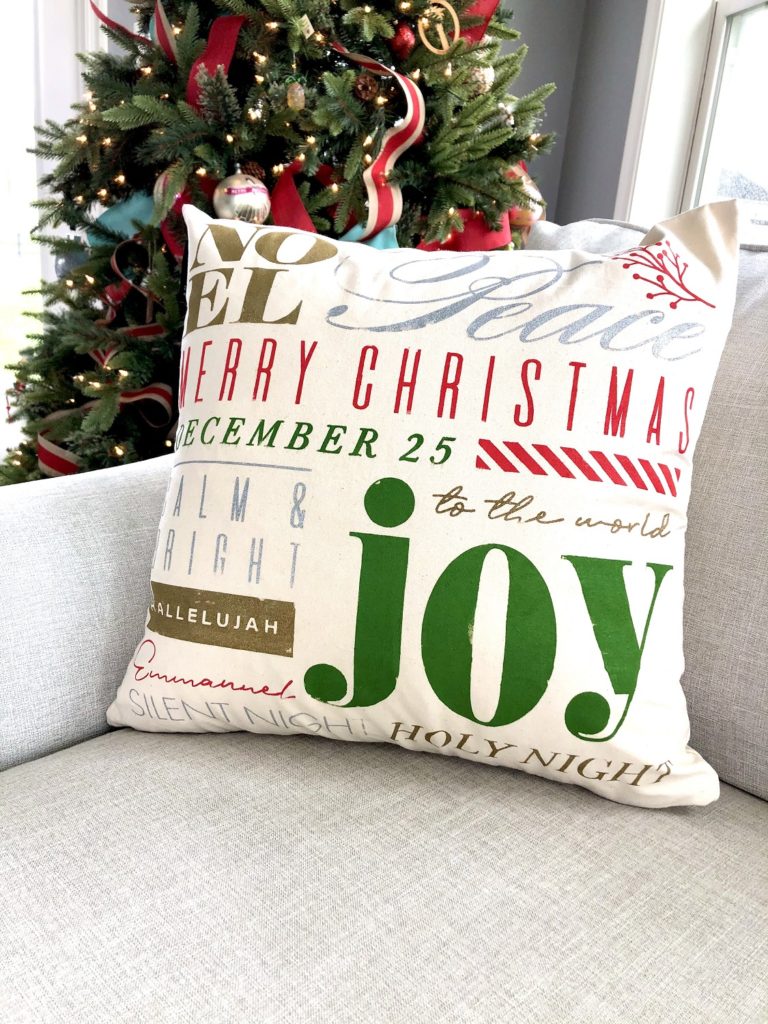
Here’s the quick rundown – Chalk Couture makes reusable, silk-screen stencils (called transfers). They also make removable chalk paste, permanent ink, surfaces and accessories to make up-scale DIY home decor.
What You Need
Iron
Parchment Paper
WANT TO LEARN MORE ABOUT CHALK COUTURE? JOIN MY FREE CRAFTING COMMUNITY.

How To Make A DIY Christmas Throw Pillow
Don’t feel like reading all the instructions? Click HERE to watch the video showing how I made this!
First, insert the ink mat into the pillow case. The ink mat serves two purposes; first, it protects the ink from bleeding through to the other side of the pillow and second, it has a sticky surface so your fabric doesn’t move.
Next, place the transfer onto the pillow case and begin inking. THIS POST has a lot of great ink tips! Once the transfer has been inked, carefully remove the transfer and wash it immediately. Leave the pillow case alone over night to allow the ink to dry.
Once the ink is dry to the touch, you can heat-set it. Set your iron to medium hear and turn the steam function off. Place a piece of parchment paper over the inked side of the pillow case. Next, use your iron in a circular motion over the entire inked portion of the pillow. Then, turn the pillow case inside out and iron the back side of the inked portion of the pillow case.
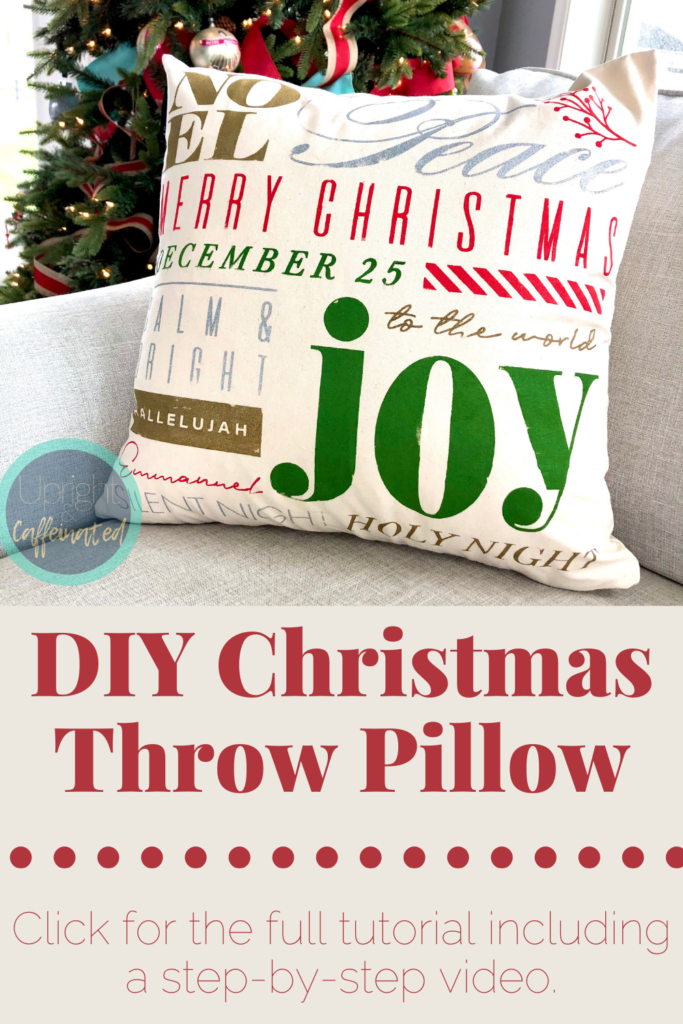
PIN IT
It is that easy! Now you have a custom DIY Christmas throw pillow. These also make GREAT Christmas gifts. Once you have the transfer and the inks, you can make these over and over.
If you are not into traditional Christmas decor, check out this Christmas pillow I made using the same technique with bright colors! 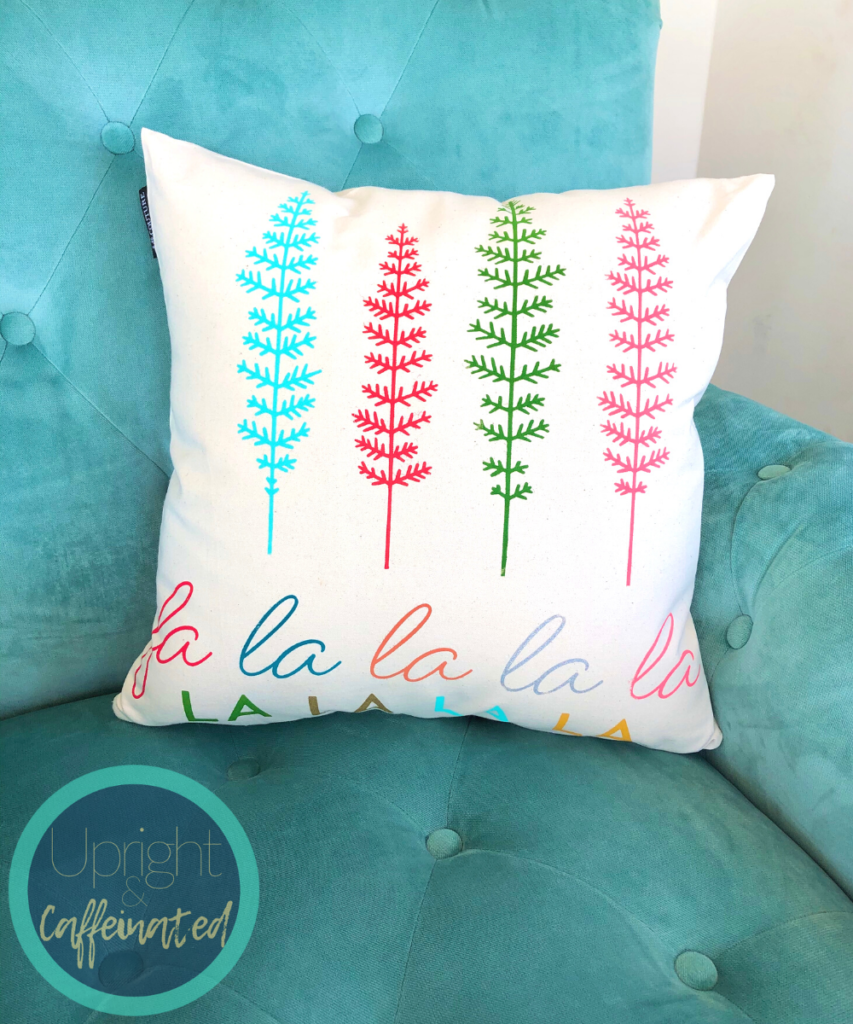


[…] DIY Christmas Throw Pillow […]