It’s beginning to look a lot like Christmas. Well, at least around our house it is! Last year we moved into our new house at Halloween, so I completely skipped decorating for Fall and went straight to Christmas decor in November. This year, I put up a few fall decorations out on our front porch, but since we have the builder coming through to do touch-ups, we are not decorating for Fall again this year. Therefore, I have already started making Christmas signs for this year’s Christmas decor!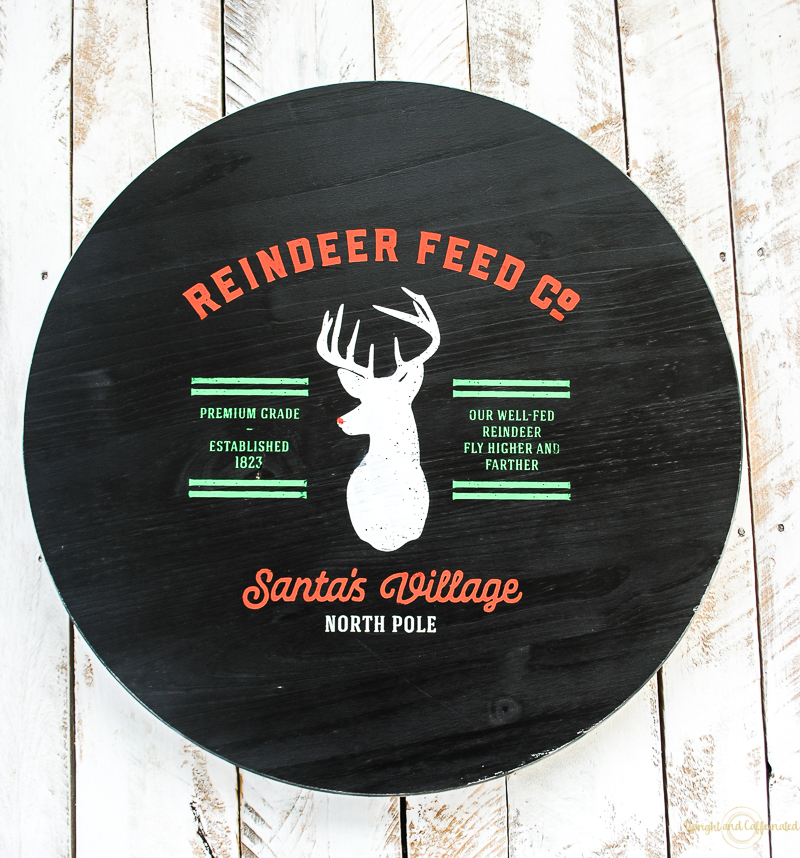
I love decorating for Christmas. In years past, we have not done too much decorating. Mainly because we didn’t have space to store decorations between seasons. Now that we have an entire basement, so I am all about decorating for holidays. In fact, last year, after Christmas I took advantage of the sales and bought even more wreaths and a beautiful tree collar.
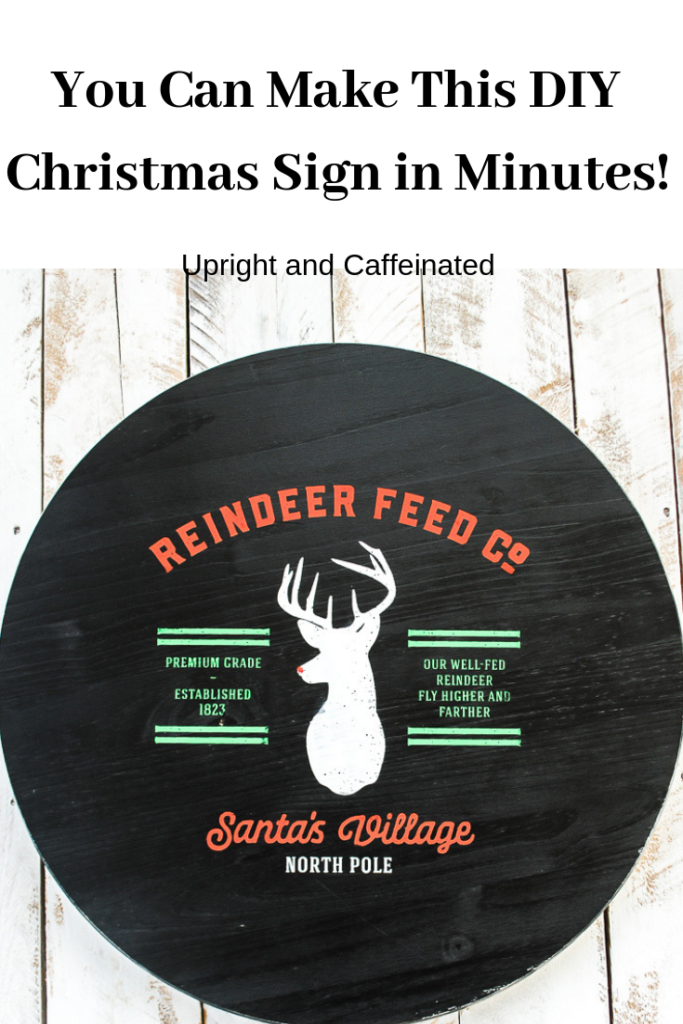
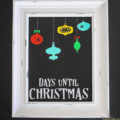
This year, I am making Christmas signs for everyone! I have already made this colorful and festive Christmas Countdown sign. I have also made this adorable Reindeer sign. Now, you might be asking…how does she make all of these?! Well, I use Chalk Couture and get it done in minutes! Really, it is so simple. If you don’t know about Chalk Couture, START HERE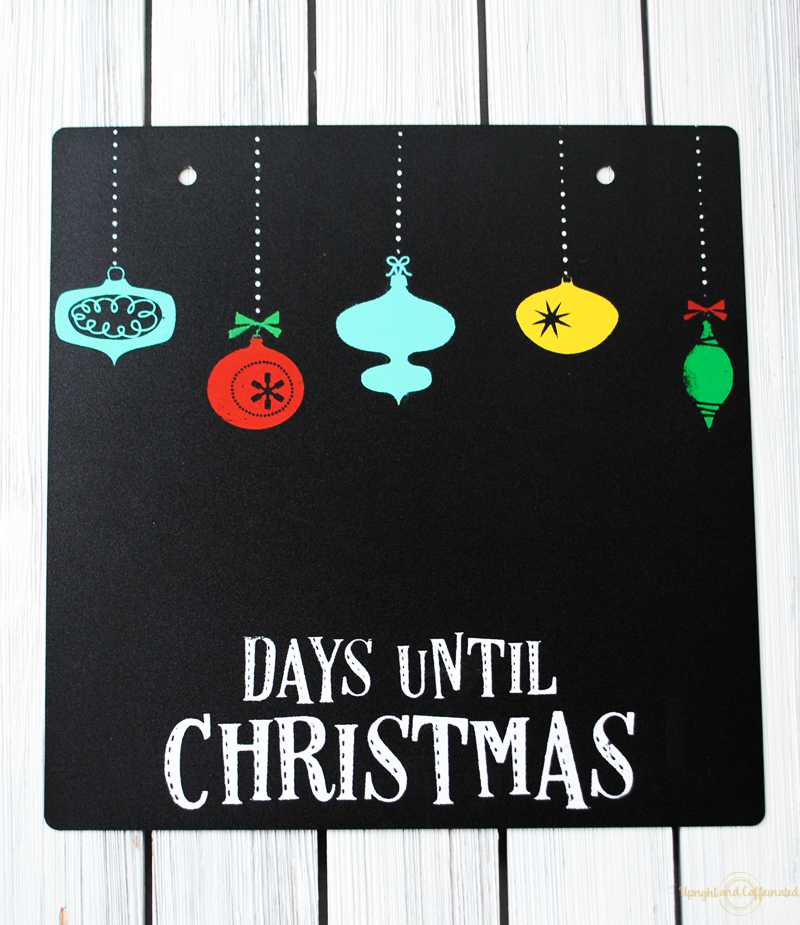
Chalk Couture makes creating DIY signs and gifts so easy. Check out this video to see how easy it really is.
How To Make a Christmas Sign:
First start by preparing your wooden board. I have an entire tutorial on how to properly prep wooden boards for Chalk Couture here. Basically, you need to paint, seal, then wax before you can use your Chalk Couture products to ensure a beautiful project. Start with painting two coats of the chalkboard paint. Then seal with the polycrylic and finally, wax.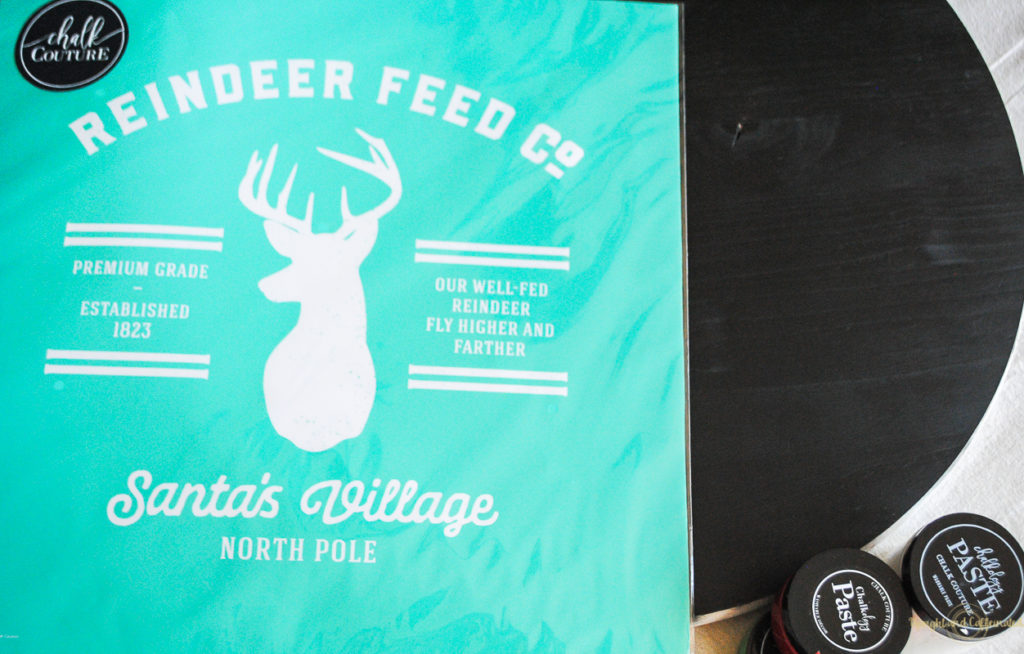
Once the board is ready, it is time to chalk! This is a huge transfer, so grab a partner to help you out. Because I was using three different colors, I lifted the transfer as I worked to make sure the chalk paste didn’t dry on the transfer as I was switching between colors. This is where the extra pair of hands comes in!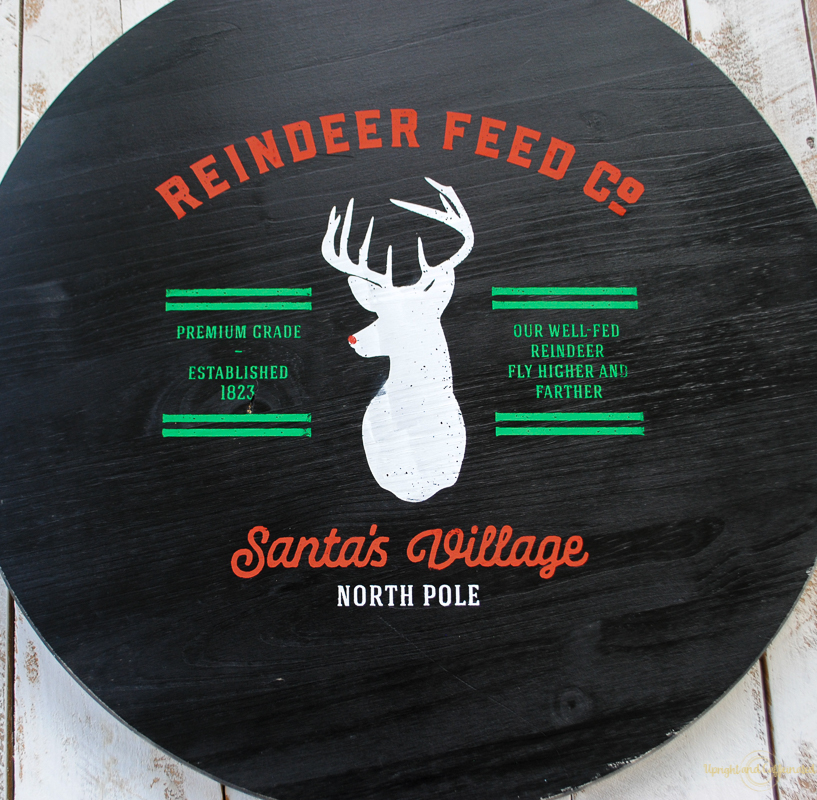
Apply the chalk paste where you want it and squeegee off the excess. Carefully remove the transfer and wash it with water and a paper towel. Use a disinfecting wipe on both sides to clean it. Allow the transfer to dry flat with the sticky side up. Want to see more on how to clean your transfers? Watch this.
Making Christmas signs for myself as well as everyone on my Christmas list will be so easy this year with Chalk Couture. Since the transfers are reusable (up to 20-30 times!) and the paste lasts for just as long, I can make everyone adorable Christmas signs! Who doesn’t love getting a DIY Christmas gift that looks like it came from a boutique!
PIN IT ⇓