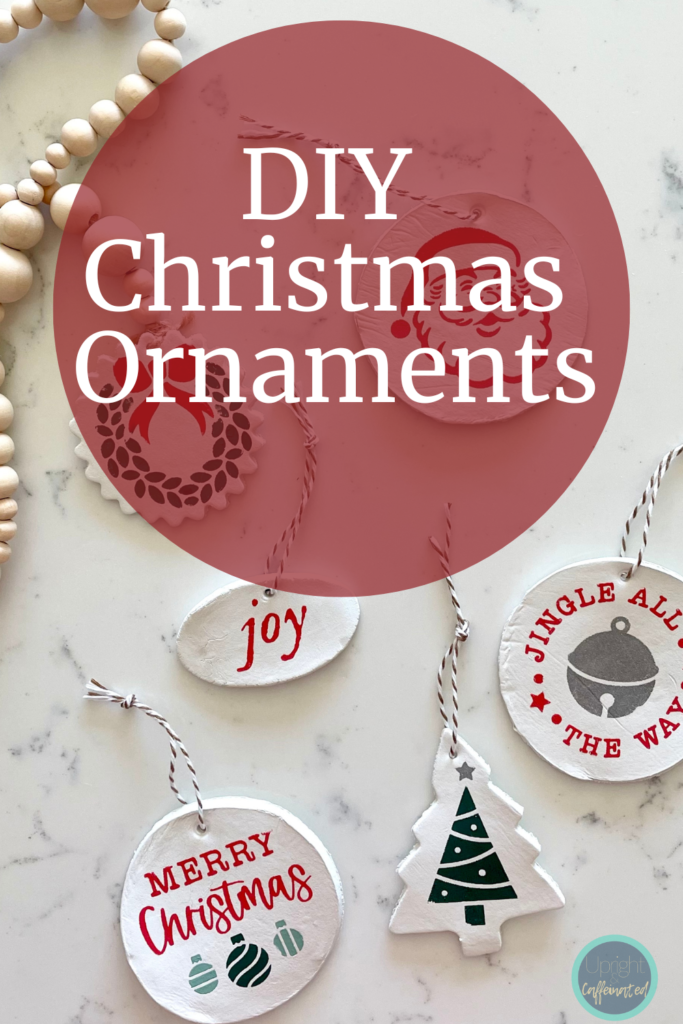
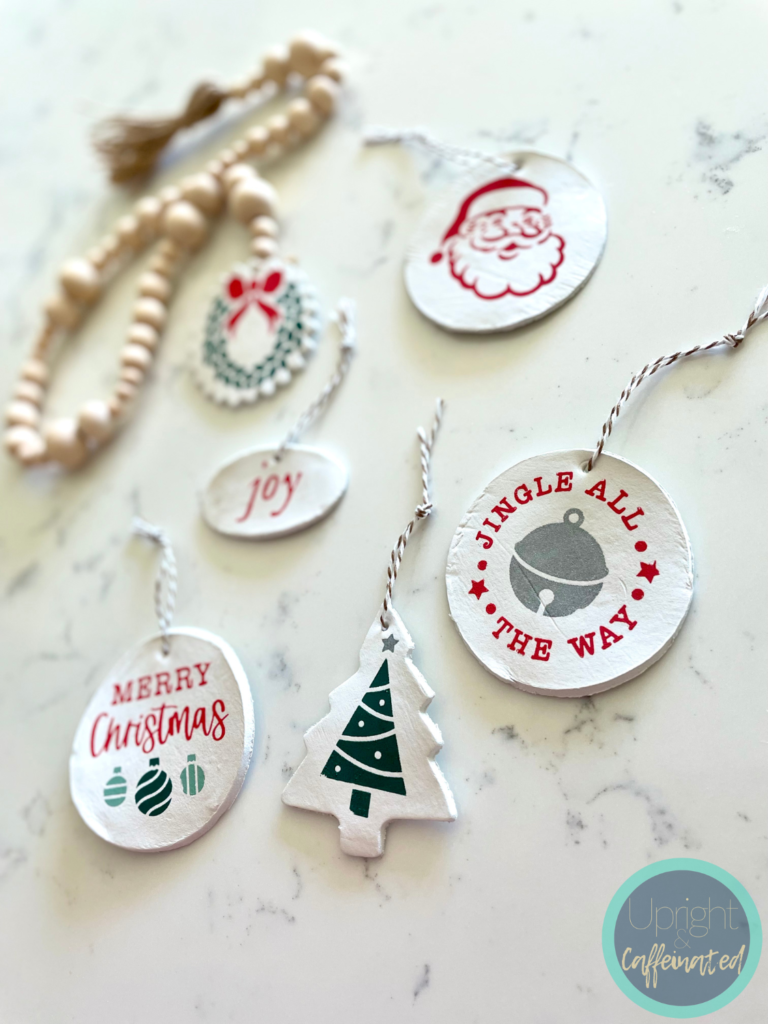
Let’s make DIY Christmas ornaments using air dry clay and Chalk Couture! This is a super easy way to make Christmas ornaments to decorate your tree or to give as gifts.
Looking for a great craft to do with kids over Thanksgiving break? These DIY Christmas ornaments are fun for all ages. This project is simple, easy to clean up and you can make memories as well as ornaments that will last for years to come!
If you don’t know about Chalk Couture, START HERE. Chalk Couture makes reusable stencils (called transfers). They also make removable chalk paste, permanent ink, surfaces and accessories to make up-scale DIY home decor.
This post includes affiliate links to products. I may receive a commission if products are purchased through the provided links. My full disclosure statement can be found here.
What You Need
Chalk Paste (Forrest, Eucalyptus and Candy Apple Red)
Detail Tool or Toothpick
Cookie Cutters
Small Round Ramekin
Rolling Pin
Parchment Paper
Start by rolling out some air dry clay on parchment paper using a rolling pin. Next, cut your ornaments by use cookie cutters or trace a small round ramekin with the toothpick.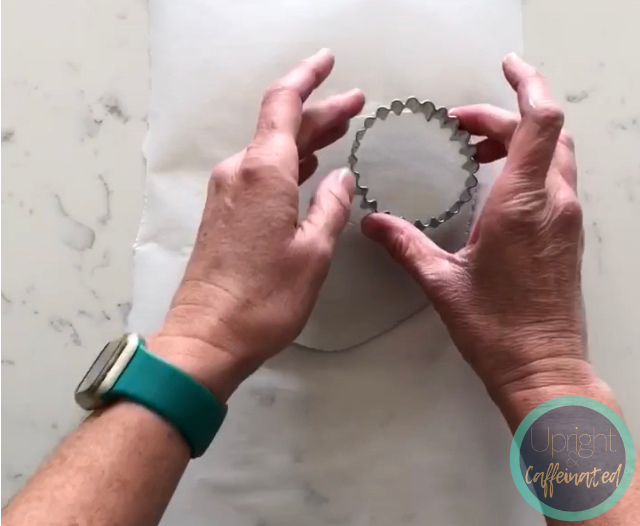
The cool thing about these ornaments is that you don’t have to wait until the clay dries to decorate them. This is especially great when making them with the kiddos!
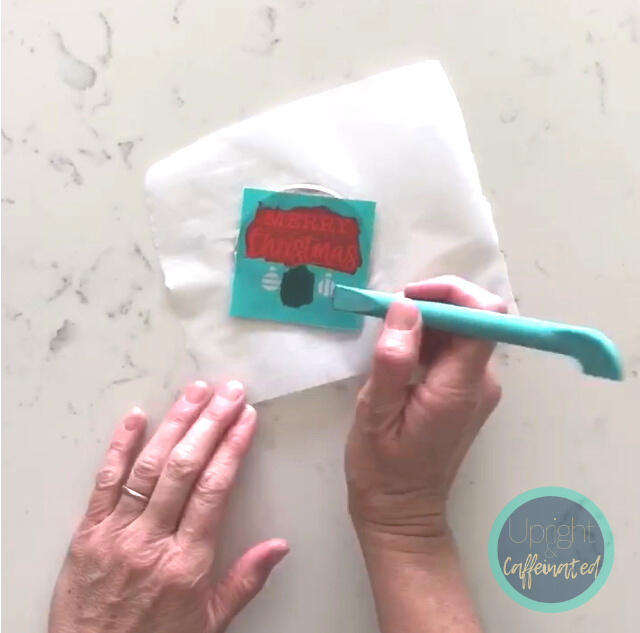
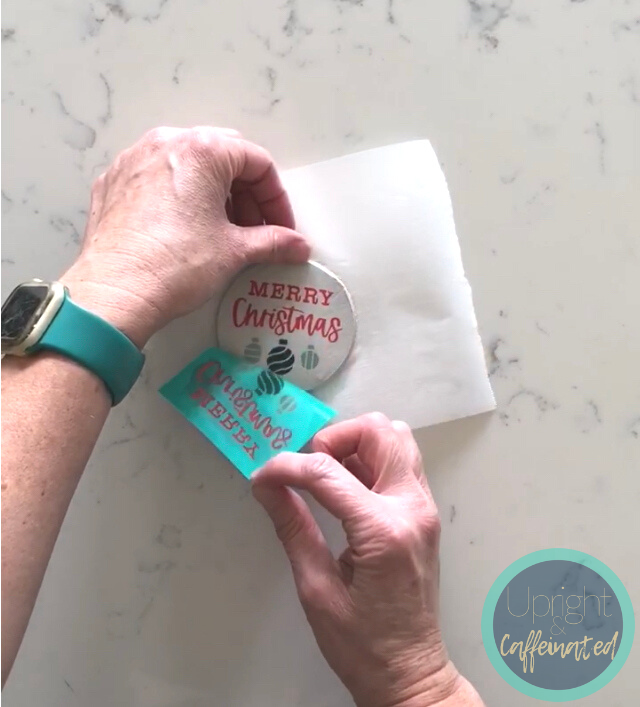
Place the self-adhesive transfer on the ornament. Gently use your fingers to rub over the silk screen to ensure there’s a good seal around the edges. Apply chalk paste with a squeegee and then peel the transfer off.
Immediately wash the transfer in true sink with cold water and a board eraser (a magic eraser will work too). Allow the transfer to dry (sticky side up) on a towel. If there’s standing water in the sticky side, simply wipe it with a disinfectant wipe.
Once the transfer is dry, place the backing sheet back on the transfer.
Next, poke a hole in the top of the ornament with a toothpick while the clay is still wet. Make sure you make the hole big enough for a piece of twine!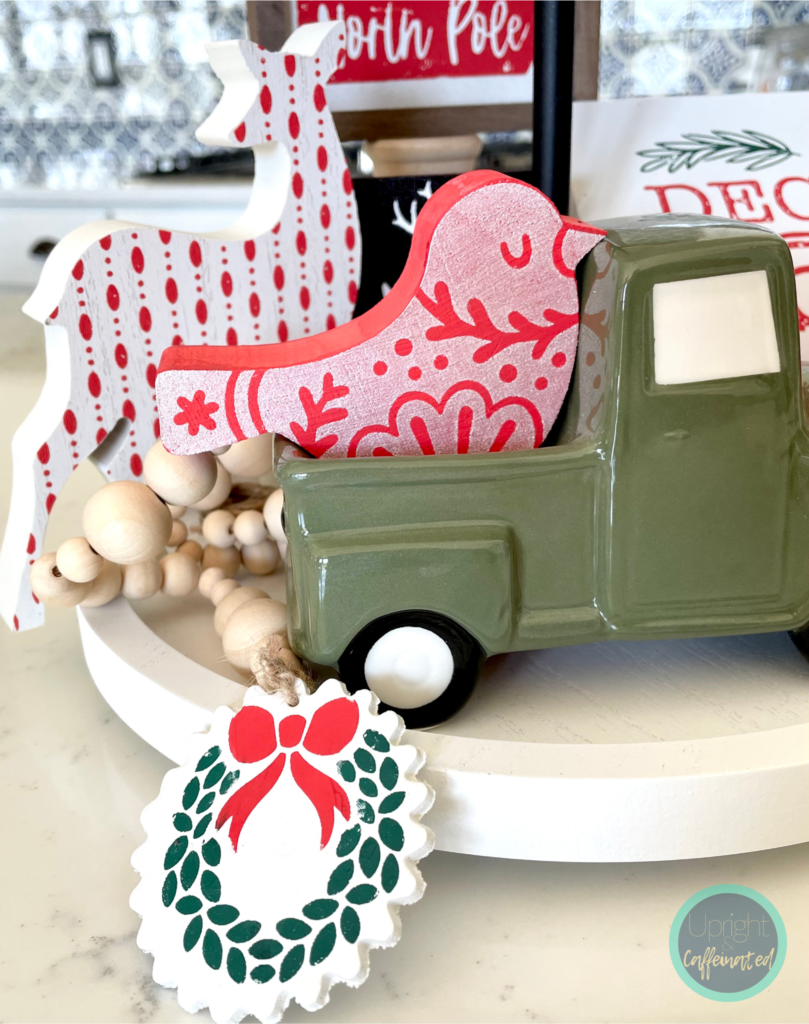
Allow the ornaments to dry overnight! That’s it. These make such pretty ornaments and they are so easy. I also added one of the ornaments to the end of a wood bead garland to decorate my Christmas Tiered Tray. I absolutely love how it looks.
PIN IT