Reverse canvases are all the rage right now. I have seen them all over Pinterest and Etsy. Have you seen them? Basically, you take an inexpensive canvas, remove the canvas from the frame, paint or stain the frame and staple the canvas on the back of the frame. That’s the quick explanation…read on for the detailed tutorial!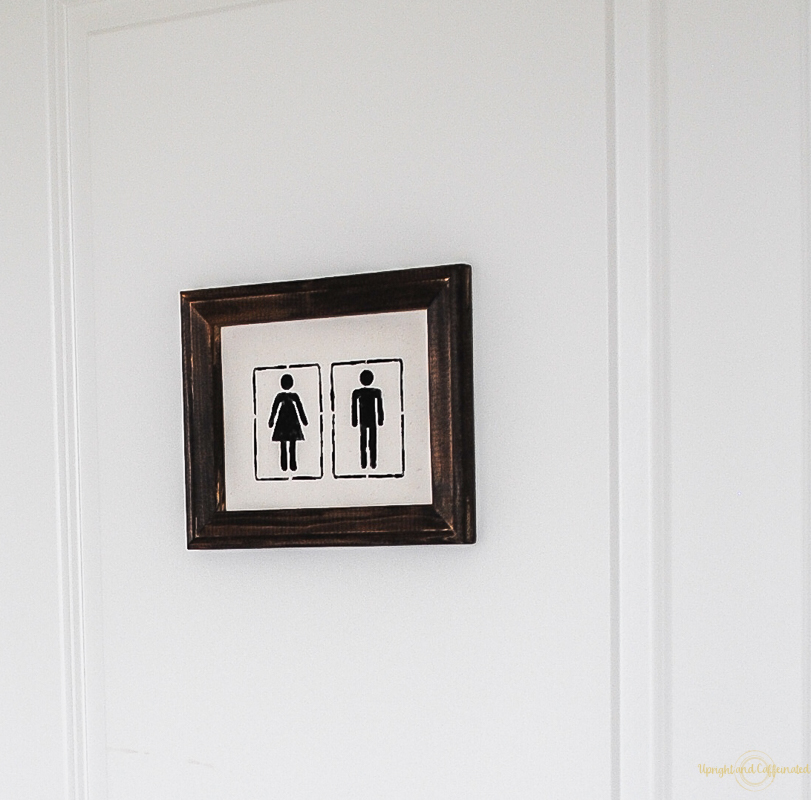
I love working with canvases. They are cheap and can make amazing DIY projects.
I also made these photo canvases which I love! My friend Tasha has an entire tutorial on how to make these. Check it out here. To add a little oomph to this canvas photo, I added a little Chalk Couture design to the bottom corner! Disney is our HAPPY PLACE!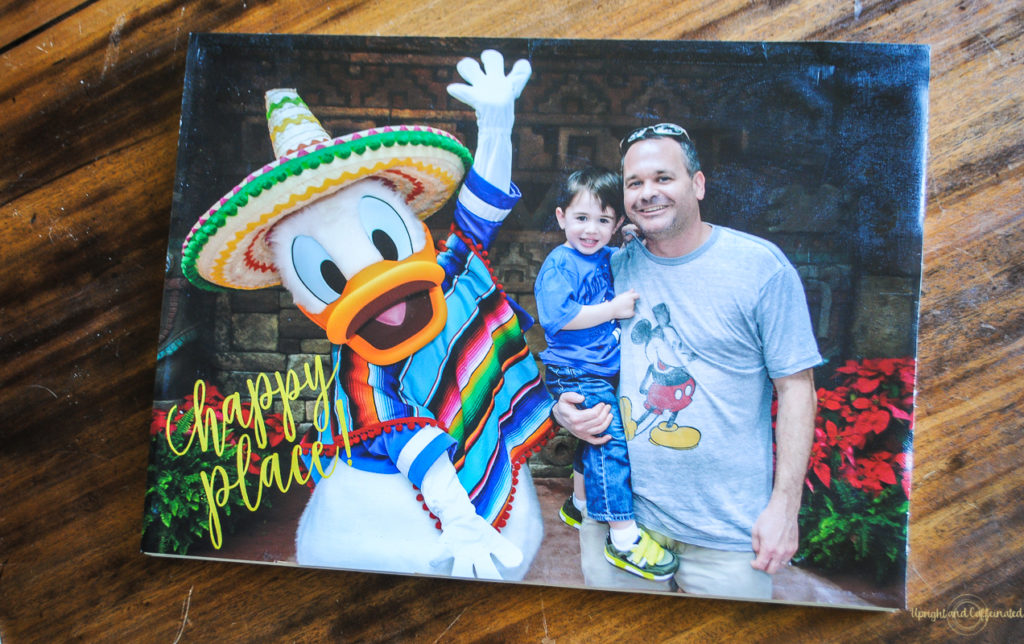
Canvas (any size will work), Wood Stain, Box Cutter or X-acto KnifeStapler
PIN IT ⇓
How to Make a Reverse Canvas:
Start by turning the canvas over so that the back side is facing you. Using a box cutter or x-acto knife, cut the canvas along the staples. If you can remove the staples, great, but it is not necessary. Don’t remove the staples in the corners, those are usually holding the wood frame together. Once the canvas is removed from the frame, stain or paint the frame. I have found staining with a minwax wood stain works well.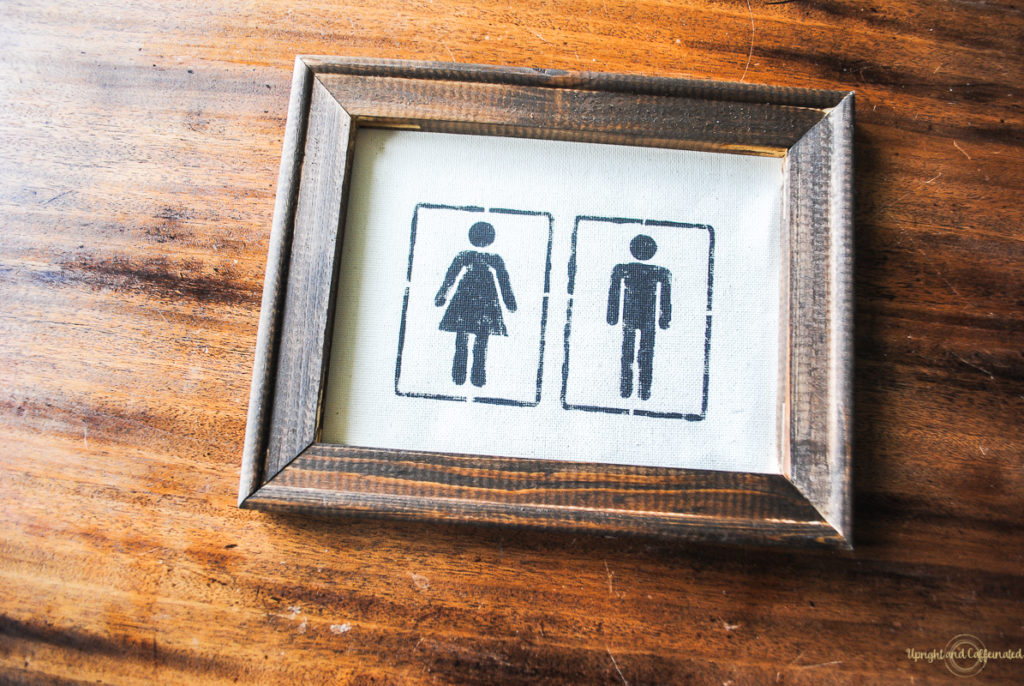
Once the stain is dry, turn the canvas over so that the cloth side is facing up. You will notice one side of the canvas has a primer on one side that makes it easier to paint. The side without that primer is the side you want showing up. At this point you can decorate the canvas in a variety of ways. You can use paint and a stencil, heat transfer vinyl or even Chalk Couture Chalk Paste or Ink.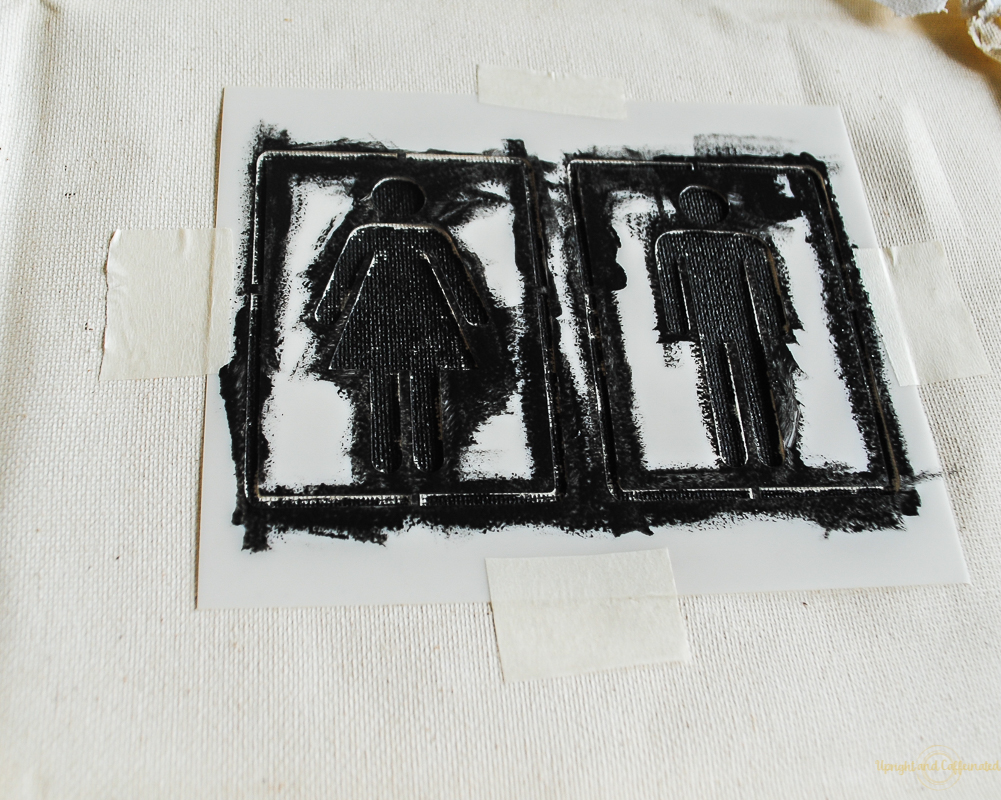
Place the frame on top of the canvas and cut off any excess canvas from the edge of the frame. 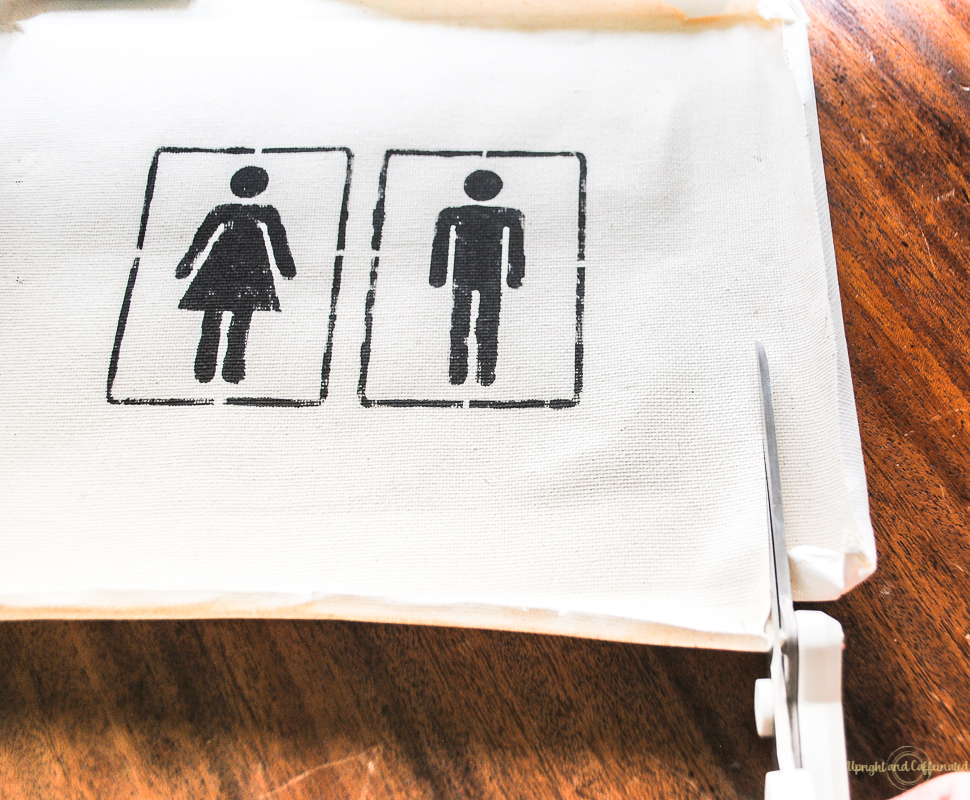
Flip it over carefully stretch the canvas tight and staple the canvas back onto the frame. You do not need a fancy staple gun to accomplish this. I used a standard office stapler. 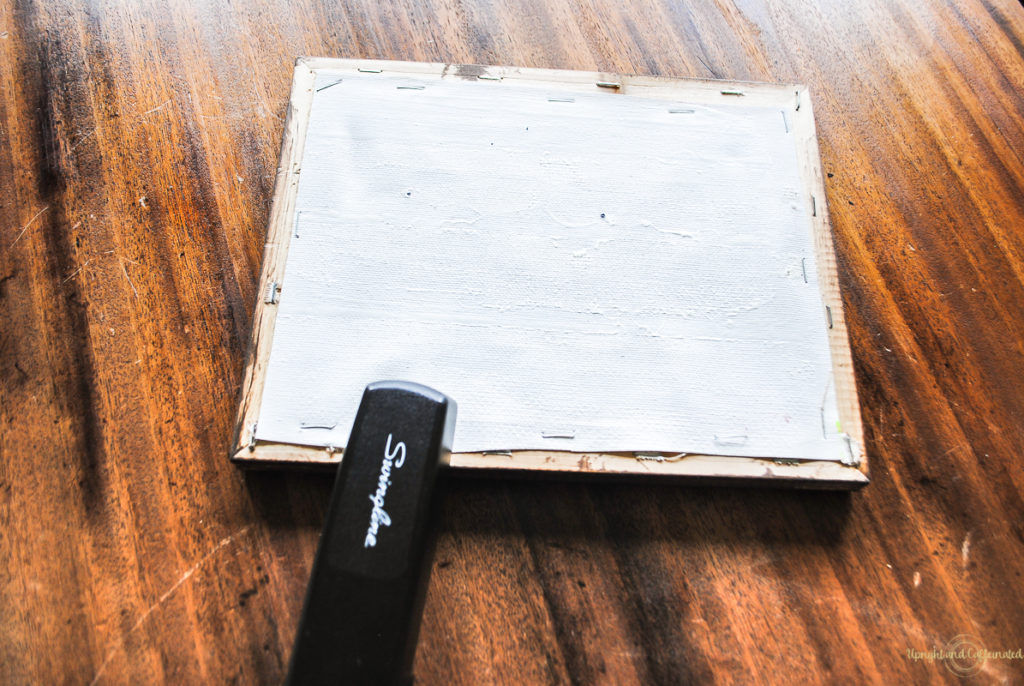
Now you have a framed canvas or “reverse canvas”. This is a super easy way to make an inexpensive piece of art for your home or as a gift! 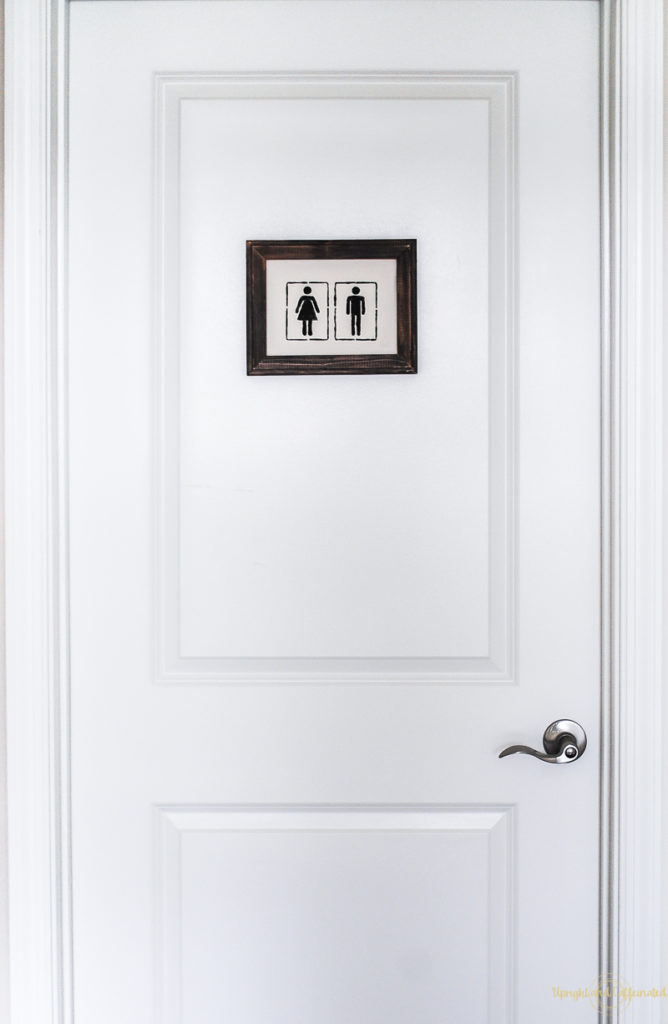
I love how this reverse canvas turned out. I have this on our bathroom door downstairs. This makes it so easy when we have guests because our basement door, hall closet door and bathroom door are all close together. Guests simply have to look for the restroom sign to enter the correct door!!