Hey Hey! I am betting you found this post because you are looking for tips and tricks for using Chalk Couture! You have hit the jackpot, my friend! This post includes thirty Chalk Couture tips and tricks every crafter needs to know. From paste to ink, when to wax, basics of washing transfers and advanced techniques…I will cover it all and give you the tips and tricks to be a pro at using Chalk Couture products.
30 Chalk Couture Tips and Tricks
Let’s start with some basic tips and tricks, then move on to chalk techniques and finish up with ink techniques. If you are new to Chalk Couture- START HERE.
Basic Techniques
Prepping Wooden Boards: You’ll want to make sure to prep wooden boards when you are using Chalk Couture. Using Chalk Couture Surface wax is always recommended, but if you are using a painted wooden board, you will also want to use some polycrylic spray to ensure the paint doesn’t come up with the transfer. Click HERE to watch a quick video on prepping wooden boards to use with Chalk Couture.
⇓ Grab a Fuzzing Cloth ⇓
How to Line Up Chalk Couture Fonts: Chalk Couture makes it easy to line up fonts by using the marks at the top of each transfer. Check out this video to see exactly how to line up Chalk Couture fonts.

How to Clean a Chalk Couture Chalkboard: Chalk Couture chalkboards are reusable and super easy to clean. Follow these steps- Spray with water and let sit 1-3 minutes. Use a Paste Scraper and scrape off the paste. Use a paper towel to wipe off the excess paste. Finally, use a damp Chalk Couture Board Eraser to completely clean off the board.
Quickly Dry a Chalk Couture Transfer: Looking to quickly dry a Chalk Couture transfer? After you wash your transfer under cold running water with a Chalk Couture Board Eraser, you can quickly dry your transfer by sticking the sticky side to your shirt and use a hair dryer on LOW or NO HEAT to dry the transfer against your shirt.

Label The Backing Sheet: If you are using a transfer with multiple pieces, label the backing sheet for each piece before removing the transfer. This will make it easy to match the backing sheet with the correct transfer. This is especially important if you are working with the mini transfers.
Cut Apart Large Patterns: Chalk Couture makes beautiful large pattern transfers like the mini buffalo plaid (one of my favs!). Cut the larger transfers into small pieces that are easier to work with. I ALWAYS cut my large pattern transfers apart because I am more likely to use a small piece than the entire thing. Check out how I used the mini buffalo plaid in this video.
How to Store Your Transfers: My favorite way to store transfers is in binders. I purchase clear page protectors and slip my size B and smaller transfers into them and then pop them into a three ring binder. Larger transfers, I store on the side of my crafting cabinet with command hooks.
Putting the Transfer Back on the Backing Sheet: This is one of the most frequently asked questions- how do I line up my transfer to place back on the backing sheet? The easiest way is to place the backing sheet ONTO the transfer. When you dry your transfer (on a towel with the sticky-side up), simply place the backing sheet (shiny side down) to the sticky side of the transfer.
Wax Cardstock: You can chalk on cardstock to make beautiful cards! Anytime you chalk on cardstock, paper or cardboard, you need to use a little surface wax! Check out this video!
No Need to Seal: Chalkology Paste is extremely durable and can withstand quite a bit. There really is no need to seal your projects. CHECK OUT THIS VIDEO.
Make sure you are subscribed to my YouTube channel for the most up to date videos
Chalk Techniques
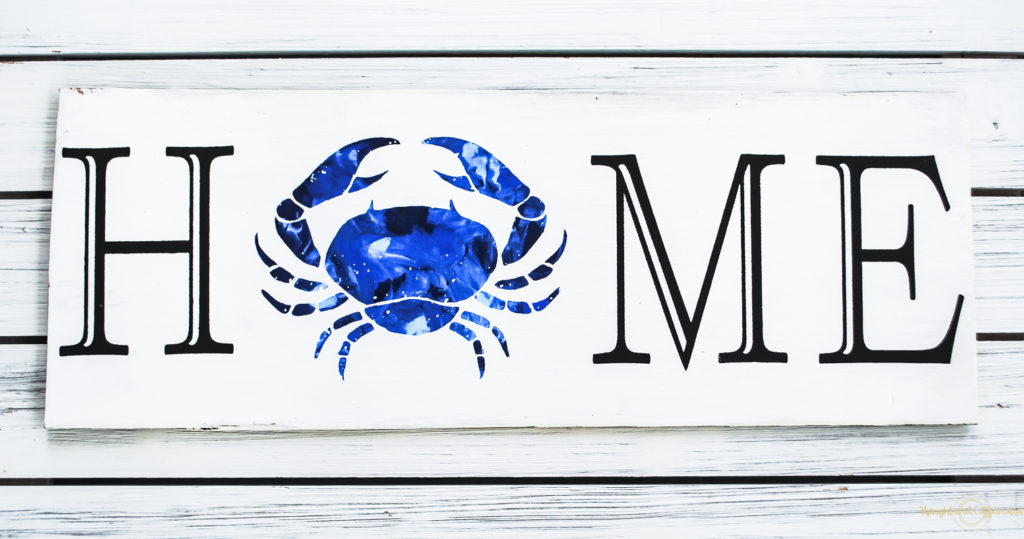
Water Down Paste to Use as Paint: I LOVE using Chalkology Paste as “paint”. By just adding water to a little chalk paste, you can achieve the consistency of paint and apply it with a paint brush. Everything painted white in this video is watered down chalk paste!
Water Color Technique: This is a fun and easy technique that works best on cardstock. Simply chalk in a transfer that has an outline and use watered down chalk paste to color in the lines!

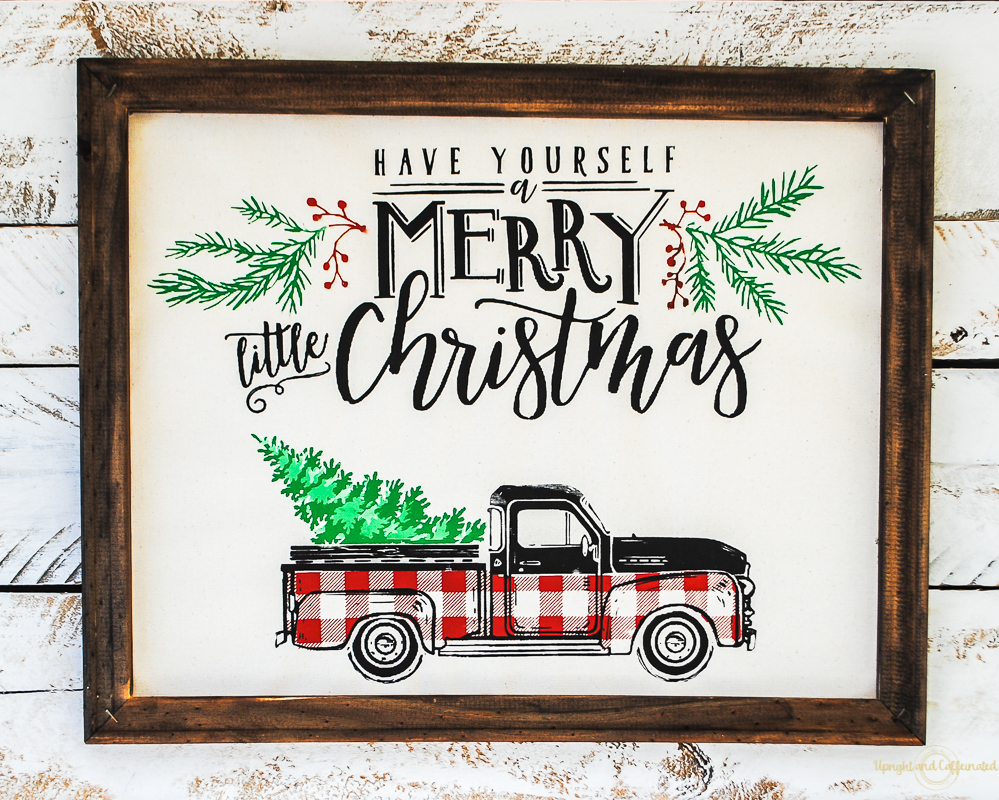
Vintage Truck Pattern Technique: Did you know you can make the bottom half of the vintage truck have a pattern? WATCH THIS to see how to layer a patterned transfer with the vintage truck transfer.
Blotting Texture Method: This is a really fun and simple method that will add texture to your project. All you need to do is paste as normal, then use a damp paper towel, baby wipe or make up sponge with another color of paste to blot over the transfer with the wet paste. CHECK IT OUT HERE.
WANT TO LEARN MORE ABOUT CHALK COUTURE? JOIN MY FREE CRAFTING COMMUNITY.

Mixing Colors: Did you know you can mix Chalk pastes together to get custom colors? Use a Chalk Couture color tray and stir sticks to mix!
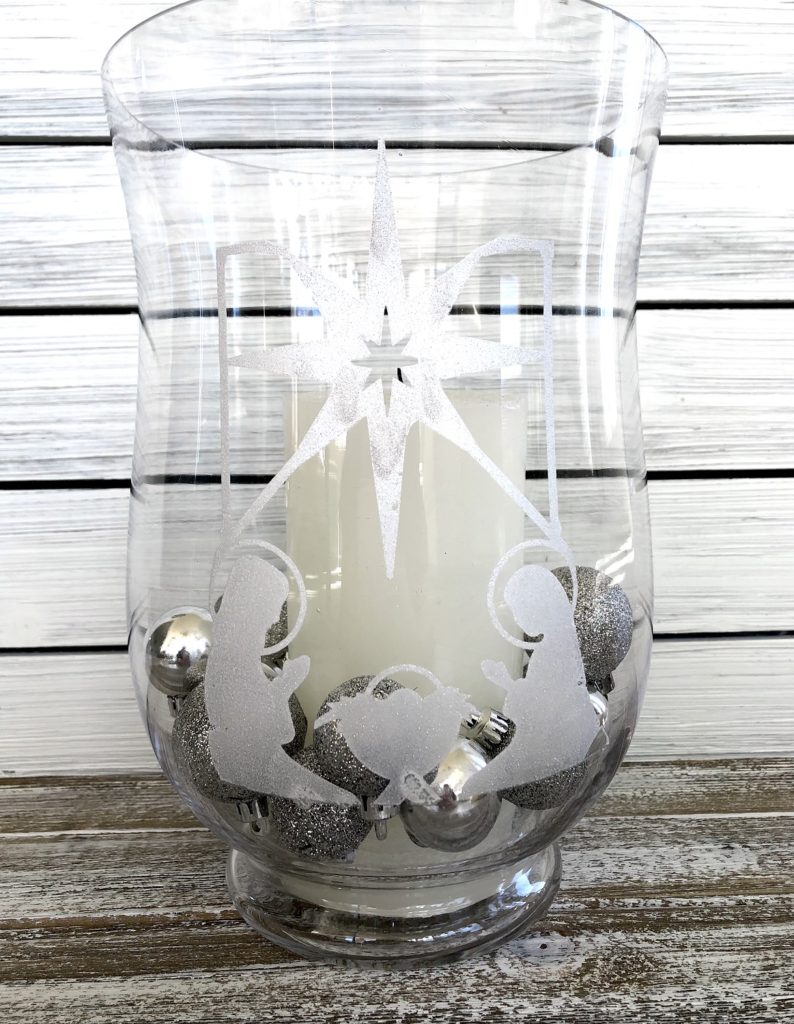
Faux Glass Etched Look: Use shimmer frost paste to create an etched look on glass! This is a great alternative to etching because you can wipe off the chalk paste whenever you want and swap out your design!
Repurpose the Envelopes: Large Chalk Couture transfers come in large white envelopes! You can use those (or a cardboard box) to create 3-d shapes. Simply wax the envelope, chalk and then cut out the shape! CHECK OUT THE VIDEO!
How To Do A Reverse Canvas: Watch this to see how to make a reverse canvas!
Working with Stretched Canvas: If you are chalking on a regular stretched canvas, place a block of wood or a book under the canvas to give you a hard surface to chalk on! Watch this to see
Using Etching Cream With Transfers: Did you know you can use etching cream with Chalk Couture transfers? Check it out HERE.
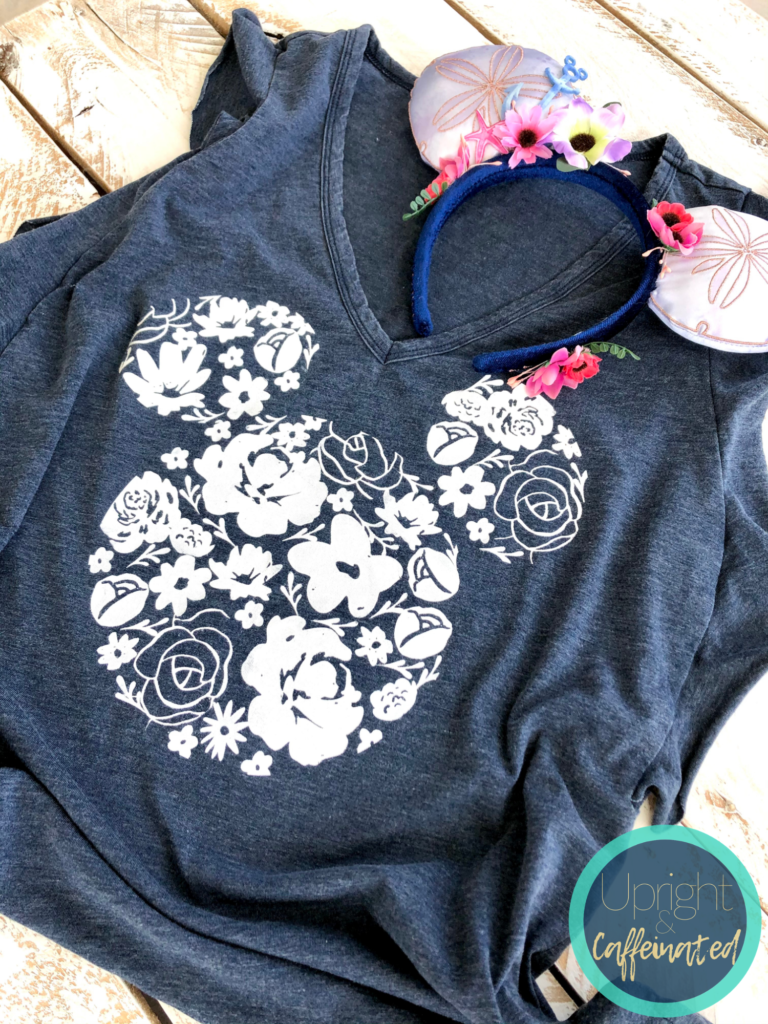
Mosaic Technique: This is such a fun technique! Use small transfers to create a shape (like this shirt I made for the EPCOT Flower & Garden Festival using floral transfers in the shape of a Mickey head). I also made a fish using small shell transfers LIVE on Facebook.
Use Painters Tape: This is a good tip for both chalk and ink. You can create a boarder or block out sections of a transfer by using painters tape!
Ink Techniques
Offload the Ink: Offload the ink on the teal part of the transfer and then squeegee into the silk screen. This will help prevent bleeding!